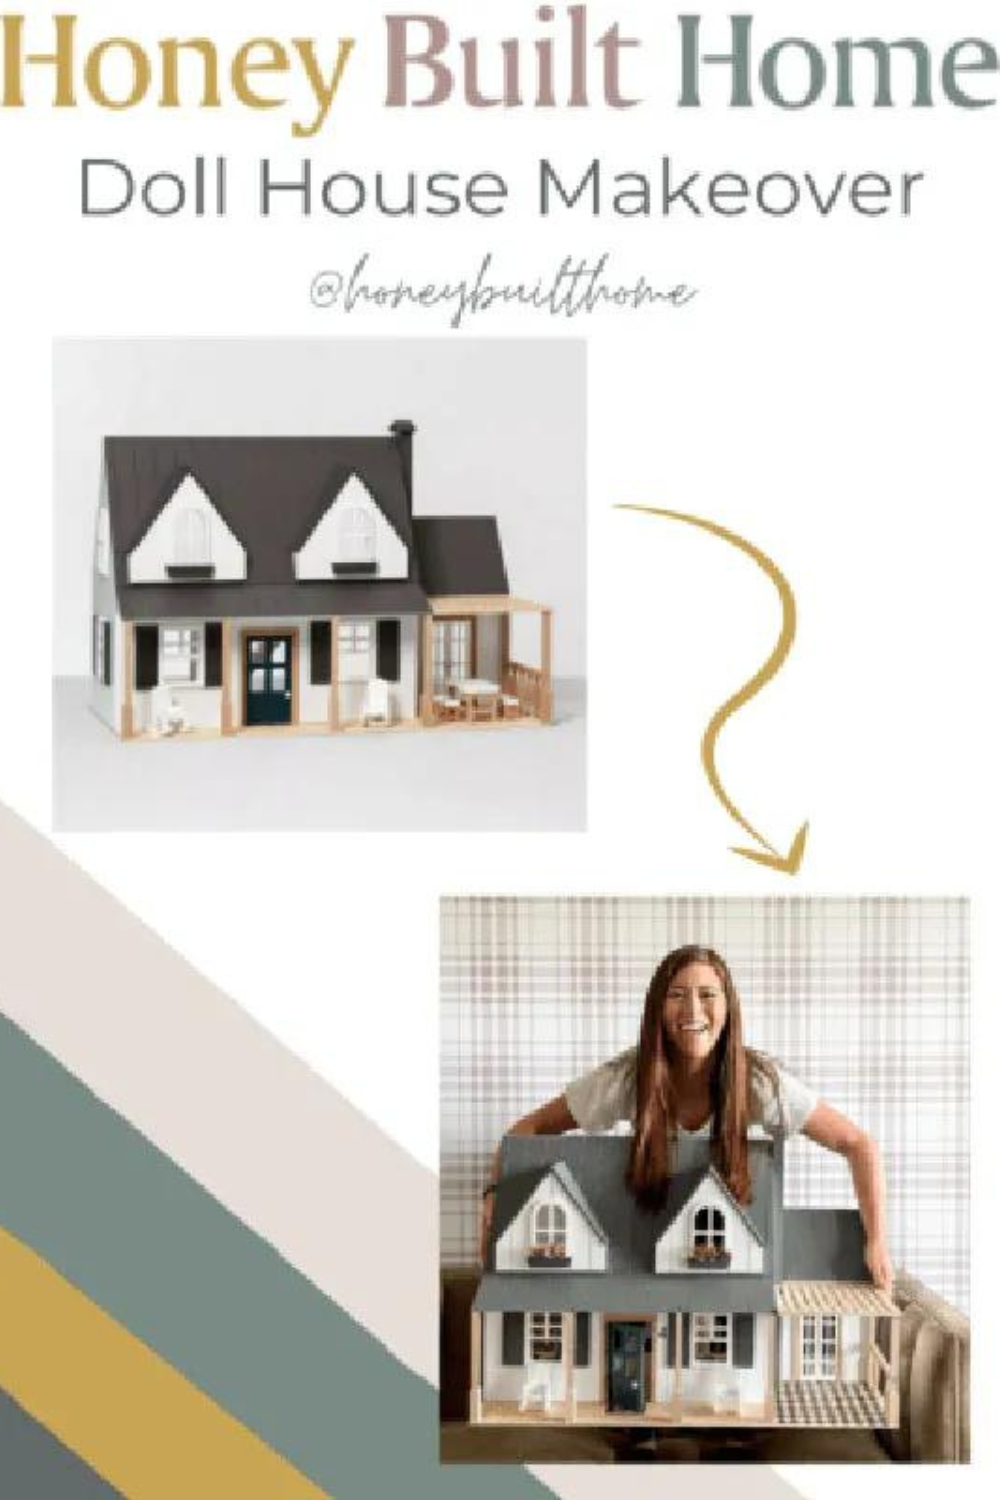
With Christmas right around the corner, what’s a better project to tackle than a DIY Doll House makeover? That’s right, I don’t think there is one!
While my courses are great for teaching you the DIY Beginner Basics & how to revamp your Kitchen & Bathrooms, this post will give you an idea of how to DIY an entire HOUSE! (Doll house, of course). I tackled this project for my daughter’s 4th birthday, and I couldn’t be happier with how it turned out. The Hearth & Hand Doll house has some wonderful starting elements, such as the exterior. The interior and furnishings, on the other hand, are just lacking a bit of jazz.

This is really the type of project that YOU have so much control over the budget, design, and additions–It’ll all depend how you chose to style it. I’ll show you how I did it, and you can take what you wish from it!
Walls:
Board and Batten is great way to add a little more to any room. All you’ll need is some Balsa Wood that is very inexpensive to purchase, and then a utility knife to score and snap. Once you have the pieces cut out, you will secure them to the wall with several dots of Krazy Glue along the back of the wood piece. Once the glue dries, you’ll be able to paint the wood to match the wall color. I chose to do this before securing the walls together, just to give more space to work and get all of the nooks and crannies.
An easy way to personalize any wall in the house, is to use wallpaper! Or in this case, craft paper. As you can imagine, there are millions of pattern and color options available to you, so deciding a style you like beforehand, will expedite the process when shopping. Paper can be purchased just about anywhere, but Joann’s, Hobby Lobby, and Michaels are great places to start. Depending on the sizes of each wall, you’ll most likely need multiple sheets of each pattern.
Start by placing the paper over the wall you intend to use it for. Using your utility knife, cut out the windows, doorways, edges, lights, etc. to make application easier once the adhesive is placed. Attaching the paper with glue will cause the paper to warp and is just plain messy. I found the best method is double sided tape. Super sticky, no dry time, and holds everything right where it should be.
Flooring:
There are obviously going to be many different types of floorings you can do to spruce up your space. In the Hearth & Hand Cottage, there is an outdoor seating area. I decided to go with a checkered pattern for the flooring, and used my Cricut to create it. In the Cricut Design Studio, the software that came with, it was very simple to create the checkered pattern. I used square shapes, downloaded it, made it the correct size and pivoted it to the angle I wanted, then COPY + PASTE!
Obviously, checkered isn’t the only option you have. With your Cricut, the opportunities are endless. I use mine ALL THE TIME for all different kinds of projects. Like my daughters Rainbow Cat Bedroom! All you do is create the design, cut it out, and install. Definitely a lot easier than installing real flooring!

Furniture & Accessories:
Ok. I said it before, but the furniture that comes with the doll house just isn’t up to par. Though, with some love, and a bit of paint, they do have great potential. Several pieces are natural wood, so I tried to stain them. This was a major FAIL. So again, paint paint paint. I taped over the natural wood of the pieces, and left the green portions exposed. Once taped, I applied a generous layer of spray paint and let dry. Then once you remove the tape, there should be a nice clean line between the paint and natural wood.
If you’re wanting to add more furniture than what was included, then buckle up. You’re going to end up going down a rabbit hole of tiny furniture and decorations–because I did. I ended up finding Little Willow Room on Etsy, and ooooh boy. She handcrafts the most incredible pieces that were exactly what I needed to finish this house.
All of the little details are really what pull the whole doll house together. I used some small flowers (can be purchased at any craft store) to fill the flower boxes under the windows. After placing them all where I wanted, I went back with the Krazy Glue and secured them into place. Another fun little detail was the welcome mat at the front door. This was another Cricut job! I cut out a rectangle in the color I wanted, and then added the lettering on top. Gives it a nice welcoming feel! Add in a vinyl house number if you’d like–we did ‘4’ since it was the age Harper was turning.

Other Doll House Options:
You aren’t limited to the Hearth & Hand Cottage. You can makeover any house you’d like! There are SO many options out there that have a ton of potential. Linked below are just some of the ones I’ve found. Find one that you like the shape and style of, and then start creating!

Be sure to follow along @honeybuilthome on instagram for more behind the scenes project tips!
-Christine


+ show Comments
- Hide Comments
add a comment