
DIY Backyard Builtin Traeger BBQ Kitchen

The builtin Traeger bbq outdoor kitchen is complete!! FULL PROJECT PLANS CAN BE FOUND HERE. I am… so in love! We went from having just a Traeger smoker (and a traditional BBQ) just stationed on our patio, to what looks like a custom built, space saving gourmet outdoor kitchen in just 6 weeks! The entire project was a series to small projects, some that gave me a run for my money, but the end result is better than I could have envisioned. Now lets get to the budget breakdown and the how to of this Builtin Traeger BBQ.
Now I do need to preface, this isn’t my first time working with brick! I have done thin brick on my fireplace, and a huge accent wall in our basement kitchen. I have all the details on how to install brick veneer (thin brick) on this blog post! However, this was my first time installing brick outside and it was my first time pouring DIY concrete countertops!

Before

Shopping List
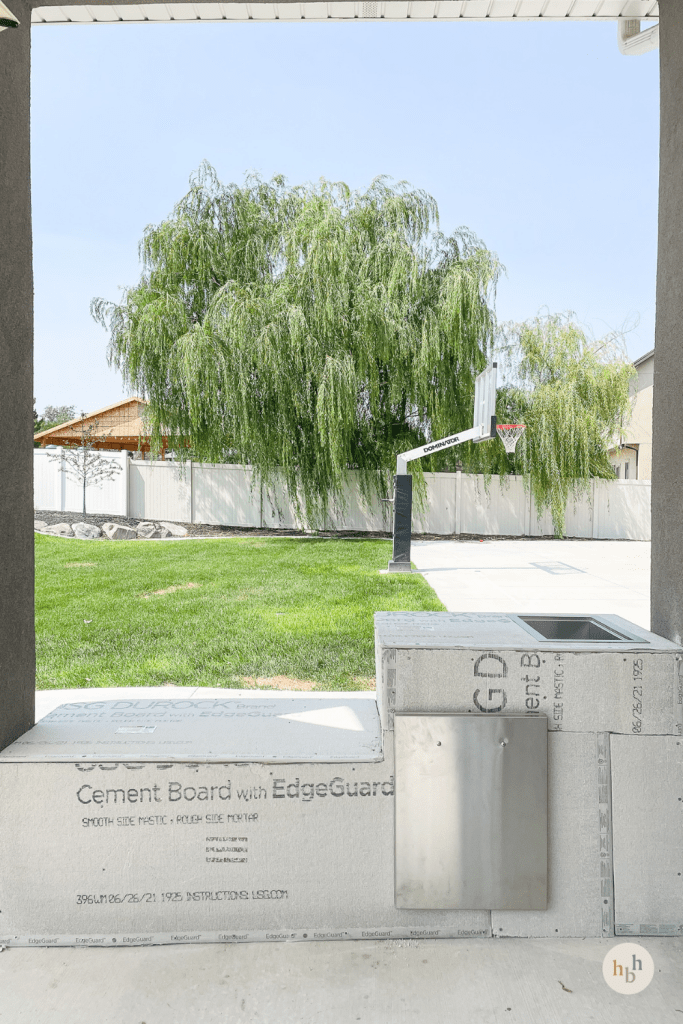
Stainless Pullout Garbage – a must have with lots of dogs and little kids
Little Back Access door – to access the drain and electrical outlet
Double Access Doors – we will store our wood pellets under here.
Concrete Patio Table – seats 6-8 people
Black Chairs – these are pretty, but get dirty really quick.
Woven Black Chairs with Teak Legs – discontinued Article
Pergola Yardistry from Costco
Rug – use code HONEYBUILT60 for 60% off
Brick – Old Mill Brick Cafe Mocha
Plant – Costco 🙂
Tools
Dremel – almost like a nail salon tool to get off the grout
Angle Grinder -more powerful tool to cut bricks, cement board, and remove the grout
Miter Saw –
Driver-
Orbital Sander-
Jig Saw-
Kreg Jig 720-
Tile wet saw
Tile Score and Snap
*I teach most of these tools in my online course, DIY Beginner Basics. Use CODE: Honeybuilt10 for 10% off

Budget Breakdown
(Based on material costs on August 2021 for YOU to recreate this builtin traeger.)
$80 Pressure Treated Lumber
$50 Screws & Other misc.
$50 Cement Board
$30 3/4 Plywood
$936 Stainless BBQ accessories
$475 Brick Color: Cafe Mocha (4 boxes brick Webb 1 box brick corners. Or pay $350 for brick singles 5 boxes flat + 1 box corners)
$80 Brick Adhesive & Grout
$600 Concrete Countertop Supplies
+ Traeger Ironwood 885
= $2301
Full printable PDF plans available here

Framing

The framing was rather straight forward. I measured the dimensions of my Traeger + 5″ for materials and extra wiggle space between the pillar. and measured the height of the Traeger legs and build the 2×4 platform to size. The higher platform is typical countertop height. I did have to adjust the frame to compensate for the slope of the concrete. For outdoor projects this is going to be pretty typical. All concrete & landscaping should be sloped AWAY from your home. Because of this my frame looks like its sloping down, but in fact the countertop portions are level, we checked a lot of times. Another material you could use for framing is metal studs! This would be the preferred material if you have a regular BBQ with a flame (and not a Traeger electric smoker).
Wrapping in Cement Board
Once I had the framing structure complete, I cut some 3/4″ plywood to size to add to each of the tops (where the countertops were going to go) as a strength reinforcement. Then the entire outdoor kitchen builtin BBQ was wrapped with 1/4″ cement board and the seams were covered with fiber mesh tape and a thin layer of brick adhesive. Could you wrap the entire structure in outdoor grade plywood? Maybe, but because this is made for a BBQ for fire safety I chose cement board. Cement board is also an ideal surface for the brick to adhere onto. Plywood will pull the moisture out of the brick adhesive which won’t allow the bricks to properly secure.


Brick
After the seams dried I then installed Old Mill Brick brickwebb sheets in the color Cafe Mocha. This is the same color I’ve used in previous brick projects in my home. The bricks come on a mesh sheet for ease on install. In one fail swoop I can installed 12 bricks at one time!

This process is super straight forward but the biggest tip is wherever you start you have to continue the pattern all the way around. So I started by the builtin garbage pullout and worked my way up and around. If you start on the front and complete it and then start in the back and try and meet the front your brick pattern won’t line up! (this is also important in tiling).


Grout
This was when things went so so so wrong. I have discussed with several DIYers, contractors, and masons about the proper grouting techniques. A lot of DIYers and contractors will use sanded tile adhesive between the brick veneer. Its an easy product to work with and gives you a beautiful finish. We were instructed by the mason who built our home to use SpecMix N Mortar for the bricks. This would be a common product to use for large brick masonry, but isn’t common for thin brick. But we actually LOVE the way the mortar dries and gives the brick a very authentic aged look. We also are atypical in our application process because instead of using a brick jointer (tool to smooth the grout lines) we opt for an overgrouted/flush grout look and use our hands to spread the grout.

I decided to try the sanded tile grout method, but ended up with a color that I really didn’t like! So I took a Dremel, angle grinder, and power washer to ALL OF THE GROUT and removed enough to regrout the entire fireplace!


Concrete Countertops
This was my very first time laying concrete countertops. I reached out to Z Counterforms and they were able to look at my BBQ structure and give me a shopping list of products to be able to do the countertops, DIY! The materials and supplies for the countertops were gifted by Z Counterforms. Here’s the shopping list:

The process is straightforward and Z Counterforms has an incredible 1 hour+ video tutorial on how to install the forms and pour the concrete!


Finished
Here is the finished Builtin Traeger BBQ Station! I am seriously so smitten by how it turned out. A full YouTube installation video + PDF plans are coming soon so if this is a project you are ready to tackle hold on for just a little longer!


If you can’t wait to see the whole process be sure to checkout the highlight bubble on the BBQ over on my instagram! @honeybuilthome and don’t forget to follow and say hi!!
![]()


