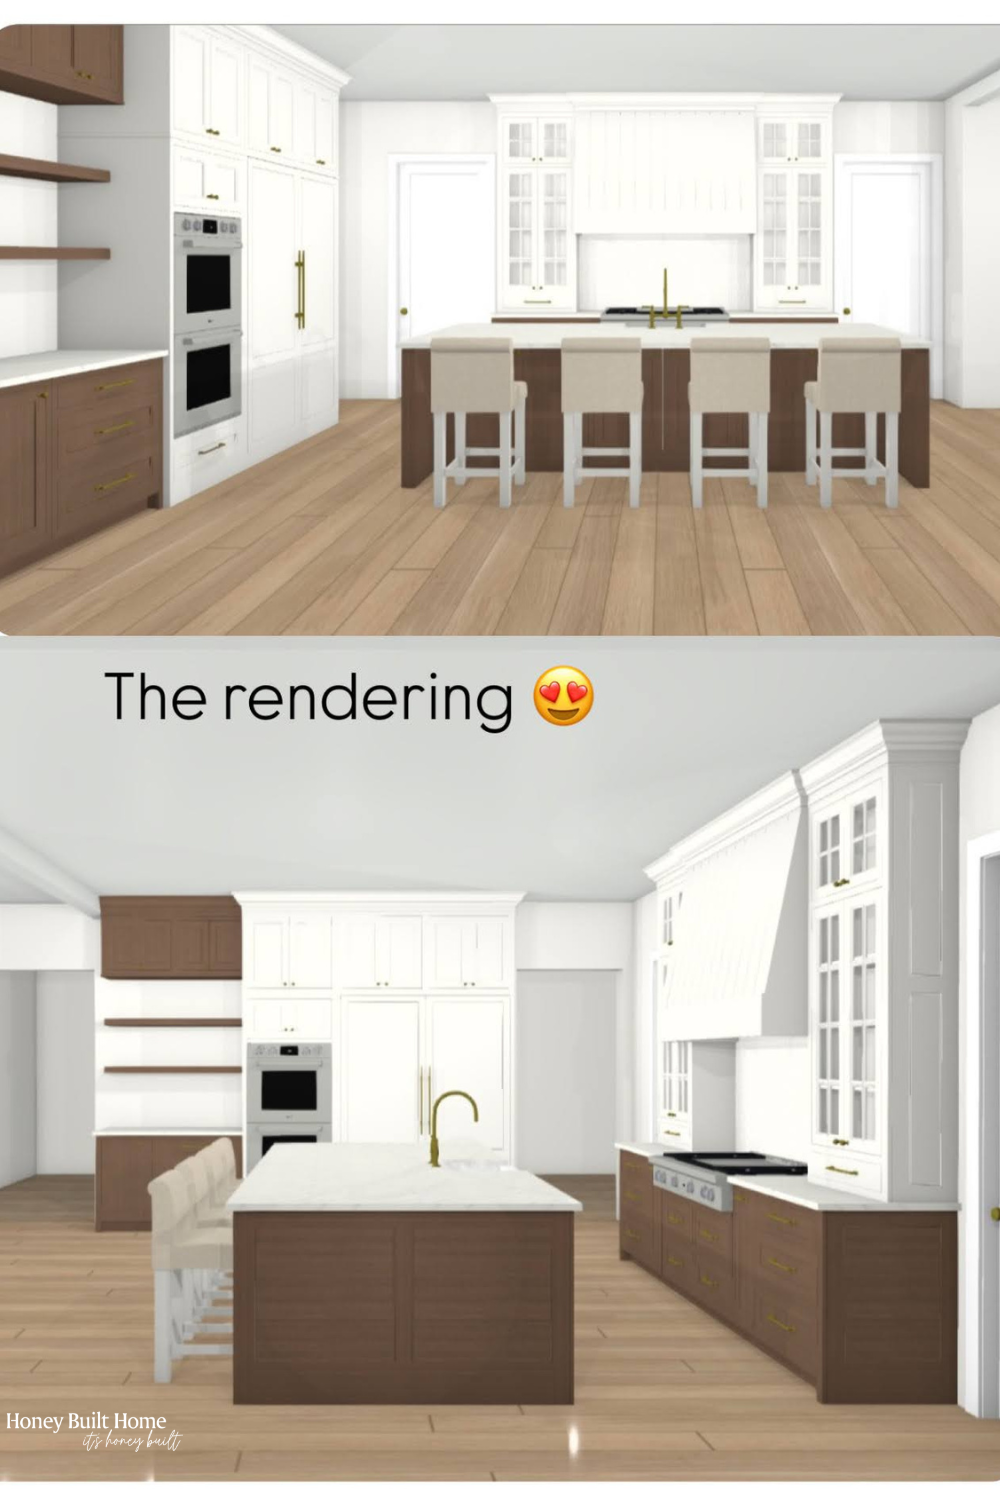


This is a DIY kitchen! Yes, this kitchen was 2 years in the making. After 1 year of brainstorming, designing, and laying out my dream kitchen and another year of actually building each piece. Let’s break it down and discuss how YOU can build a luxury dream kitchen that functions for YOUR family.

Cabinets
In the beginning, When designing this DIY kitchen I had a very specific layout and function in mind. I wanted inset cabinets and all of my lower cabinets stained hardwood since painted cabinets are known to chip and scratch more easily with the wear and tear of 4 kids and 3 pets. Stained cabinets could be sanded and touched up a lot easier and hide those unsightly chips and dings better.
I didn’t want the whole kitchen to be stained cabinets, so I strategically placed my painted (SW Pure White) cabinets as uppers which 1. cut down on cost and 2. created some contrast.
I wanted to do white oak cabinets and inset doors, Hence why I went with Cabinet Joint. They are made in the USA cabinet company that sells flat, ready to assemble cabinets. They offer the widest selection of painted, stained, and wood species and specialize in inset cabinetry. *Note: inset cabinetry is the most labor intensive and expensive style of cabinetry


Drawers vs Doors
Another major price factor was opting to swap out lower traditional cabinets with lower drawers. Function wise, I love not having to bend over and dig deep in a cabinet to look for things. That being said, this did make the install longer (6 drawer slides per cabinet box) and lining everything up just perfectly.


Crown
The detail on the crown I think makes this kitchen feel more traditional and luxurious.
It is Crown 2584 and beaded base 381 layered with a 2″ space between the bead detail and the bottom of the crown.
Mullion Doors
I had this vision to have two grid glass mullion doors flanking both sides of my range. We had to space these 15″ from the range on each side for code and we made them 12″ deep. With them sitting on top of the counter there is still plenty of room to place a plate or casserole dish as you are cooking. The bottom drawer is small and holds our extra kitchen towels and pot holders.
Appliances
All of the appliances throughout the kitchen are all Signature Kitchen Suite. They are the luxury brand of LG appliances and so far have been amazing and have a good warrantee. We have 2 SKS dishwashers on the island (that have custom white oak door fronts designed to look like two drawers) that flank the sink. The range hood is a SKS 48″ with induction and sous vide. Having the sous vide built into the range is next level for all the steaks and roasts we like to cook. The fridge and freezer are actually two separate units that we placed next to one another. Our builder has done several homes with these units spaces apart so thats definitely an option. They are the SKS 30″ columns. The double oven is also SKS. At the time we built SKS was offering 25% off appliances to builders who used them in their homes. They are just as great as the higher end Thermador or Sub-Zero, but not as expensive plus they are all panel ready.
Range Hood
The range hood is from Hoodsly. It is a BEAUT and gigantic. Hoodsly sells a variety of different style prefinished or raw, stained or painted range hoods that are all made here in the USA (North Carolina). They get shipped assembled in two parts and the install is just a few screws + cutting out the bottom to fit your specific vent. The vent we went with is the Zephyr 48″ Monsoon Connect. It’s very quiet for such a large vent. The style I picked is the sloped with traditional trim. Then we layered my kitchen crown on top.
Faucets & fixtures
I laugh at how many times I forget to use my pot filler because I’ve spent the last 30 years filling my pots and pans at the sink. Although, when I do remember, my arms are really grateful for the pot filler! We do also use to it fill our dog water because the water comes out so much faster! We opted for all the kitchen finishes to be in champagne bronze to compliment the stained white oak. The sink is stainless Lorelai from Delta Faucet and I would choose it again and again. It is a workshop station sink meaning it comes with 2 cutting boards and a drying rack. It also has curved bottom corners so gunk doesn’t get stuck in them as well as an off centered drain making so cleaning the sink and pushing all the gunk towards the drain is so much easier! Highly recommend.


Hardware
The cabinet hardware is from Emtek. I debated long and hard about doing champagne or unlaquered brass hardware vs. the polished nickel and ultimately settled on polished nickel. The champagne bronze felt like it blended in too much with the cabinet color. The polished nickel gives much more traditional vibes that I was going for.

DIY Kitchen Sources:
Paint – Benjamin Moore Swiss Coffee on the walls – SW Super Paint in Satin
Cabinet color: SW Pure White
Flooring – Audacity Flooring in Gibbons
Lighting
Sink Faucet
Pot Filler Faucet
Kitchen Sink
Cabinets – Ready to Assemble From Cabinet Joint
Countertops – Quartz Calacatta Idillio 2cm with a 2″ mitered edge
Range Hood – Hoodsly
Barstools
Cabinet Knobs
Drawer Pulls
Cabinet Stain Formula:

Other Blog Posts You Might Like:
Jess’ Living Room & Kitchen Reveal
How to Live Through a Kitchen Renovation
How to Pick Bathroom & Kitchen Fixtures
New Course! DIY Kitchen and Bath Basics
How to Pick Kitchen Countertops


+ show Comments
- Hide Comments
add a comment