

This post is sponsored by Walmart, but as always, all opinions in this Sunken Fire post are 100% my own.
When we decided that we were going to take the hot tub with us to our new house I had to decide what to do with this giant cemented hole in the middle of my patio. I debated between just filling it with dirt, which was going to be a lot of dirt, or turn it into something functional. So I started brainstorming the best ways to create a sunken fire pit!


Creating Seating:
To start, I hired a group of guys to come and remove the hot tub from the hole. This cost about $500, and was definitely $500 well spent! Most likely you won’t have to move a hot tub but might just be creating a sunken fire pit.
Once removed, I was able to see what we were working with. I decided the best option would be to make benches around the entire perimeter with cinder blocks. Since there was just dirt and rocks under the hot tub, we got leveling sand to put around the perimeter where the cinder blocks would be sitting. This ensured everything was nice and level before creating the benches.
To level we used a 2×4 with a 5′ level on top of it and skimmed the sand checking for level in different directions.
Once it was all level, we ordered a truckload of 6 x 8 x 16″ cinder blocks. We placed them around the perimeter, one-by-one, making sure each one was completely level. We opted to have them 2 deep by 2 tall so there was adequate walking/foot space between the firepit. When placing the second row of blocks, we made sure to alternate. This ensured it would create a stronger hold. After all of the blocks were in place, we hammered in pieces of 12″ rebar into every other hole of the cinder blocks for added structural strength.


We purchased a truckload of 50 lb bags of cement mix, and used a mini cement mixer, 76 bags of cement mix to be exact. This mini cement mixer saved us! If we would’ve mixed in a bucket with a drill instead, it would’ve taken MUCH longer. We would mix two bags of cement at a time, pour it into a wheel barrow and then take it directly to each cinder block hole. Once there, we made sure that the cement came level to the top of the blocks, and then smoothed it with a trowel.


Several Days Later:
After a couple days of curing, we were able to evaluate and decide how we wanted to create a finished look for the fire pit. After some deliberation, we decided to stucco the benches, all the way up the cement wall to make it all look uniform. I purchased stucco that we mixed that up in the mini cement mixer until we had a toothpaste consistency. We troweled it onto the face, seating area and backrest of the block benches. We opted to not use any color in the stucco, and it turned out to be very similar color to the cement. Once the stucco cured for a couple of days, we smoothed some of the rough edges off with a hand sander to give it a smoother finish.


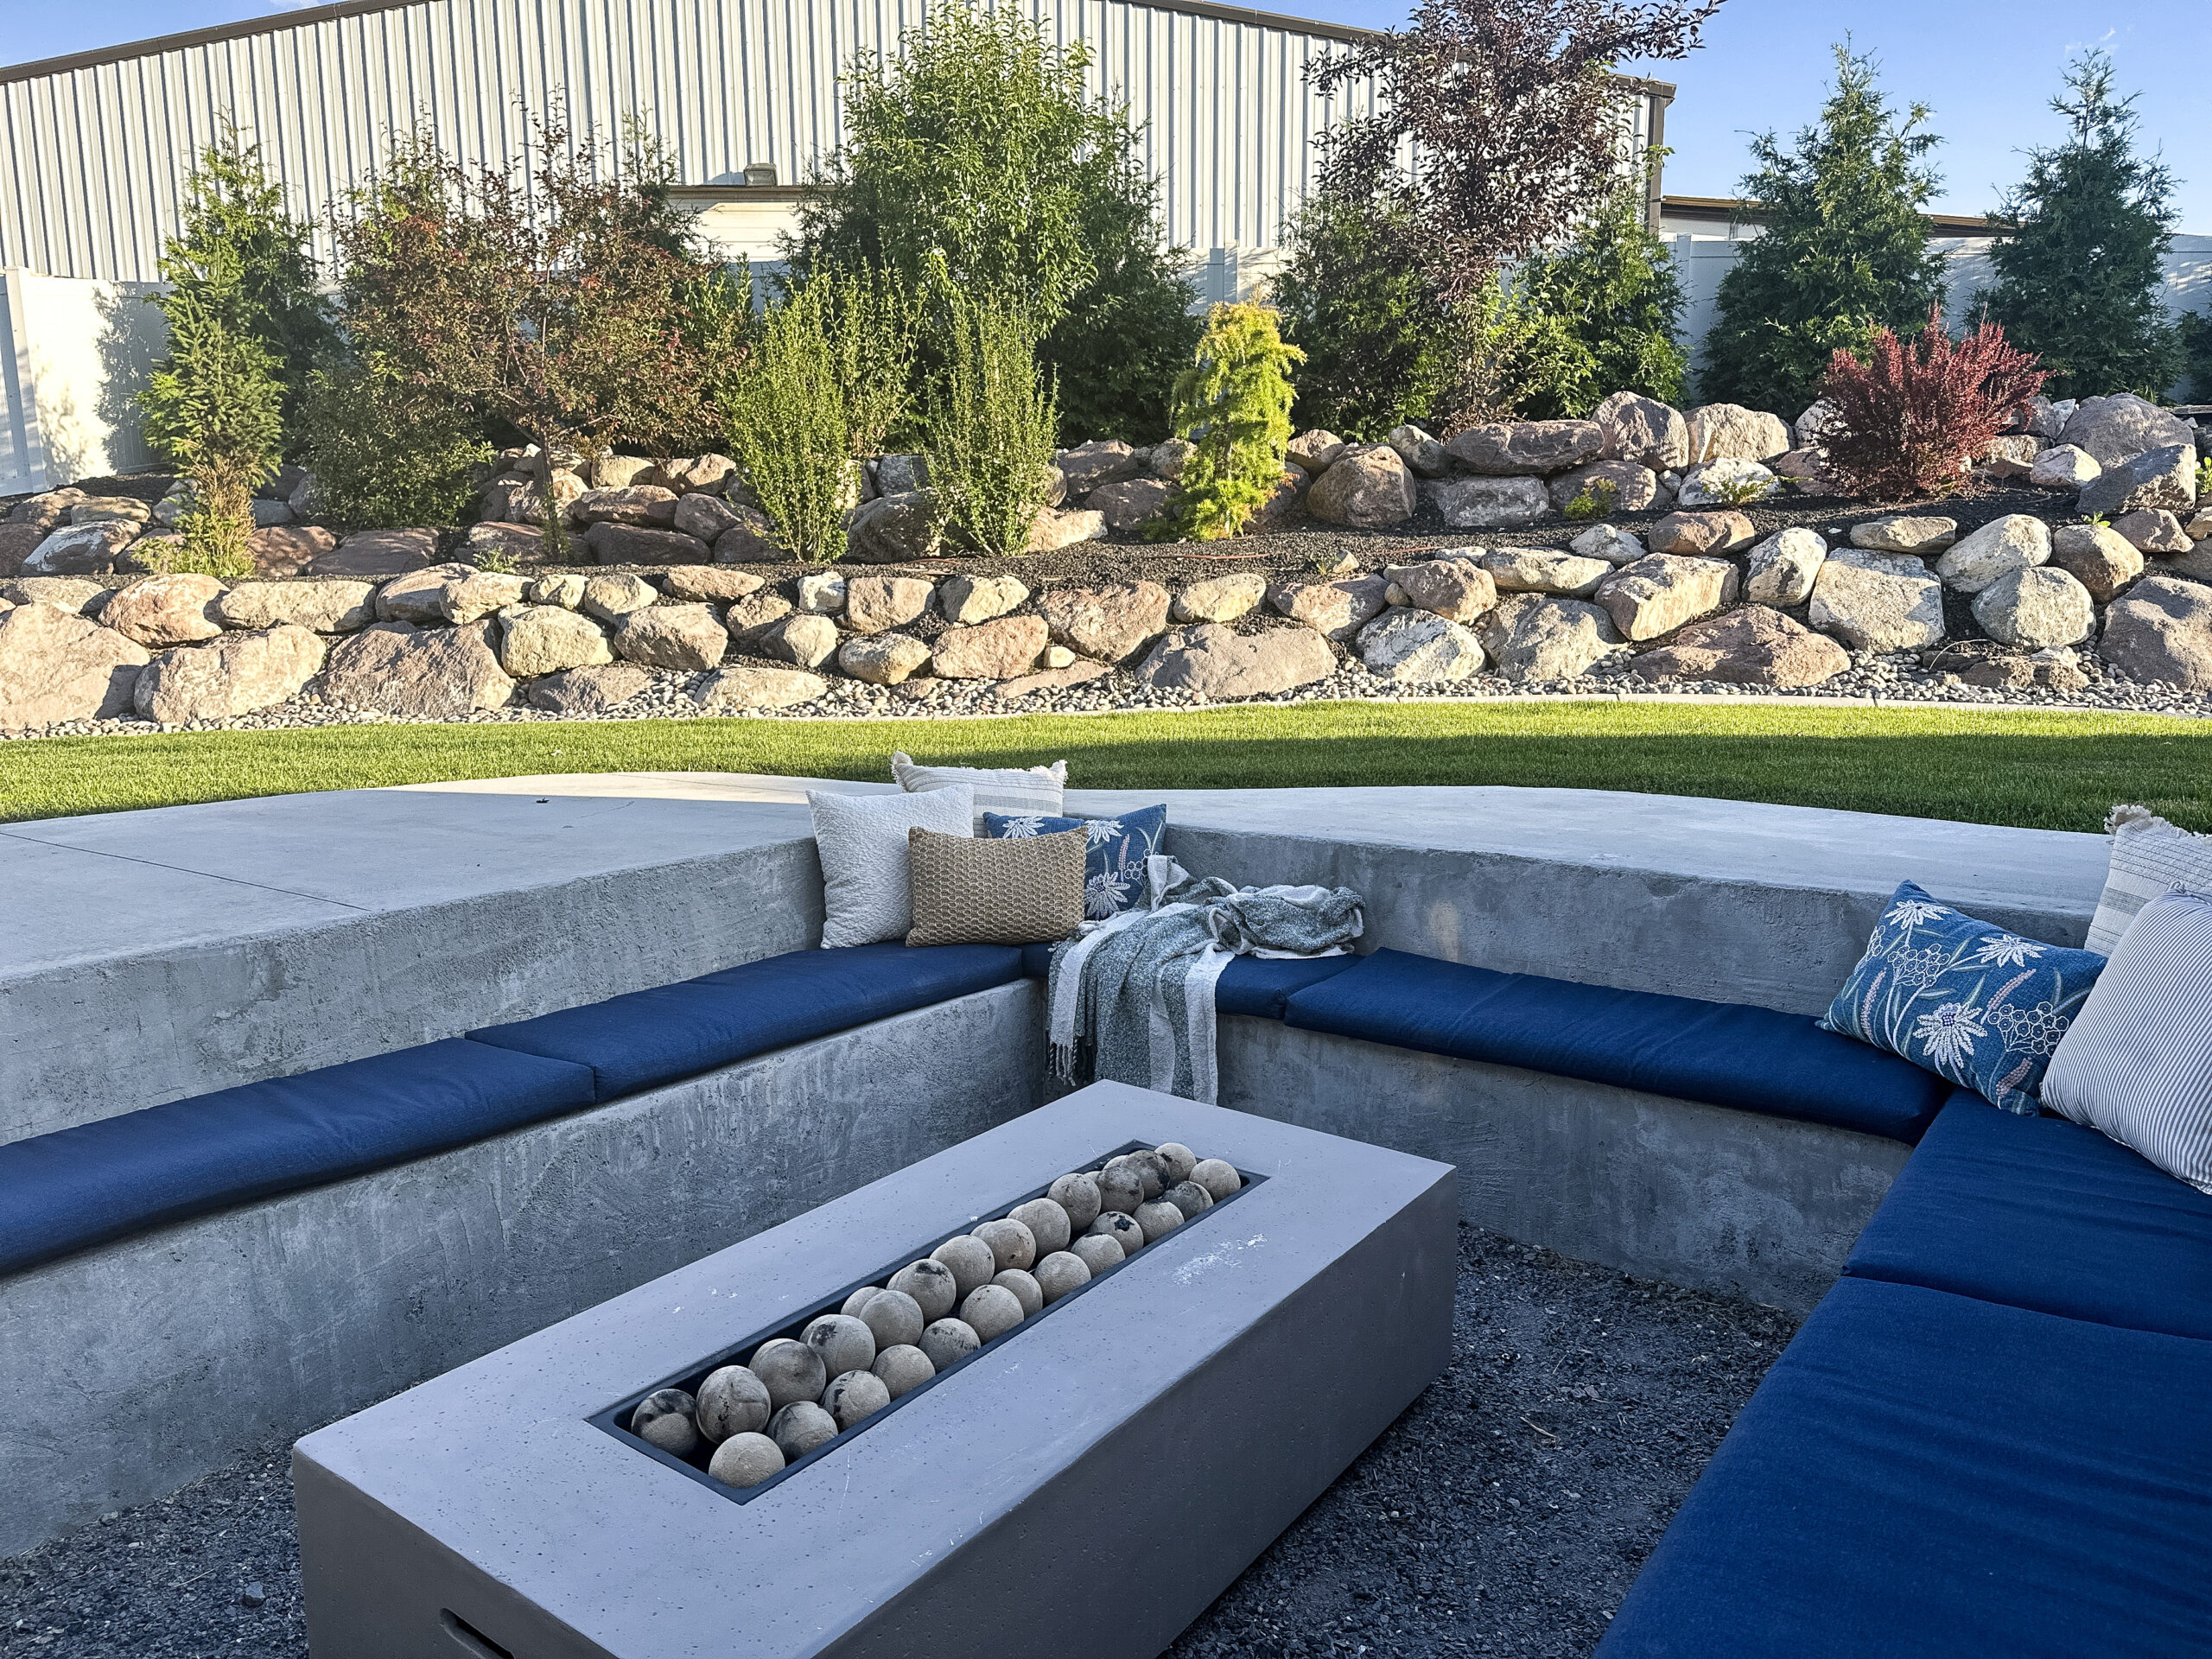
On the ground of the fire pit, we laid down 2″ of chat (kind of like crushed rocks, but it compacts really well to be able to walk on) to create a nice even space to place the fire pit on. We picked ours up from a local nursery. It’s the ideal product for around garden beds because weeds have a (more) difficult time sprouting through it. I had measured to see exactly what size fire pit would fit in the space, and found SO many options. There are so many options, from large square shaped, smaller circular pits, to rectangular (like I ended up going with). In our pit, we decided to also add Fiber Fire Balls to help minimize smoke and ash.
Scroll and click on an image to shop

Once the project portion was done, it was time to make everything cozy and ready to enjoy this summer. I found some really comfortable Outdoor Bench Cushions at Walmart that made the cement seating much more comfortable. In addition, I also found some great quality outdoor pillows and blankets. I figured the cozier the space is, the longer everyone will want to hang out there!
Scroll and click on an image to shop


OTHER BLOG POSTS YOU MAY LIKE:
Landscape Design – how we mapped out our backyard to DIY ourselves from scratch
How to build a cedar privacy fence
How to line a pickle ball court
Tutorial: How to build a Traeger brick BBQ


+ show Comments
- Hide Comments
add a comment