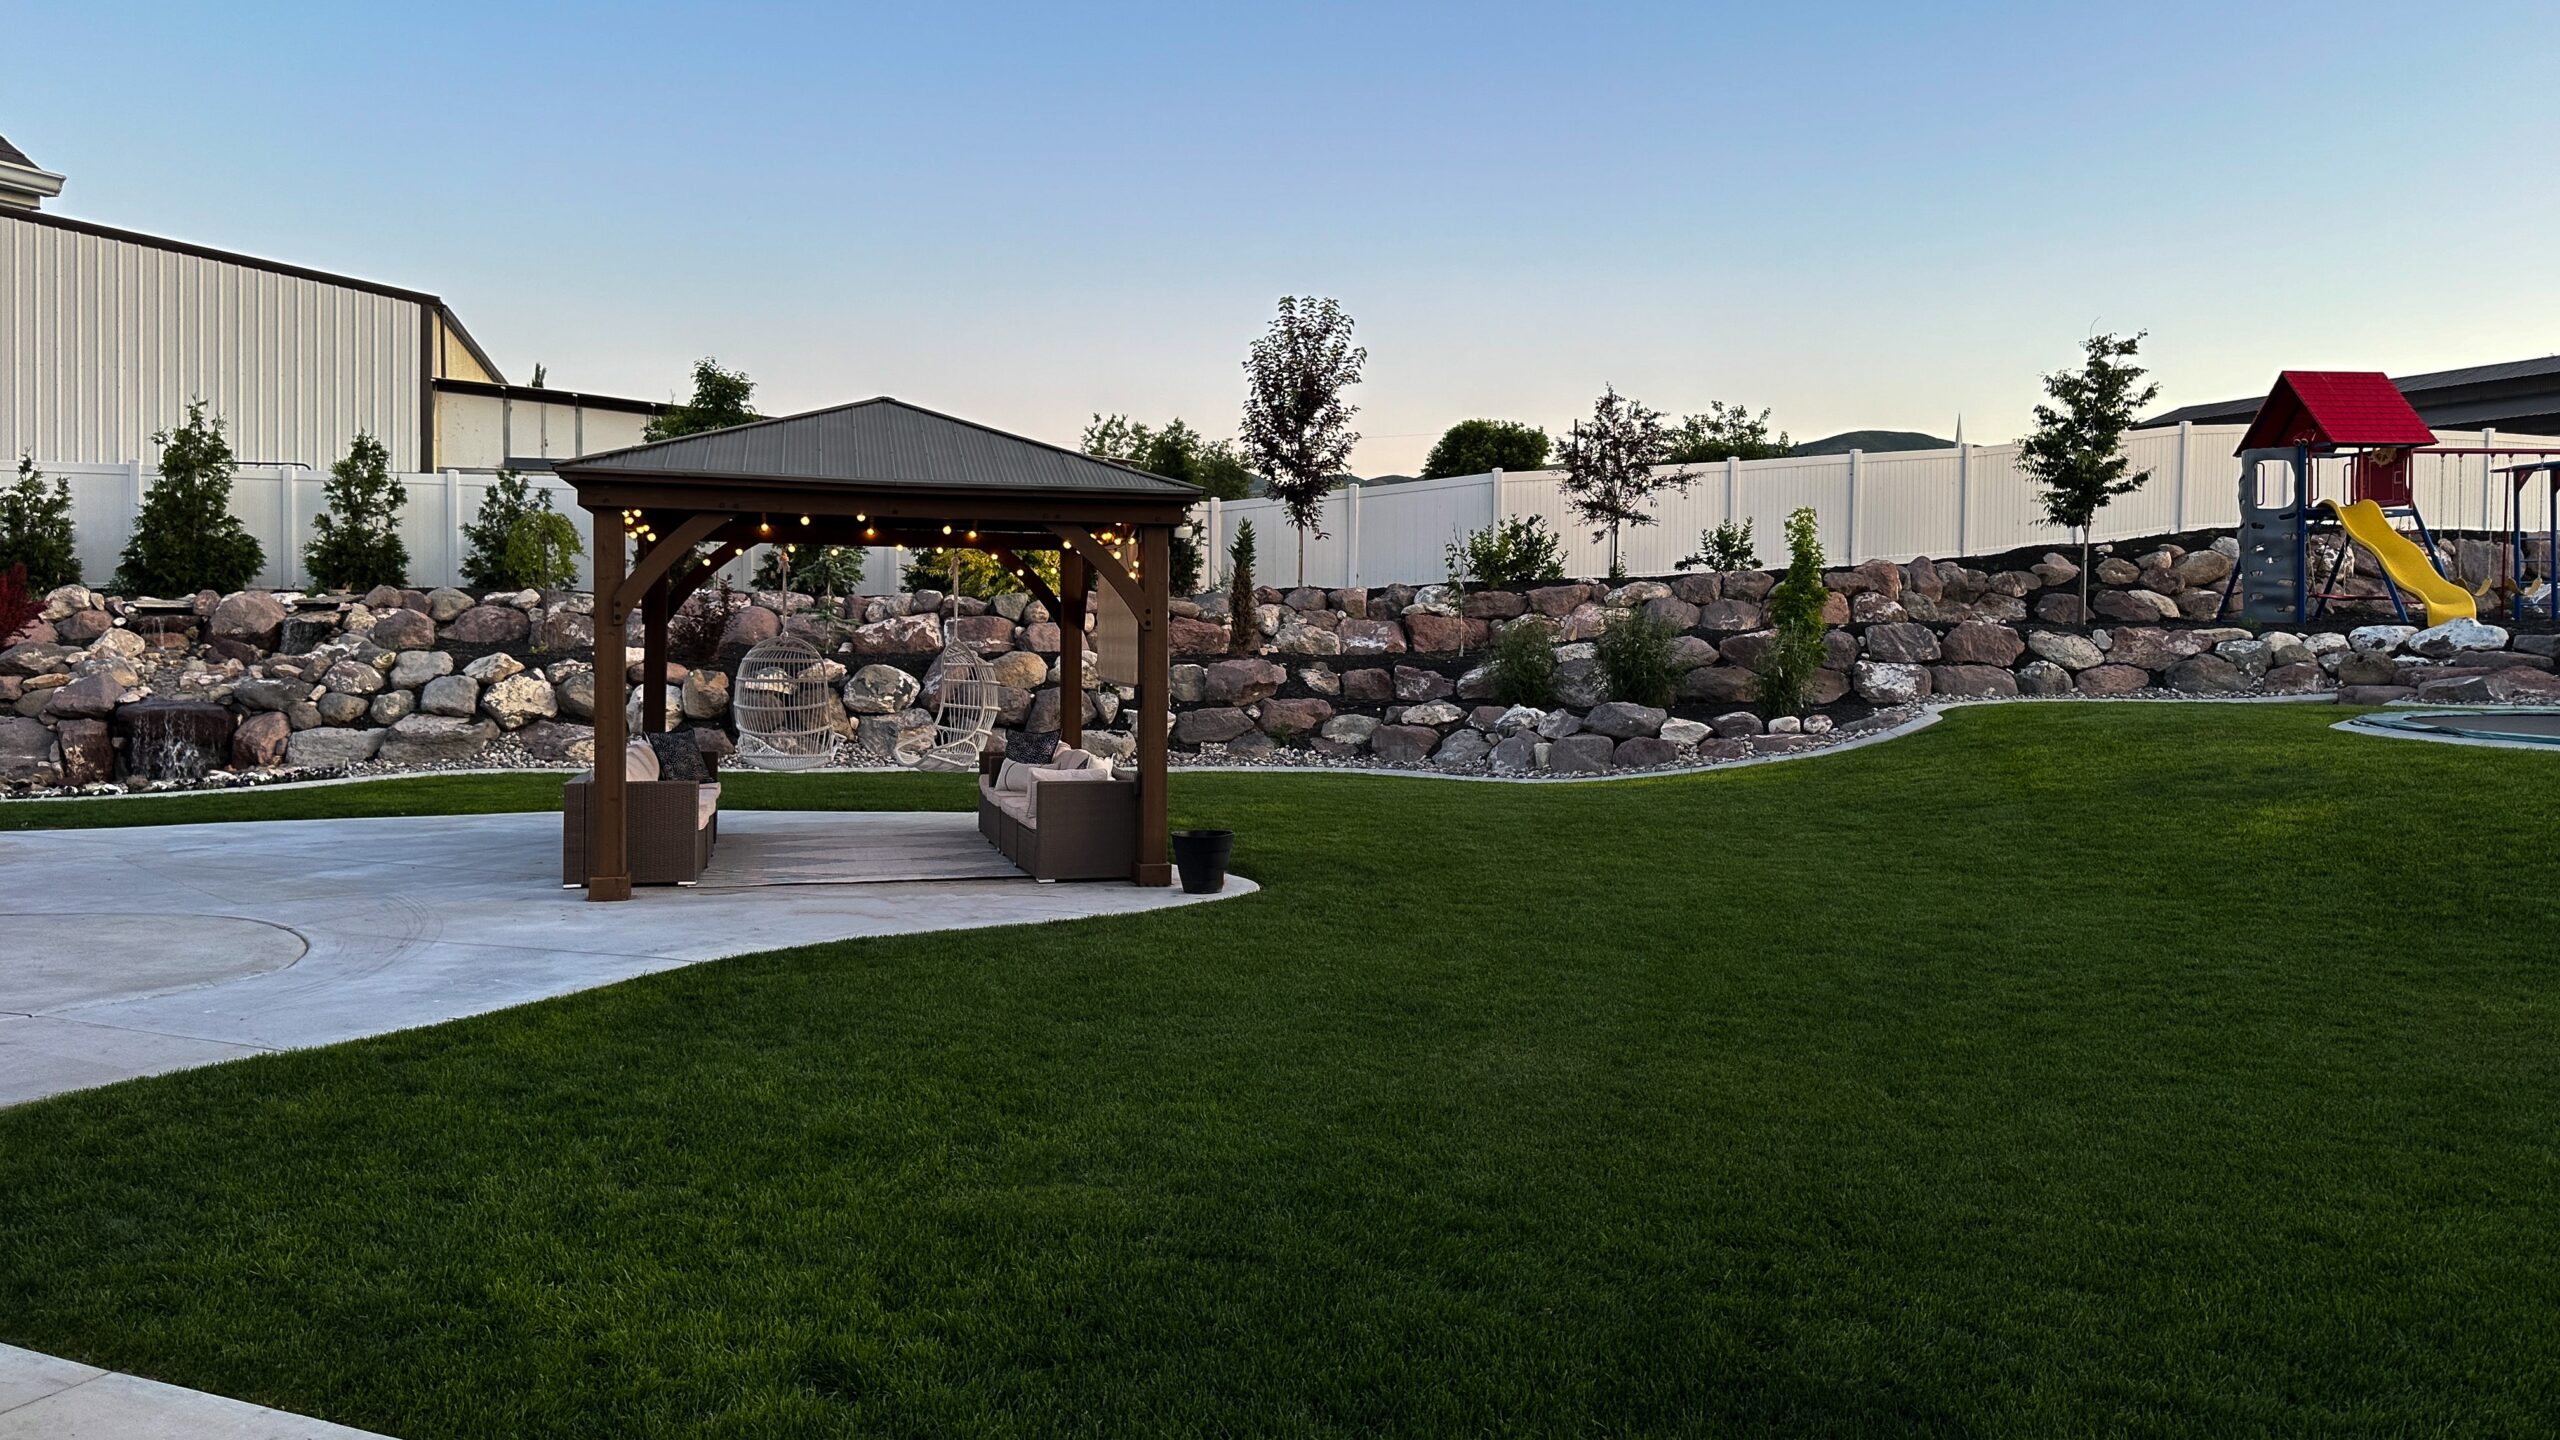
Today, we’re diving into the world of Yardistry pergolas (you know the one they sell each summer last Costco), and the art of refinishing them. This is a quick half day project for even the most novice DIYer that will completely transform your backyard paradise! Let’s get started!

Help! What Stain Color Do I Use?
Depending on the year, make, and model of your pergola the chances are your current stain color isn’t what it once was. There’s a few different ways to figure out a stain and spoiler alert you DON’T need to exact stain. Mine is the 2020 14′ x 12′ Cedar Pavilion with Aluminum Roof Costco item 1185048 model number YM12949 – My stain color is Mocha brown (linked here is the latest version).
- Yardistry will actually mail you a 4 oz. sample bottle of stain that matches your make and model. This is done by contacting their customer support email address with your make and model. You should be able to look that up on Yardistry’s website (or the retailer you bought the pergola from).
If you get the sample bottle of stain you can take that stain into Sherwin Williams and they can color match it for you. They usually recommend bringing in a sample piece of wood so they can test their color match. - Get a few samples from the store and try them out on an inconspicuous space until you find the one you like the best.
- The easiest method and the method I went with. Select a semi-transparent stain like Behr’s and go to town! I used the Cedar Naturaltone color and it produced the most beautiful finish. The nice thing about Semitransparent is you don’t have to match exactly because its going to pull some of the tones from your existing wood and just add some richness to it with the penetrating stain while sealing it at the same time.
Prep and Primp

Now this is going to entirely depend on how worn your pergola is to begin with. All Yardistry pergolas come without a sealer on top of the wood so if yours is brand new or relatively new you won’t need to do much prep. Applicable to the ones that have seen a few rotations around the sun, start by giving it a good clean. Sweep away any debris, dust, or fallen leaves that might have accumulated with a microfiber cloth. If needed you can pressure wash the pergola and let it dry and if you have some spots that are REALLY rough you’ll want to take some 120 grit sandpaper and smooth it out.
*My pergola was 3 years old and we live where it snows (a lot) and the summers get to 100+ degrees. I just wiped it down before I stained. No other prep. The picture below shows the MOST wear on our pergola. Some scratches from the swings dinging it, but overall no splinters, smooth to the touch.

Let’s get staining
Now I want to caution you, that if you use this Semi-transparent stain, it is RUNNY. Like water consistency. So be sure to cover up the ground with a drop cloth because things are about to get messy. I applied the stain with a brush. A stain pad will also work, but might cause more drips.
Run your stain in the same direction as the grain. Be sure to apply it when the weather is not going to rain for at least 4 hours. The total project should take you 4-6 hours. Cut that time in half if you have a buddy helping you stain.

Admire your revived pergola
Yes. That’s literally it! The semi-transparent stain has a sealer built in so no need to do another coat or top it with a sealer. This also has a 5 year wear so you shouldn’t need to re-coat for a few years!


Backyard Sources
Pergola
Sectional (similar)
Rug
Hanging Chairs
Chair Hardware
Hanging Chair Rope
Throw Pillows
Hanging Lights
Shade Screen
Semi-transparent Stain
Favorite Paint/Stain Brush
Be sure to follow along on Instagram Stories and say Hi as I tackle all of these DIY projects in real time!
Looking to freshen up your backyard lawn in addition to your Pergola Update? Check out the Green Grass Playbook–the step-by-step guide that’ll get your grass as nice and new as can be!
OTHER BLOG POSTS YOU MAY LIKE:
Landscape Design – how we mapped out our backyard to DIY ourselves from scratch
How to build a cedar privacy fence
How to line a pickle ball court
Tutorial: How to build a Traeger brick BBQ


+ show Comments
- Hide Comments
add a comment