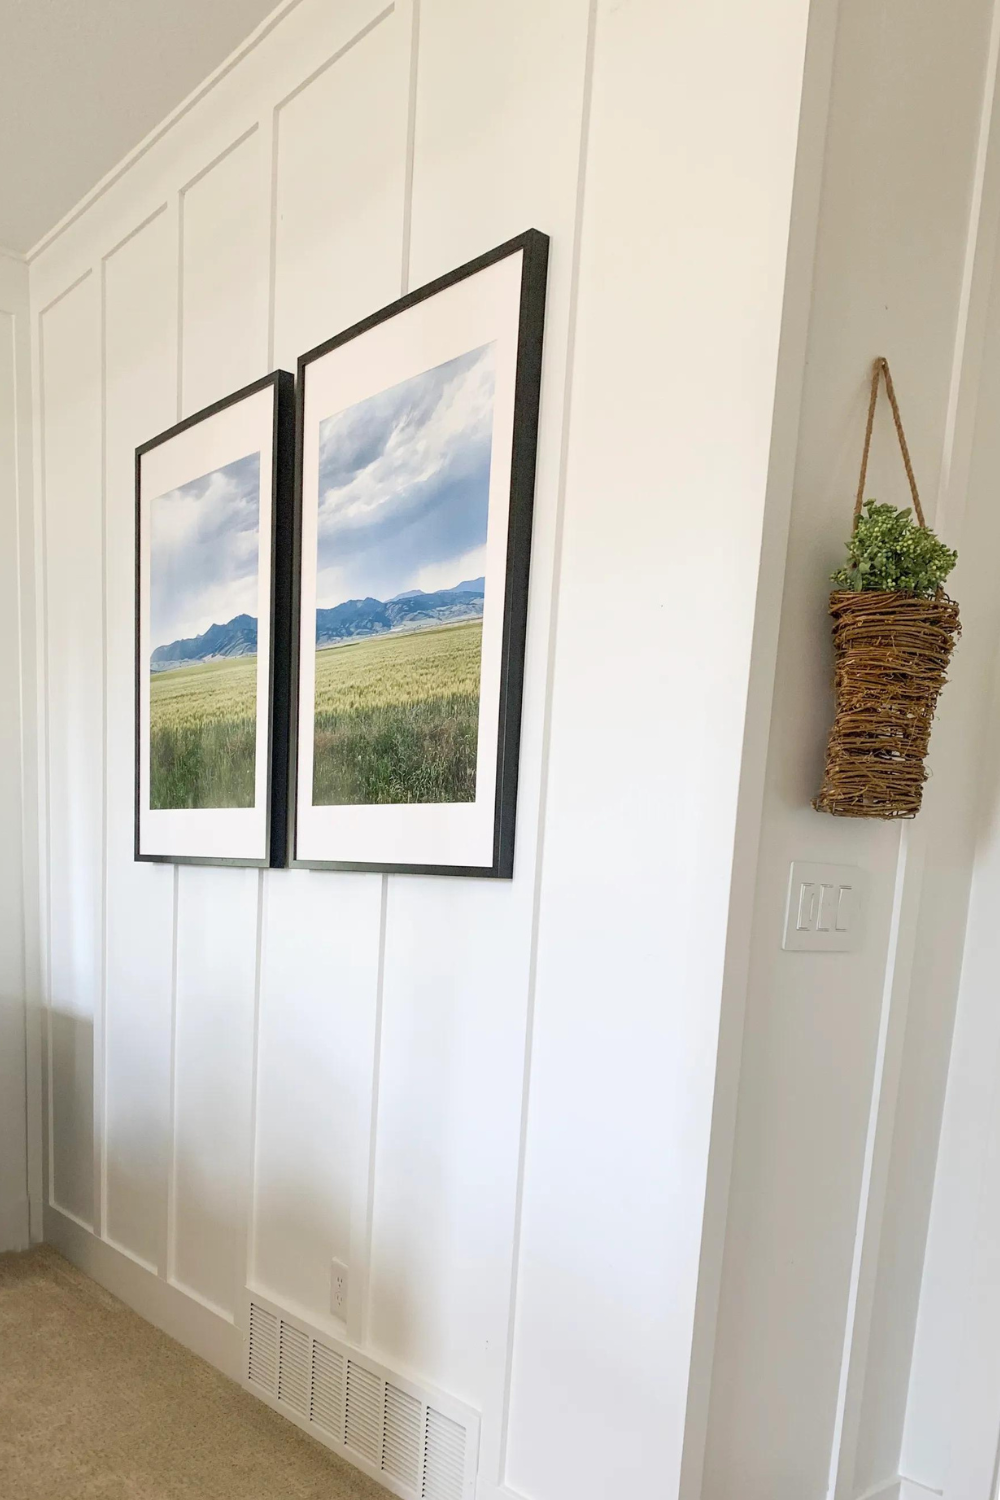
I’m super excited to share this tid bit with you guys because it’s so simple yet, impactful. I know technology has come a long way and the cameras on our phone have really improved over the years. BUT did you ever think it would be possible to take a picture with your iPhone. Blow that picture up to a 40 by 60 inches, print it and it keep its quality and resolution? Well…. let me blow your mind with HOW SIMPLE this is to do.

Photoshop
I know, not everyone has it, but there are options that make it reasonable in price and I’m sure everyone has at least one friend who has it (I mean, we are friends… right?).

Steps
Open photoshop. Open your image. Look at the bottom and see what size image you are currently at. In the lower right corner photoshop will tell you what percentage of the actual image size you are seeing. It also tells you how large in inches your picture can print before it loses it resolution.
On the top menu bar click IMAGE>Image Size. From this point you are going to enlarge your image. You can do it by inches, or I do it by percentage. Then click OK.
Thats it! You just resized your picture. Now to export as a .png or .jpg and you are good to print it!
Where do I print my enlarged iPhone Picture?

There are a couple of options for places to print. I have found Sams Club, Costco, and Walgreens to be my favorite 3. All run specials on prints and all print it good quality. Walgreens frequently has 40-60% off print sales so be on the lookout there.
The farm picture I printed for my ORC Master Bedroom was done at Walgreens. I printed 2 20×30″ prints for a total of $30.
Where do you buy your frames from?
Usually I like to stick with better quality frames and gravitate to Michaels. They constantly are having frame sales and most of the time you can stack your coupons.
However, once you get above a 20×30″ frame I feel like their prices are a bit steep and the quality is not great. So for any image larger than 16″x20″ I get my frames at Ikea.

How do you split ONE image into TWO?
Select half of the image with the rectangle tool, then hit command+C (on a Mac) or control+C (on a pc) to copy half of the picture.
Create a NEW image: File> New
Then command+V (on a Mac) or control+V (on a PC) to paste the image.
Once again, save and export as a .jpg or .png
How to hang a picture / large (or heavy) art
High and Mighty recently came out with the most innovative way to hang art/mirrors/pictures/anything WITHOUT TOOLS. What the What?
Yes! Their hangers just get pressed into the drywall and stay. Even my 50 pound HEAVY mirrors.
Other Blog Posts You May Like:
Primary Bedroom Mood Board
Master Bedroom Reveal
How to EASILY Make a Home Movie
How to Hang heavy art on your walls, without anchors!
5 Ways to Refresh your Living Room On a Budget


+ show Comments
- Hide Comments
add a comment