DIY

How To Build The Tops To The Living Room Builtins

living room builtins tops

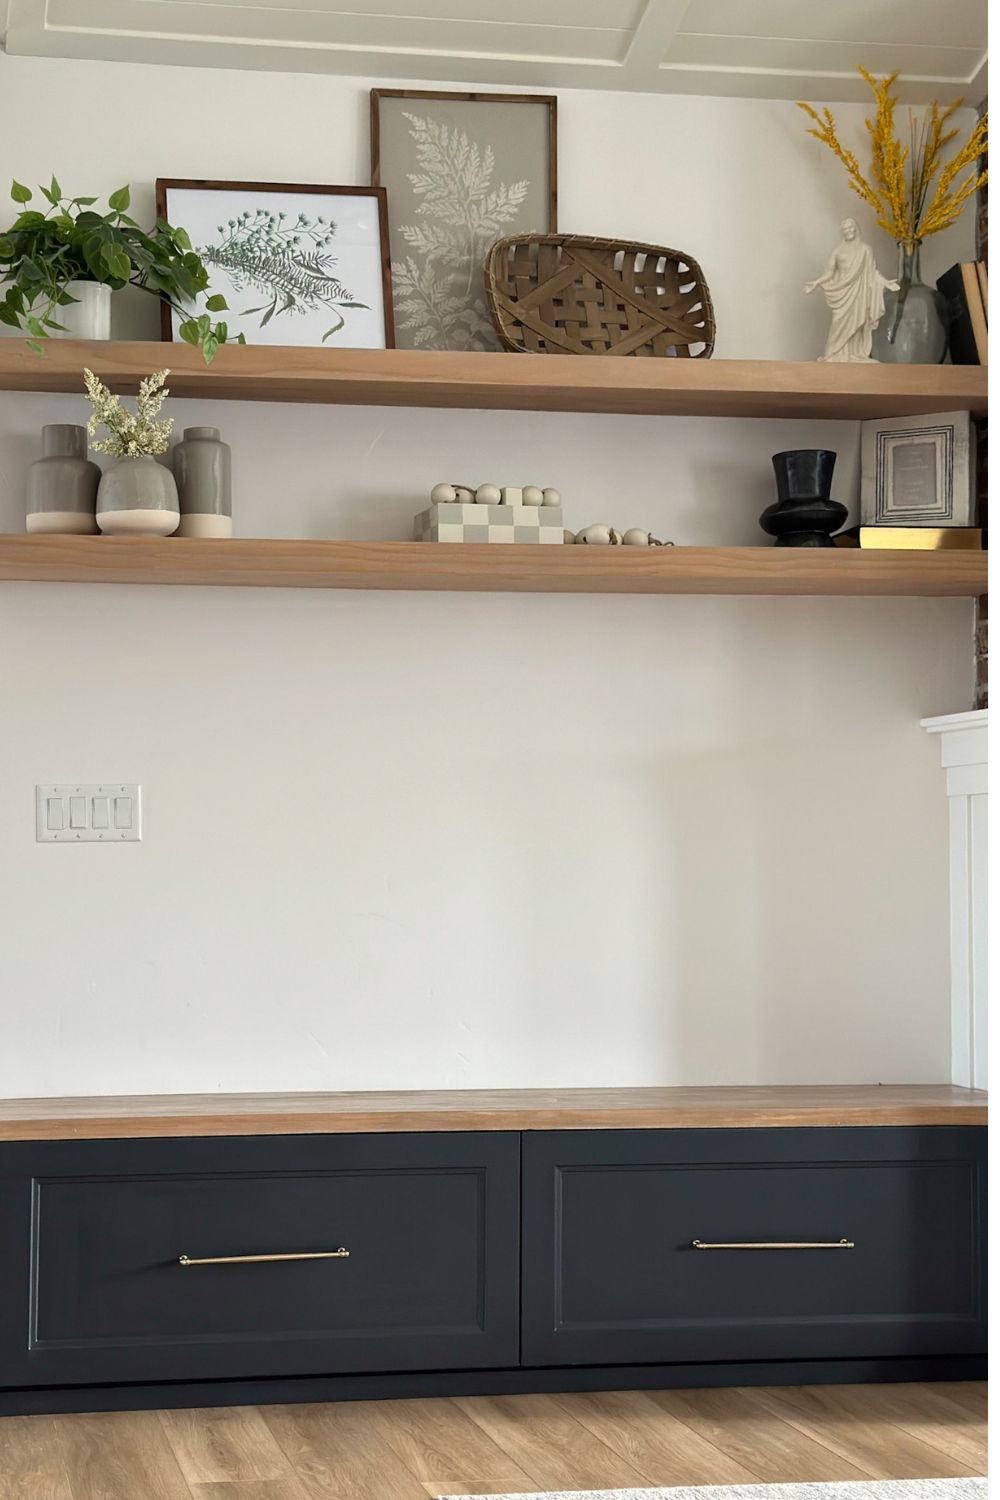
Moving into our home one of the first things we put on the project list was to do some builtins on either side of the fireplace. It was a project we talked about numerous times and our plans evolved and when the right solution came to the forefront of our mind it just clicked, the full tutorial on how to turn Ikea kitchen cabinets into an Ikea cabinet builtin bench of drawers is in this blog post.

These builtins also feature faux white oak floating shelves, and a DIY brick fireplace install. Be sure to check both project tutorials out!

Here is the tutorial on how to build the tops to the living room builtins.

living room

Building the Builtins Top

I started building the top with 2 1×8″ pine, 2 1×2″ pine and 3/4″ scrap plywood. You’ll want to trim your boards to size. I had to cut out irregular shape ends to fit around my fireplace trim. I used a tip from @makingprettyspaces, run pencil along wall and board to trim to fit more snug. 

builtins

Next, I stacked 2 1×2″ boards for my front “thick” edge. Use a kreg jig to drill pocket holes into the wood. On both sides of the seam. Wood glue in between then clamp the boards and screw in some pocket screws. Hold pressure on the boards as you screw to make sure they are as level as possible if you can’t clamp. 

living room
kreg jig

To Attach The Boards

Next, to attach the 1×2″ boards, more kreg jig holes. Then, clamp at the seam and screw together. To save on cost, I used whatever scrap 3/4″ plywood I had to put on the cabinet builtins, and put my bench board I built on top of the scraps (one bench is a compilation of a lot of pieces. The other bench is one solid piece). This is to add thickness to the wood top and strength. 

The Tops Assembled

Once the tops are all assembled, I filled the seams with wood filler and sanded down with 120, 220 grit. 

Staining the Builtins Tops

My stain combination: Early American, white washed (sit for 2-3 minutes, then wipe off), Classic Walnut, 2 coats poly in clear stain.

wood stain

Assemble

Once your stain is all dried and sealed, you assemble! And marvel at your beautiful piece of artwork!

I have an entire highlight saved on my instagram that walks you through this whole process. Be sure to follow along @honeybuilthome

Don’t forget to head on over to my online course, DIY Beginner Basics, where I will teach you, and walk you through all you need to know to start DIYing. Use code: HONEYBUILT10 for 10% off.

until next time, Christine

+ show Comments

- Hide Comments

add a comment

Reply...

for every level of DIYer

Renovate with Honey Built Home
The app to organize all your projects! 

Follow along an existing Honey Built Home project template or utilize the app to track your tasks, materials, receipts, budget, and keep your design inspirations all in one place, your pocket. 

Apple Store

Google Play Store

new!

Meet Christine Gummersall, a mother of 4, coach's wife, former Labor and Delivery nurse, and self taught DIYer who decided to take a sledge hammer to her 1950's bathroom over a decade ago and hasn't stopped tackling her honey-do list since.  Folow along as christine breaks down the pretty afters, by showing the whole how to process and empowers you to STOP waiting, and START creating a home you love, with your own two hands! 

Say HI on insta