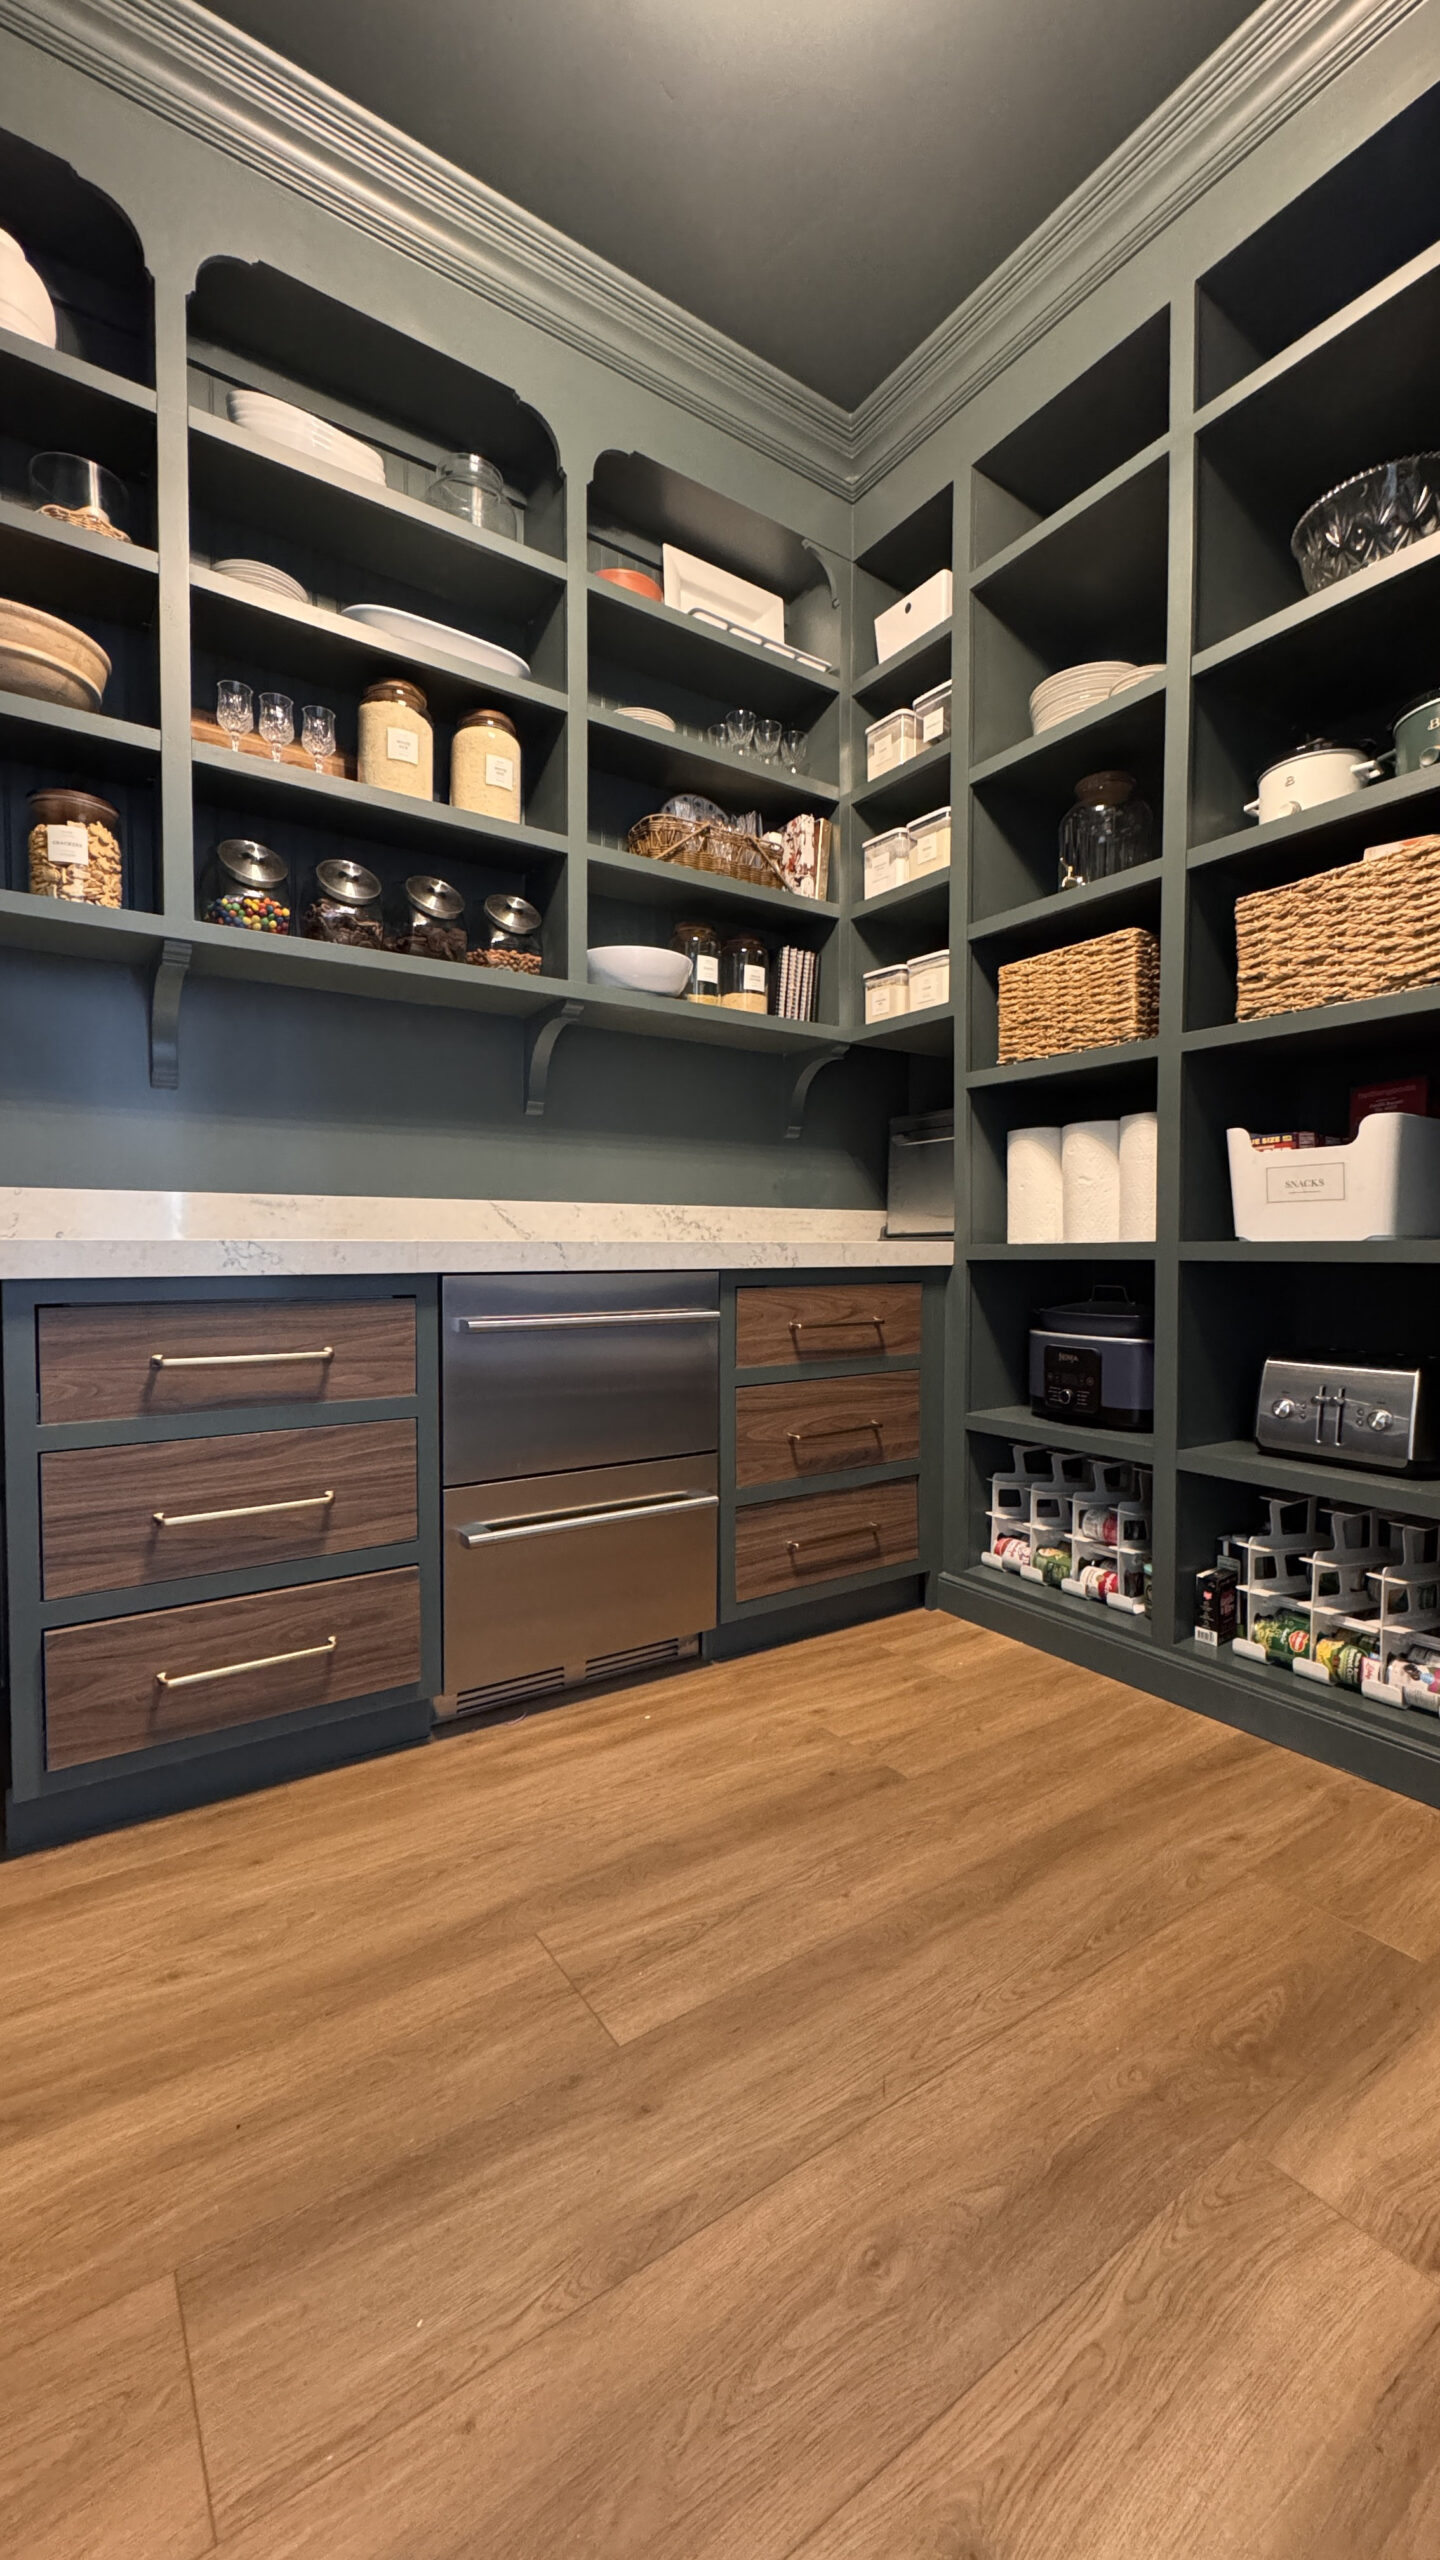
This pantry has been a LONG time coming. This was a project that had to be well thought out early in the build to try and prevent adding things that would later have to be removed (thus, adding to the overall cost of the pantry). I knew I wanted a pantry full of storage but didn’t want to may TONS for generic builder grade shelving. Because of this, I had our contractor leave it blank so I could DIY the pantry of my dreams.


I’ve shared this before in my Pantry Mood Board Blog post, but I wanted to add it here, too so you could see how my vision really came to life. I used the free IKEA Kitchen Planner. This is a great tool to help visualize and space out the entire room.


Building the Cabinets & Shelves:
I started this pantry in the summer of 2024 by designing and building lower cabinets and drawers. This had to be done before the countertops could be installed in our kitchen, so it was a big priority.
When building cabinets, my best kept secret is a FREE Cut List Optimizer. It lays out your cuts so you have little to no of wasted plywood. It also labels your pieces making them easy to sort. I was able to create all of my boxes for under $1500, which was a HUGE money saver. I ended up building 9 cabinet boxes from scratch.
Cabinet boxes are actually easier to build than you’d expect. I used 3/4″ birch plywood for all of my sides, as well as the shelves. After making cuts, and creating pocket holes around the edges, I applied wood glue to the edges that touch, just to give some added support. I then like to add a few brad nails to keep the boards from sliding around from the glue. Though I could use plywood for the back of the shelves, I opted to use bead board for an added detail.
If you’re looking for an in-depth tutorial on how to build cabinet boxes, check out my online course, DIY Beginner Basics, where I go over all of the skills and tools you’ll need to create your own dream pantry!


Finishing Work:
Once the cabinet boxes were built, it was time for the finishing work. This included trim around all of the seams, crown molding, baseboards, accent trim details. Once all of the final pieces were installed, it was onto sanding and painting. This was a time consuming part of the project, but it’s what really brings life to the room. I’m thrilled with how it turned out!! There are still a few things I want to add in the future. Things like as a tall sink backsplash/shelf, tile backsplash in the appliance garages, and some LED Strip Lighting. But for now, my dream pantry is done!


Sources:
Paint: Benjamin Moore Knoxville Grey
Cabinet Doors: Nieu Cabinet Doors – Slim Shaker with Detail and Slab. Natural Walnut.
Countertops: Bedrock Quarts – Quartz Washington
Accent Corbels
Zephyr Built-In Drawer Refrigerator
Zephyr Low Profile Microwave Drawer
Lighting – Designer Fountain Daybreak in Old Satin Bronze
Motion Sensor Light Switch
Instant hot Water Dispenser
Sink Faucet
Sliding Hidden Door Track
Organization & Storage:
Air Tight Containers
Silver Glass with Lid Penny Candy Glass Jar
Woven Organizers w/Chalkboard Label
Wicker Storage Basket
2 Large Glass Jars with Labels
Chalk Basket Labels
Can Organizer
Large Storage Bins – IKEA Kuggis
Cost Breakdown:
Countertops – $6,100
Cabinets – $3,000
Costco Mini Door – $490
Plywood & Beadboard for Shelving Boxes – $1168
Trim – $522
Crown Molding – $273
Primer & Paint – $90
Lights – $240
Appliances – $3000
Cabinet Hardware – $300
Sink, Faucet & Instant Hot – $1500
Appliance Garage Hardware – $35
Pivoting Glass Door + Hardware – $1085
As I was breaking down this project, I realized how blessed I am to work with brands where often the product is gifted. This pantry in value is close to $18,000. My total cost was $11,000 (with $6,100 being the countertops) thanks to some amazing brands gifting their products.
I’d also like to mention that it would have cost MORE if I hired the whole thing out. I don’t give the breakdown to make it feel unattainable. I give it so you can see realistically what things cost when the receipts add up. Where you can splurge or pull back and save by swapping to a more budget friendly product or by omitting the products entirely.
If you’re not already following me on Instagram, I recommend doing so! I give real time tips and tutorials during projects so you can see exactly how it’s done!
Want to see the IG Reels from this project? Check them out by clicking the pictures below!


Other Blog Posts You May Like:
Kitchen Reveal
Pantry Mood Board
Jess’ Living Room & Kitchen Reveal
How to Live Through a Kitchen Renovation
How to Pick Kitchen Countertops
Kitchen Reveal, Construction Timeline, & Budget Breakdown


I love this so much! We just refinished our kitchen cabinets and while I don’t have a walk in pantry this big, we do have a smaller version that I would love to add some things like this in. This has given me so much inspiration! Thank you so much for sharing!