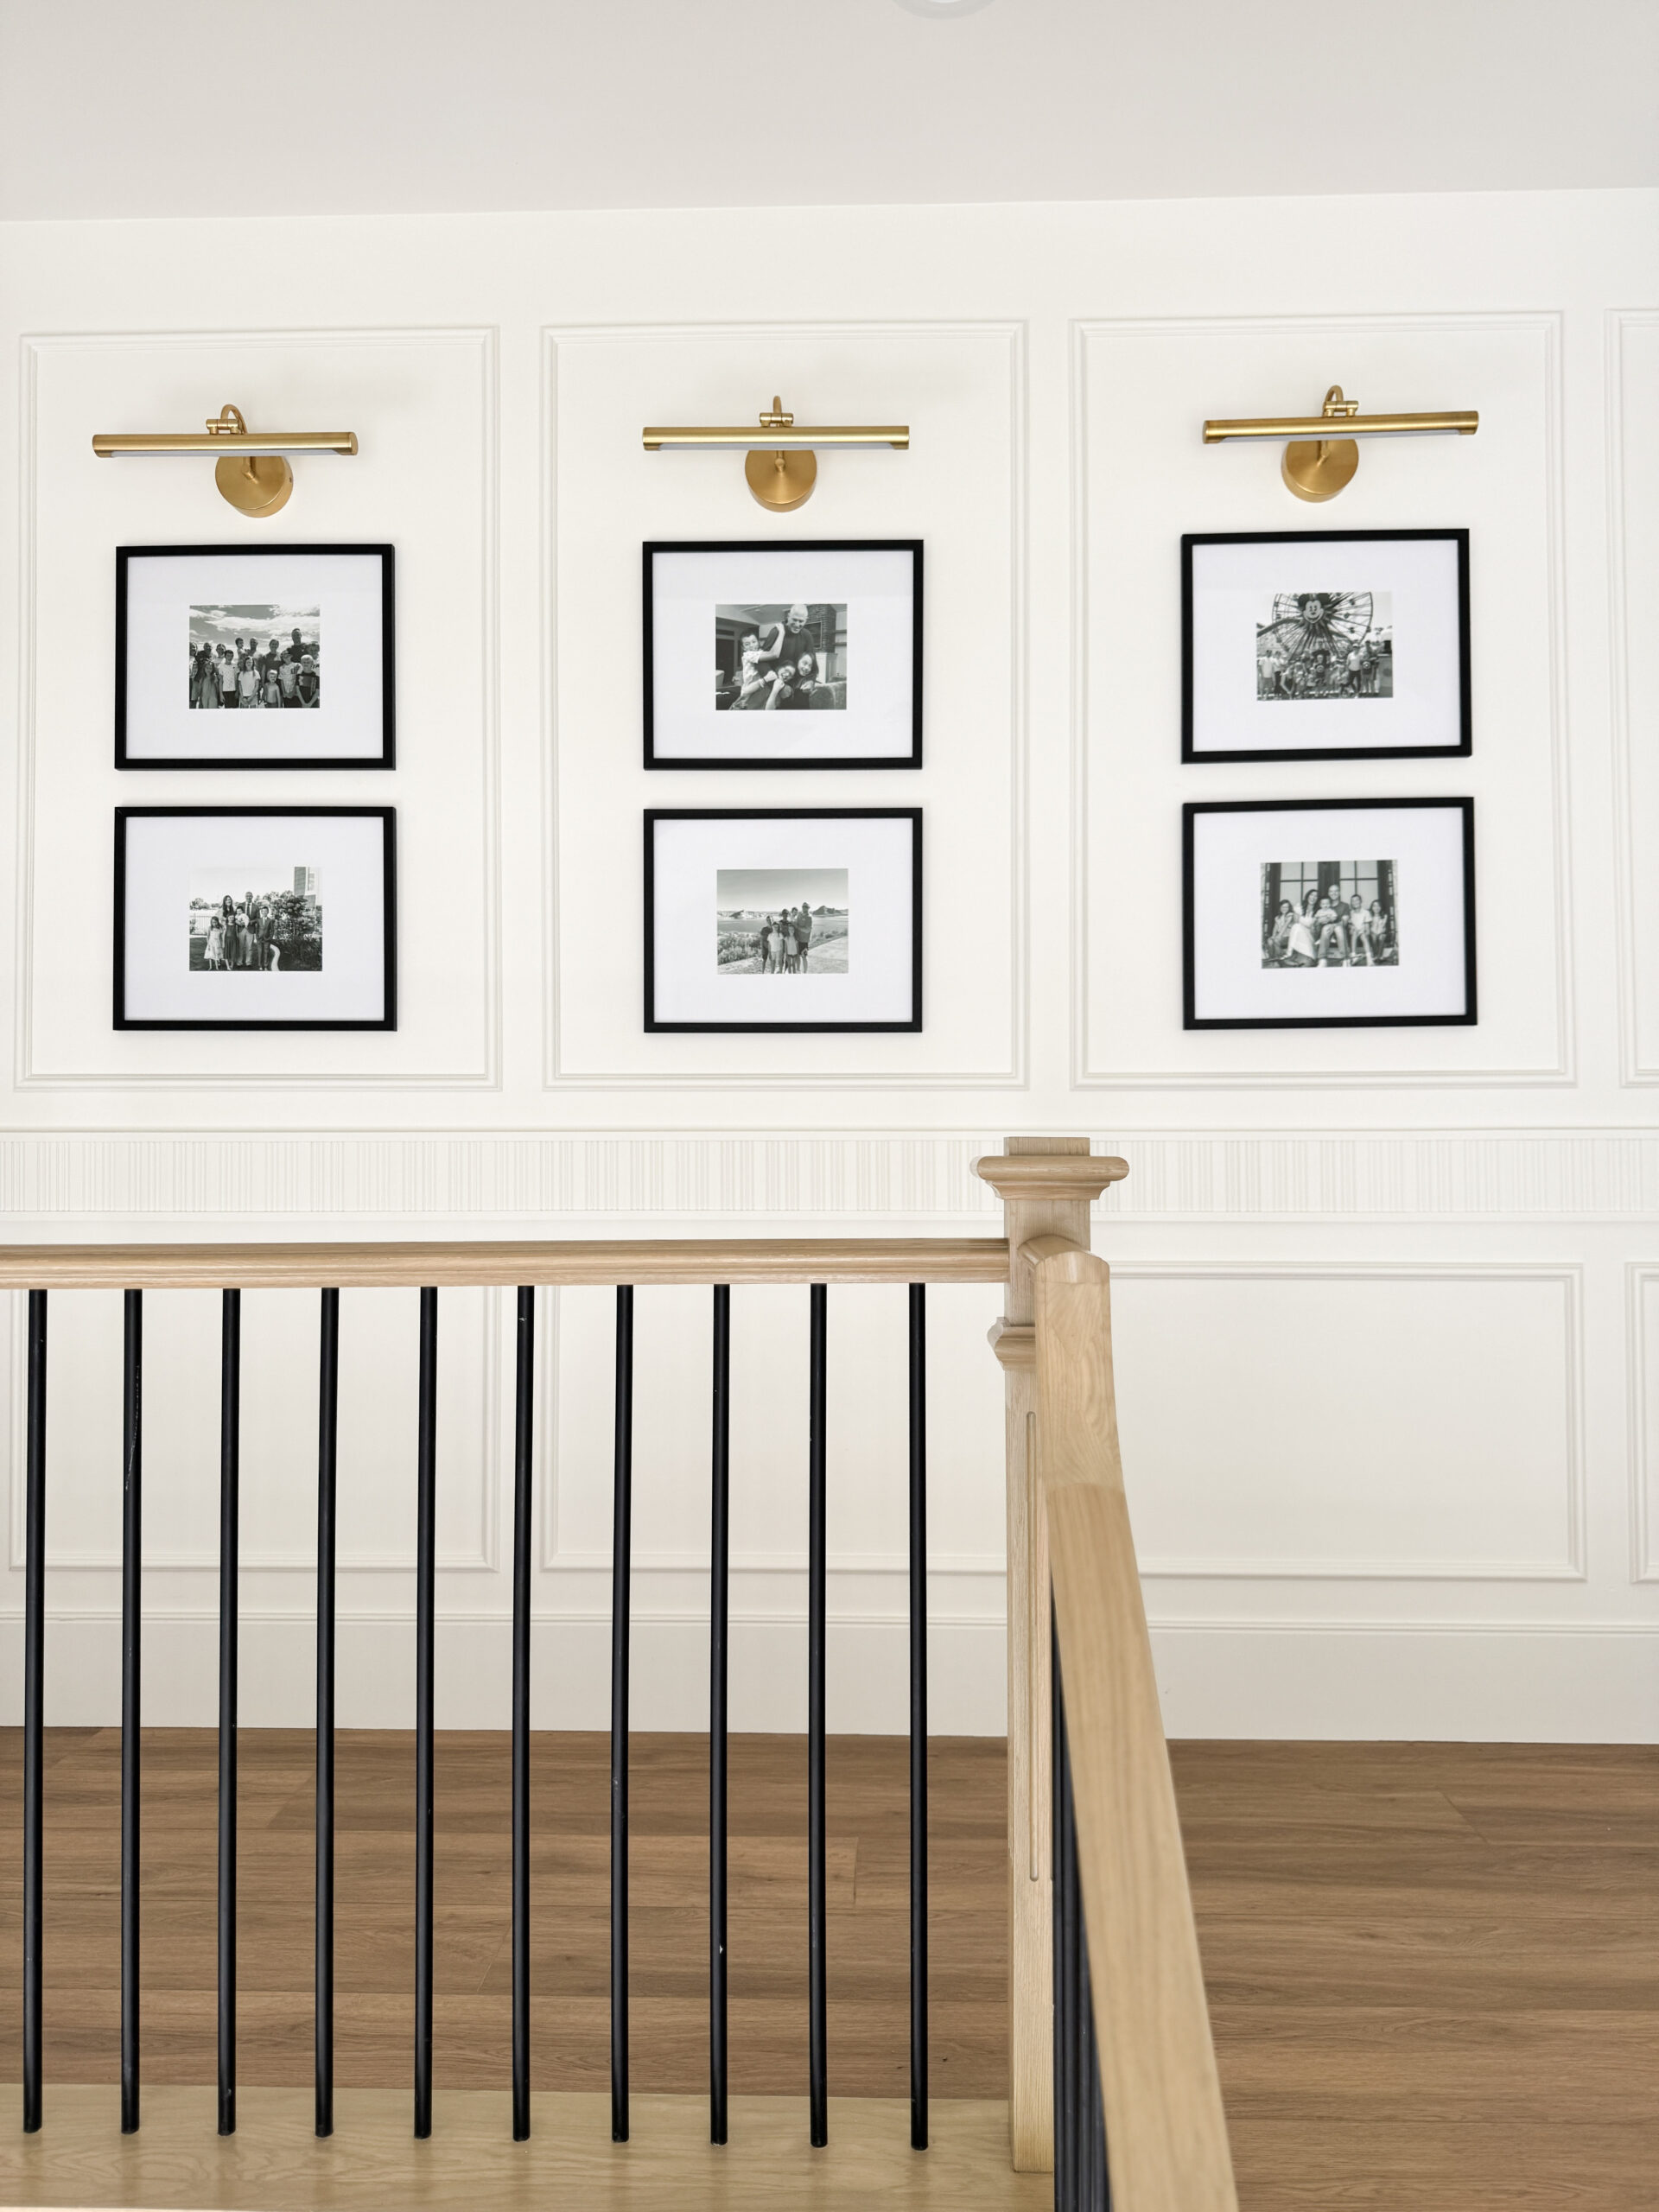
At the top of our stairs, we have this catwalk situation that can be seen from the front door. It just felt very large and blank. The perfect solution? Box molding + a photo wall. I found a whole section in Lowes that has precut box molding kits that you just snap together. No need for a saw. There are preassembled squares, or pieces that snap together, both options are great!


Precut Box Molding:
I knew when building my house that I wanted some sort of detail here, but I held off having the builders add it because I knew I could do it myself! Now that it’s finished, I’m so glad I did because it turned out incredible!
One of the questions I received SO MUCH on Instagram while doing this project was if this was a cheaper alternative to creating your own box molding. I originally said that it was a little more expensive, but not much. After sitting down and calculating the project, I found that I was actually incorrect. Buting the precut was actually CHEAPER!
Precut Trim Breakdown:
(8) 55″ = $104
(16) 35″ = $160
(8) 22″ = $56
TOTAL = $320
Base Cap Molding is $13 for 8′. I’d need 26 pieces because of waste which means that route would be $338. Not a huge difference, but still enough to make the precut even more worth it.
Beaded Chair Rail:
In addition to the box molding, I also created a beaded chair rail. This was something that I created from scratch, so a little more work that just snapping together and securing to the wall. 1×2 cut in half for the top and bottom and 4 1/2″ beaded trim cut for the middle.
The key for box molding is that everything needs to be spaced the same for it to look uniform. There are two things I did to help ensure that happened. One is using this I took a piece of scrap plywood and cut two pieces down to 3″ to use as the spacer between everything–the baseboard, the box moldings, the ceiling, etc. My secret weapon for getting the measurements right every time is this Wainscoting Layout Calculator. It does all the brainwork for you!

Basic Step-by-Step Tutorial:
1- Use Spacers. Just scrap pieces of wood
2- Pin corner and bottom board
3- Pin side
4- Pin other side with level
5- Pin Top
6- Caulk between wall and trim
7- Wood fill nail holes
8- Paint
I was pleasantly surprised how quick and simple this project was. Box molding can be a tricky project due to the measurements and cuts and spacing, but these precut options really took a lot of the brain work out of it. If you’re looking to try this project yourself, these are something you need to try!


Want to see the IG Reels from this project? Check them out by clicking the pictures below!


Other Blog Posts You Might Like:
How to Install an Elevated Board and Batten Accent Wall
Fluted Box Molding Accent Wall Tutorial
How to Hang Wall Art over Board & Batten Trim
Herringbone Board and Batten Wall Tutorial
Board and Batten Dining Nook


+ show Comments
- Hide Comments
add a comment