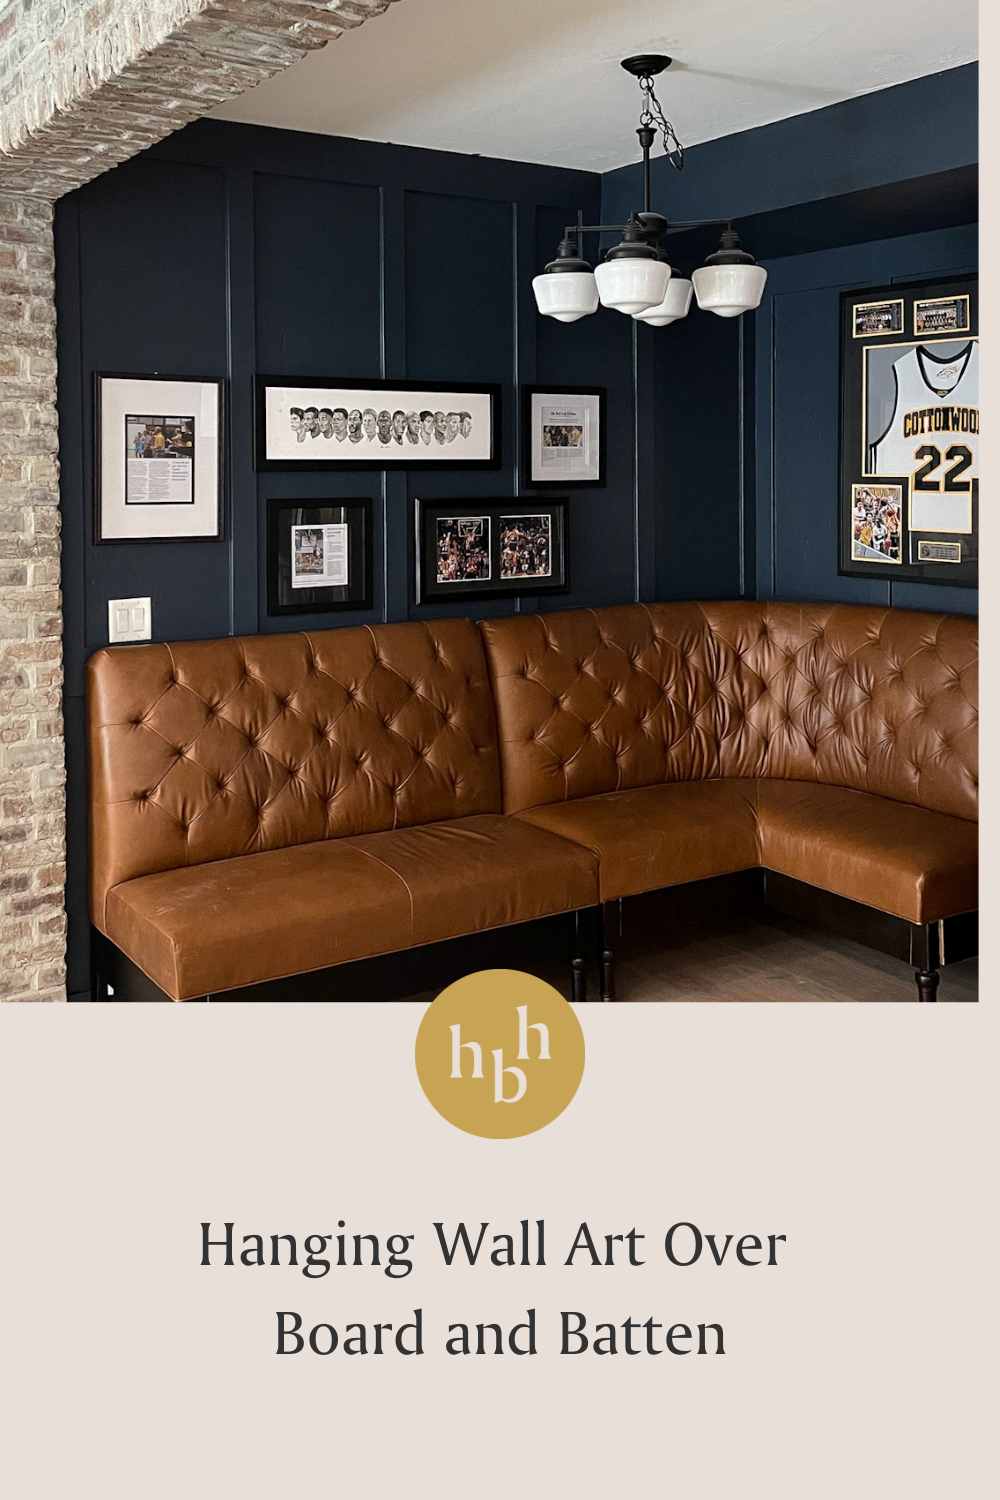
From the beginning of our basement remodel it was important to find a place to incorporate some sports memorabilia we’ve been collecting for over a decade. In our previous home we had a basement that I gave my husband free reign to hang whatever he wanted. In our current home, I wanted to find a classy way to display his prized possessions with it feeling intentional and not just thrown up on the wall. So we agreed on this pub style corner and while it would have been a lot easier to just paint the walls dark blue and throw and frames up, I wanted the added detail of board and batten trim, click here for the tutorial. So here’s how I chose to hang the gallery sports art over our board and batten trim.

First, let me preface and say there are lots of ways to hang a gallery wall over board and batten, but this technique was the simplest and didn’t involve me needing to buy a bunch of fancy hangers and hardware.
Lay out your Art for your Board and Batten Wall
When creating a gallery wall its important to plan and lay out all your pieces so they fit within the confines of a rectangle or square. Frames can be different textures, sizes, mat colors, but have something consistent like all the images are black and white, or all the frames are brass or black creates cohesiveness even if they are different styles. I chose to have all of the frames black, with some black mats and some white mats, but every frame has a mat (I personally think a frame with a mat looks more high end than just a picture in a frame). Some of our pieces already had black frames, but the other frames I picked up from Michaels. Michaels and Hobby Lobby usually have a pretty good frame selection with great coupons and discounts.
Measure your total length and total height and match it up to your board and batten wall. Start with your upper center piece and hang it on the wall. Depending on the placement of the hooks of your frame you might need some spacer boards.
Install 1 or 2 spacer boards (scrap pieces of 1×3’s that were left over from the board and batten accent wall). And install them with 2” brad nails. Insert your nail into the scrap wood or batten and your picture should hang flush hovering over the board and batten!

Spacing
Attempt to have similar spacing between frames. I opted for 4” of space on the left and right between each frame. The spacing on top and on bottom varied depending on the shape of the frame, because I was most concerned with the top of all the frames and the bottom of all the frames lining up level.

In Between Battens
Don’t be afraid for some of your art to sit flush against the wall in between two battens and other pieces to float over multiple battens. I think it gives it a good interest, but if you want them all to be above the battens, you can add more scrap trim behind the frame so it even though its between two battens its the same spacing away.

For the full process check out this highlight bubble over on instagram @honeybuilthome and follow along for more DIY projects!


+ show Comments
- Hide Comments
add a comment