Can you believe we are already half way done with the one room challenge? It’s been a whirlwind trying to get things done quickly while remaining detail oriented and the vast majority of the past week was spent painting the vertical board and batten as well as touching up and painting the trim shiplap ceiling. If you haven’t already be sure to head over to One Room Challenge Blog and check out the progress from the other designers, and if you are new check out Week 1: the plan, and Week 2: install of the board and batten.

Painting the Vertical Board and Batten
Well, honestly, I thought this was going to be simple like my herringbone accent wall, but the material (mainly the plain MDF) that I picked for these walls would not take paint as well as the primed MDF trim, so this whole week I hand painted every. single. square. inch of this room. Not exaggerating.
BUT hard work does pay off because Sherwin Williams Extra White transformed this very dingy and tan on cream bedroom to another level! This is the difference between Benjamin Moore White Dove (and revere pewter on the walls) and Sherwin Williams Extra White.

Before
 After
After


How to paint with a roller and brush
A few tips I have to painting this board and batten include thinning the paint with Floetrol which helps smooth out brush strokes. It does however thin the paint which means you may have to apply more coats, but the end finish is much smoother.
Cutting in with a brush on all of the trim sides and tops, feathering out, then going over with a roller.

Paint the door trim and baseboards in the same color but a different sheen (semi gloss or high gloss) and the walls in a satin or eggshell creates dimension while not conflicting with different white undertones.
Carpet Protection Self Adhesive Film! You better believe I put down this film around the entire perimeter of the room. This protected my carpet from drips and drops and in the middle I moved around a drop cloth. Since we still used our room and slept in it it was easy to keep the film in place which made picking up where I left off super simple.
Shiplap Ceiling Trim

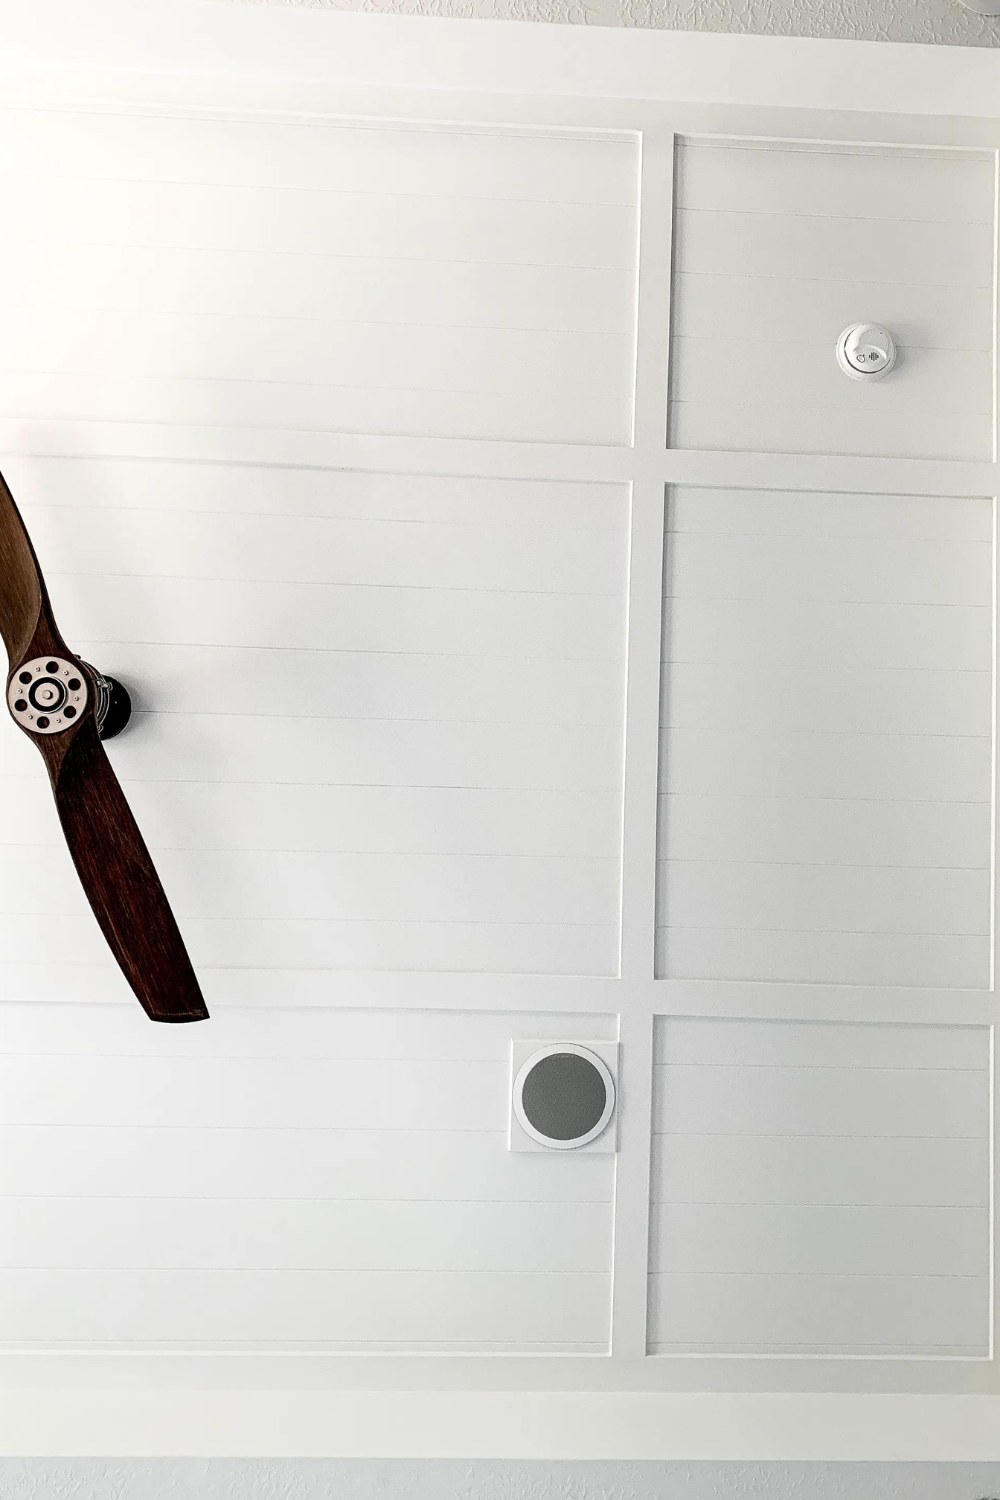
Along the process I was asked SO MANY times how to recreate my ceilings. Now I must preface that I did not install our ceilings, our builder did, but here’s how to recreate them in your own home.
Now most assumed it was shiplap panels with some trim work, but let me reassure you these ceilings are tongue and grove and here’s the main difference as to why tongue and groove is the right choice on a ceiling as opposed to a shiplap material.

These boards actually snap into one another. There is a notched groove which allows you to adjust the spacing distance and since they snap into each other they are a lot more secure for a ceiling.
Materials Needed:
1×3″ trim
Tongue and Groove planks
Caulk
Wood Filler
Finishing nails
Sand Paper/Sanding Block
Nail Gun
Level
Tape Measurer
Ceiling Design
So first install your tongue and groove panels the full length of the ceiling with 2″ finishing nails. Be sure to secure the nails into the ceiling joists (studs in the ceiling) so they are secure!

Next you are going to install a 1×3″ trim on the ceiling where it meets the wall.

Then install the 1×3″ trim the other direction to create a square boarder. This is how my master ceiling is where the it the two outer rectangles are the same size and the middle rectangle is larger. OR you can make them all the same distance apart.

The last step is cutting down the 1×3″ trim to fit in between the long rectangles. Here’s an image of how those cut pieces would look had you removed the trim above.

And the finished product should look something like this! TADA!

Be sure to fill all the seams where the wood trim meets the wood trim with wood filler (NOT CAULK) so you can sand it smooth and the seams will disappear. That is what I worked on for 7 hours this week. Re-caulking all of the seams and filling them with wood filler to make them seamless.
One Room Challenge list of things to do:
Install Vertical Board and BattenPaint WallsTouch up ceiling and paint ceiling- Build King Canopy Upholstered Bed
- Upholster King Bed head and foot boards
- Shop for nightstands & room furniture
- Shop for artwork
- Shop and design custom pillows
- Shop for Rug
- Shop for finishing touches
- Get Bid for new interior doors
Be sure to tune in next week for more progress on the #masterreno and follow along on instagram @honeybuilthome


Absolutely beautiful! I would love to do this in our bedroom as well. Which SW paint did you use? Emerald?
Thanks!!
For the walls I actually used Duration because that’s what I had on hand.
looks amazing and that’s a lot of precise cuts. thanks for the tips and illustrations … i maybe have to attempt that in the next project!
thank you yes! a lot of cuts 🙂
Looks like a massive amount of work accomplished! Cheers to Week 3!
indeed! a lot of progress in week 3! now to not burn out 😉