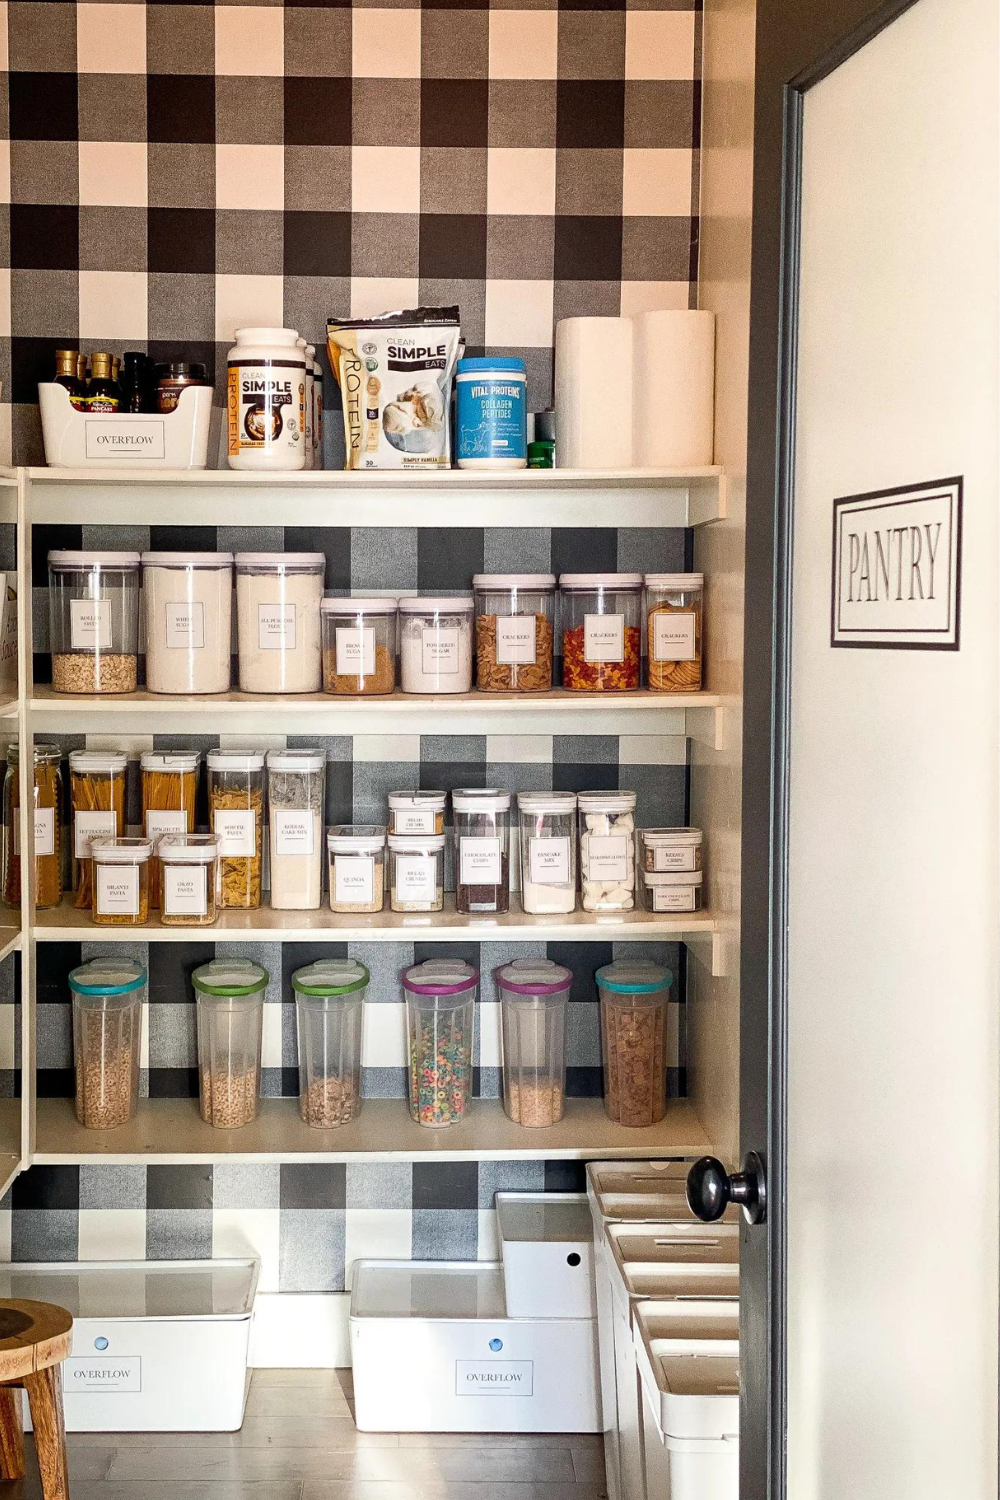
The best way I’ve found to organize a pantry and keep it clean is to have each food organized into groups that make sense for our life. Some of my categories will be the same for you, but its unlikely that you eat as much seaweed, noodles, and rice as we do (and if you do. We are Korean Soul Sisters). Be sure to scroll all the way to the bottom to get your very own free printable DIY Pantry Labels. Or watch the tutorial video on how to make your own!
My pantry is a mixture of bins:
Pluggis by IKEA. I have both the 4 gallon, and 2 gallon.
Kluggis Box with lid.
Large Kluggis with lid.
Cereal Containers
Fliptop Containers
Oxo Containers 3 pack
Clear Acrylic Box
Medicine Container Box (similar)
Sticker Paper
Plaid Wallpaper
Can Organizer
Can you tell I love Clean Simple Eats protein? Use my link here to get yourself $15 off one of their meal plan recipe books. Delicious macro friendly recipes, and don’t forget to pick up some of their vanilla or cinnamon roll protein. Its by far the best protein I’ve ever tasted.

Organization Bins and what’s in them
The Pluggis Containers are open top and used for my larger categories like chips and Mac and cheese. I wish I had more of these containers, but my local IKEA is currently sold out of them.


Kluggis Box with lid is super nice because it keeps the pantry looking extra clean with the lid on, and is the perfect size for most items. It also allows for the boxes to stack on top of each other.

Large Kluggis is my overflow. It hold extra dressings, sauces, sugar, and baking supplies.
I gravitate towards clear plastic containers such as OXO and Fliptop for easily visualization. Of our most used foods such as cereal, pasta, and baking ingredients. I have a combination of Fliptop from Sam’s Club which comes in a very inexpensive 8 pack. Oxo containers. Linked a 3 pack of OXO above which are the varying sizes I use, but my version is a few years old. I know the newest versions actually have a scooper that attaches to the lid.

How to DIY your own Pantry Labels
Two years ago when I set out to organize my pantry, I spent hours, literally HOURS working on some vinyl lettering for each of my boxes. I got burned out from cutting the letters out on my Cricut, pulling off the excess vinyl, and lining them up with transfer paper. I figured one day I would get around to finishing the rest of the bins, but decided on a much easier and less expensive option, STICKER PAPER!
A pack of 30 printer size sheets of sticker paper on amazon for $12 with next day prime shipping, talk about a no brainer.
I opened up Canva which is an website where you can create your own graphic. There are tons and tons of font and shape options where you can truthfully make the labels look however you want, but the simplicity of my labels didn’t call for all the bells and whistles so I chose to design them in Pages. If you are unfamiliar with Apple Apps, it is an app you can use on your iPad as well as a MacBook computer and its Apple’s version of Microsoft Word.
To create a label I first determined the dimensions based on my containers. I settled on 3 sizes: a squares rectangle 2.75×3.25 for all of my OXO and Fliptops, a half size for my smaller Fliptops 2.75×1.6 and a longer rectangle for all of my IKEA bins 5.4×2.5. I like the clean simple and timeless font: Baskerville, but you can really customize these to whatever style you want. Watch the video below to see the full step by step process.
Download Pantry labels for Word
Download Pantry labels for Mac
Be sure to follow along @honeybuilthome on instagram for more behind the scenes project tips!
-Christine


Thank you for explaining this so clearly and for making it so easy to find products through your links!
Thank you. You give your followers the best information! So glad I found you.
Do the stickers clean off easily when the container is used for something else ?
they don’t come off as great as vinyl.
Thank you for sharing!