What are my paint sprayer options?
There are a few different type if paint sprayers on the market. Handheld, professional grade airless, and HPLV (high pressure low volume) are the most common.
How do I know which paint sprayer is right for me?
Are you spraying interior or exterior? How large is your job? How many different colors will you be using? These are some questions you need to ask yourself prior to investing in a paint sprayer.
What is your favorite paint sprayer?
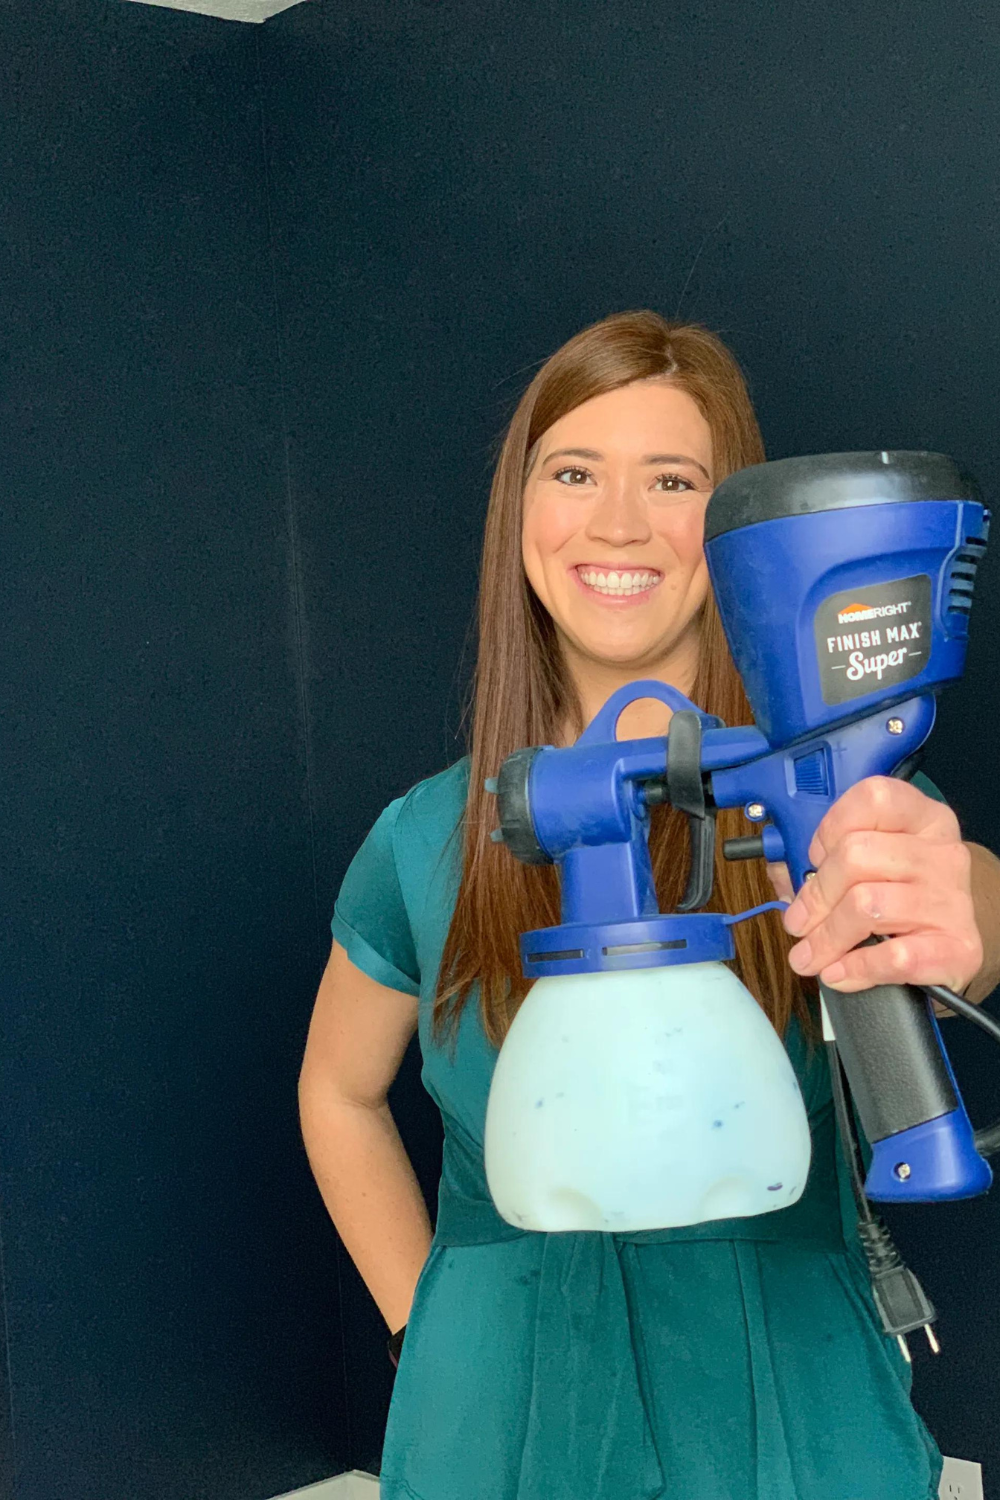
I honestly have tried paint sprayers from the small hand held to the large commercial grade sprayers and my favorite is the HPLV sprayer by HomeRight known as the Super Finish Max.
What is the difference between the Super Finish Max and the Finish Max?
The Finish Max comes in at a reasonable budget friendly price point of $60. You can buy it from Amazon or straight from their website or Homedepot.com. It is a good sprayer, that comes with ONE tip, and a viscosity cup so you have to thin out your paint prior to using it. If the paint is too thick the sprayer cannot spray correctly and you are left with splotchy dots everywhere. If you don’t mind taking the time to thin your paint (with water), this is a great sprayer.
The Super Finish Max is the advancer version of the Finish Max at $110. It comes with 3 different size tips and allows you to spray a variety of viscosities without having to thin any paint (amazing). The Green tip is used for Latex pain, Red for primer, and Blue for stain.
Prepping your space
One of the most asked questions I get about using my paint sprayer, especially indoors is how I prep for overspray and protect my flooring and all the things I don’t want paint on.
1. Surface Shields 24 in. x 50 ft. Carpet Protection Self Adhesive Film: this stuff you roll out like Saran wrap and stick it to your carpet. It is SO STICKY It doesn’t move like a drop cloth would and really protects that precious flooring underneath. I extended mine out 5 feet from my walls just to make sure overspray didn’t get in my carpet. Can it be used on hardwood? I have done it, but I can also see how with its stickiness how it might ruin a wood floor so I can’t endorse it.. although I have used it and left it on my wood floors for 48 hours and they were fine. Use with caution. As for tile, I think it would be fine on tile.


2. 3M ScotchBlue 24 in. x 30 yd. Pre-Taped Painter’s Plastic with Edge-Lock and Dispenser: total GAME CHANGER! This is plastic with a ape attached to it. You tape like you normally would then extend the plastic to cover the areas you don’t want painted (other walls, floors, ceiling). Just be sure to lightly tape down the plastic on the other end to make sure it doesn’t blow once you start spraying.
3. Masking liquid: if you are doing A room with the windows this product is amazing and mind blowing. It’s a liquid that you paint onto your windows with the brush and it dries to a film so you are able to spray with a paint sprayer and then peel the film off of your windows. See my full tutorial on how I used masking liquid on glass doors here.

Tips for using the Super Finish Max by Homeright
- Make sure your sprayer is clean prior to loading the gun with paint. It might even be a good idea to fill the container up with water and spray out the water just to make sure nothing is clogged. This is especially important for use after the first time.
- Use the wrench provided to make sure the tip is tight and secure and that you are using the correct tip for the type of product you are trying to spray.
- Test your spray on a piece of cardboard or scrap wood to make sure it is spraying evenly. Adjust the +/- on the side on the trigger to change the pressure
- Use a good quality paint. Sometimes the issue isn’t with the sprayer, but its with the quality of paint. My favorite line that I’ve used with my Super Finish Max is Emerald by Sherwin Williams. It has self leveling properties and stain blocking. Its definitely my favorite paint.
For the full tutorial on how I shiplapped my kitchen island, click here.

5. Turn the nozzle horizontal to spray horizontal and turn it vertical to spray vertical. Move your arm along the wall without bending your wrists to give an even spray across the entire wall.
6. To fully cover along a trim or ceiling turn your sprayer to vertical and contradictory to what I just said spray horizontally to get the best coverage.

7. Cleaning! This gun is by far the easiest that I have cleaned as far as paint sprayers go. Simply dump all the remaining paint back into its can. Then rinse all the pieces under warm water. Be careful to pull your plunger closed as you detach the tip so it doesn’t go down the sink (speaking from experience). run water while holding the trigger. Fill the canister up with water and hook it up and spray until clear water is spraying from it.
For more DIY projects and tips, be sure to follow along on Instagram @honeybuilthome


+ show Comments
- Hide Comments
add a comment