

This Faux Stain post is sponsored by Walmart, but as always, all opinions are 100% my own.
One of the first projects I did in my home when we moved in was paint the front door. I knew I wanted a bright pop of color to be the first thing that welcomed people in my home. After selling the home, our buyer mentioned they wanted a wood door, and I offered to take the existing door and do a faux stain on the paint. I’m going to share just how I did that–because it’s a LOT easier than you may think.


You can also shop all my supplies & favorite finds on the LTK app
Project Supply List:
Multi-Purpose Cleaner
Wood Filler
Acrylic Masking Liquid
Gel Wood Stain – I used Hickory Stain
Angle Paint Brush
Paint Brush with Shortcut Wood Handle
Barber Neck Duster Brush or Decking brush
Base Paint – Brown Paint a couple of shades lighter than stain choice. I used the color: Rookwood Brown by Sherwin Williams
click on the image to shop

Step 1:
Start out by cleaning your door, really well! This allows you to get all of the dirt off, while seeing any damage that needs to be replaced before starting your painting. I used my go-to multi-purpose spray to give the entire door a good wipe down. Then I used Bondo Wood Filler to repair the portion of the door that was chipping and breaking off. I prefer Bondo since it doesn’t crack or expand over time, which is great since this door is exposed to the elements. Once the wood filler dried, I went and sanded down the entire door with 120 grit sandpaper.
Step 2:
After your door is cleaned and repaired, it’s time to prep for paint. My door has glass panes, so I use masking liquid to protect the glass from paint. This works incredible, and then comes off with ease once your project is done. If you don’t want to use masking liquid, you can use painters tape as well. Just be sure to cover everything really well. Also be sure to cover the door handle!


Step 3:
Time to paint your door! I used Rookwood Brown by Sherwin Williams as the base color for the door. I recommend using a color that is a couple of shades lighter than your stain. This gives a solid, even base for the gel to go over. Don’t choose one too light, or the door will look very streaky. Paint the entire door–in the creases and all. Let dry completely.
Step 4:
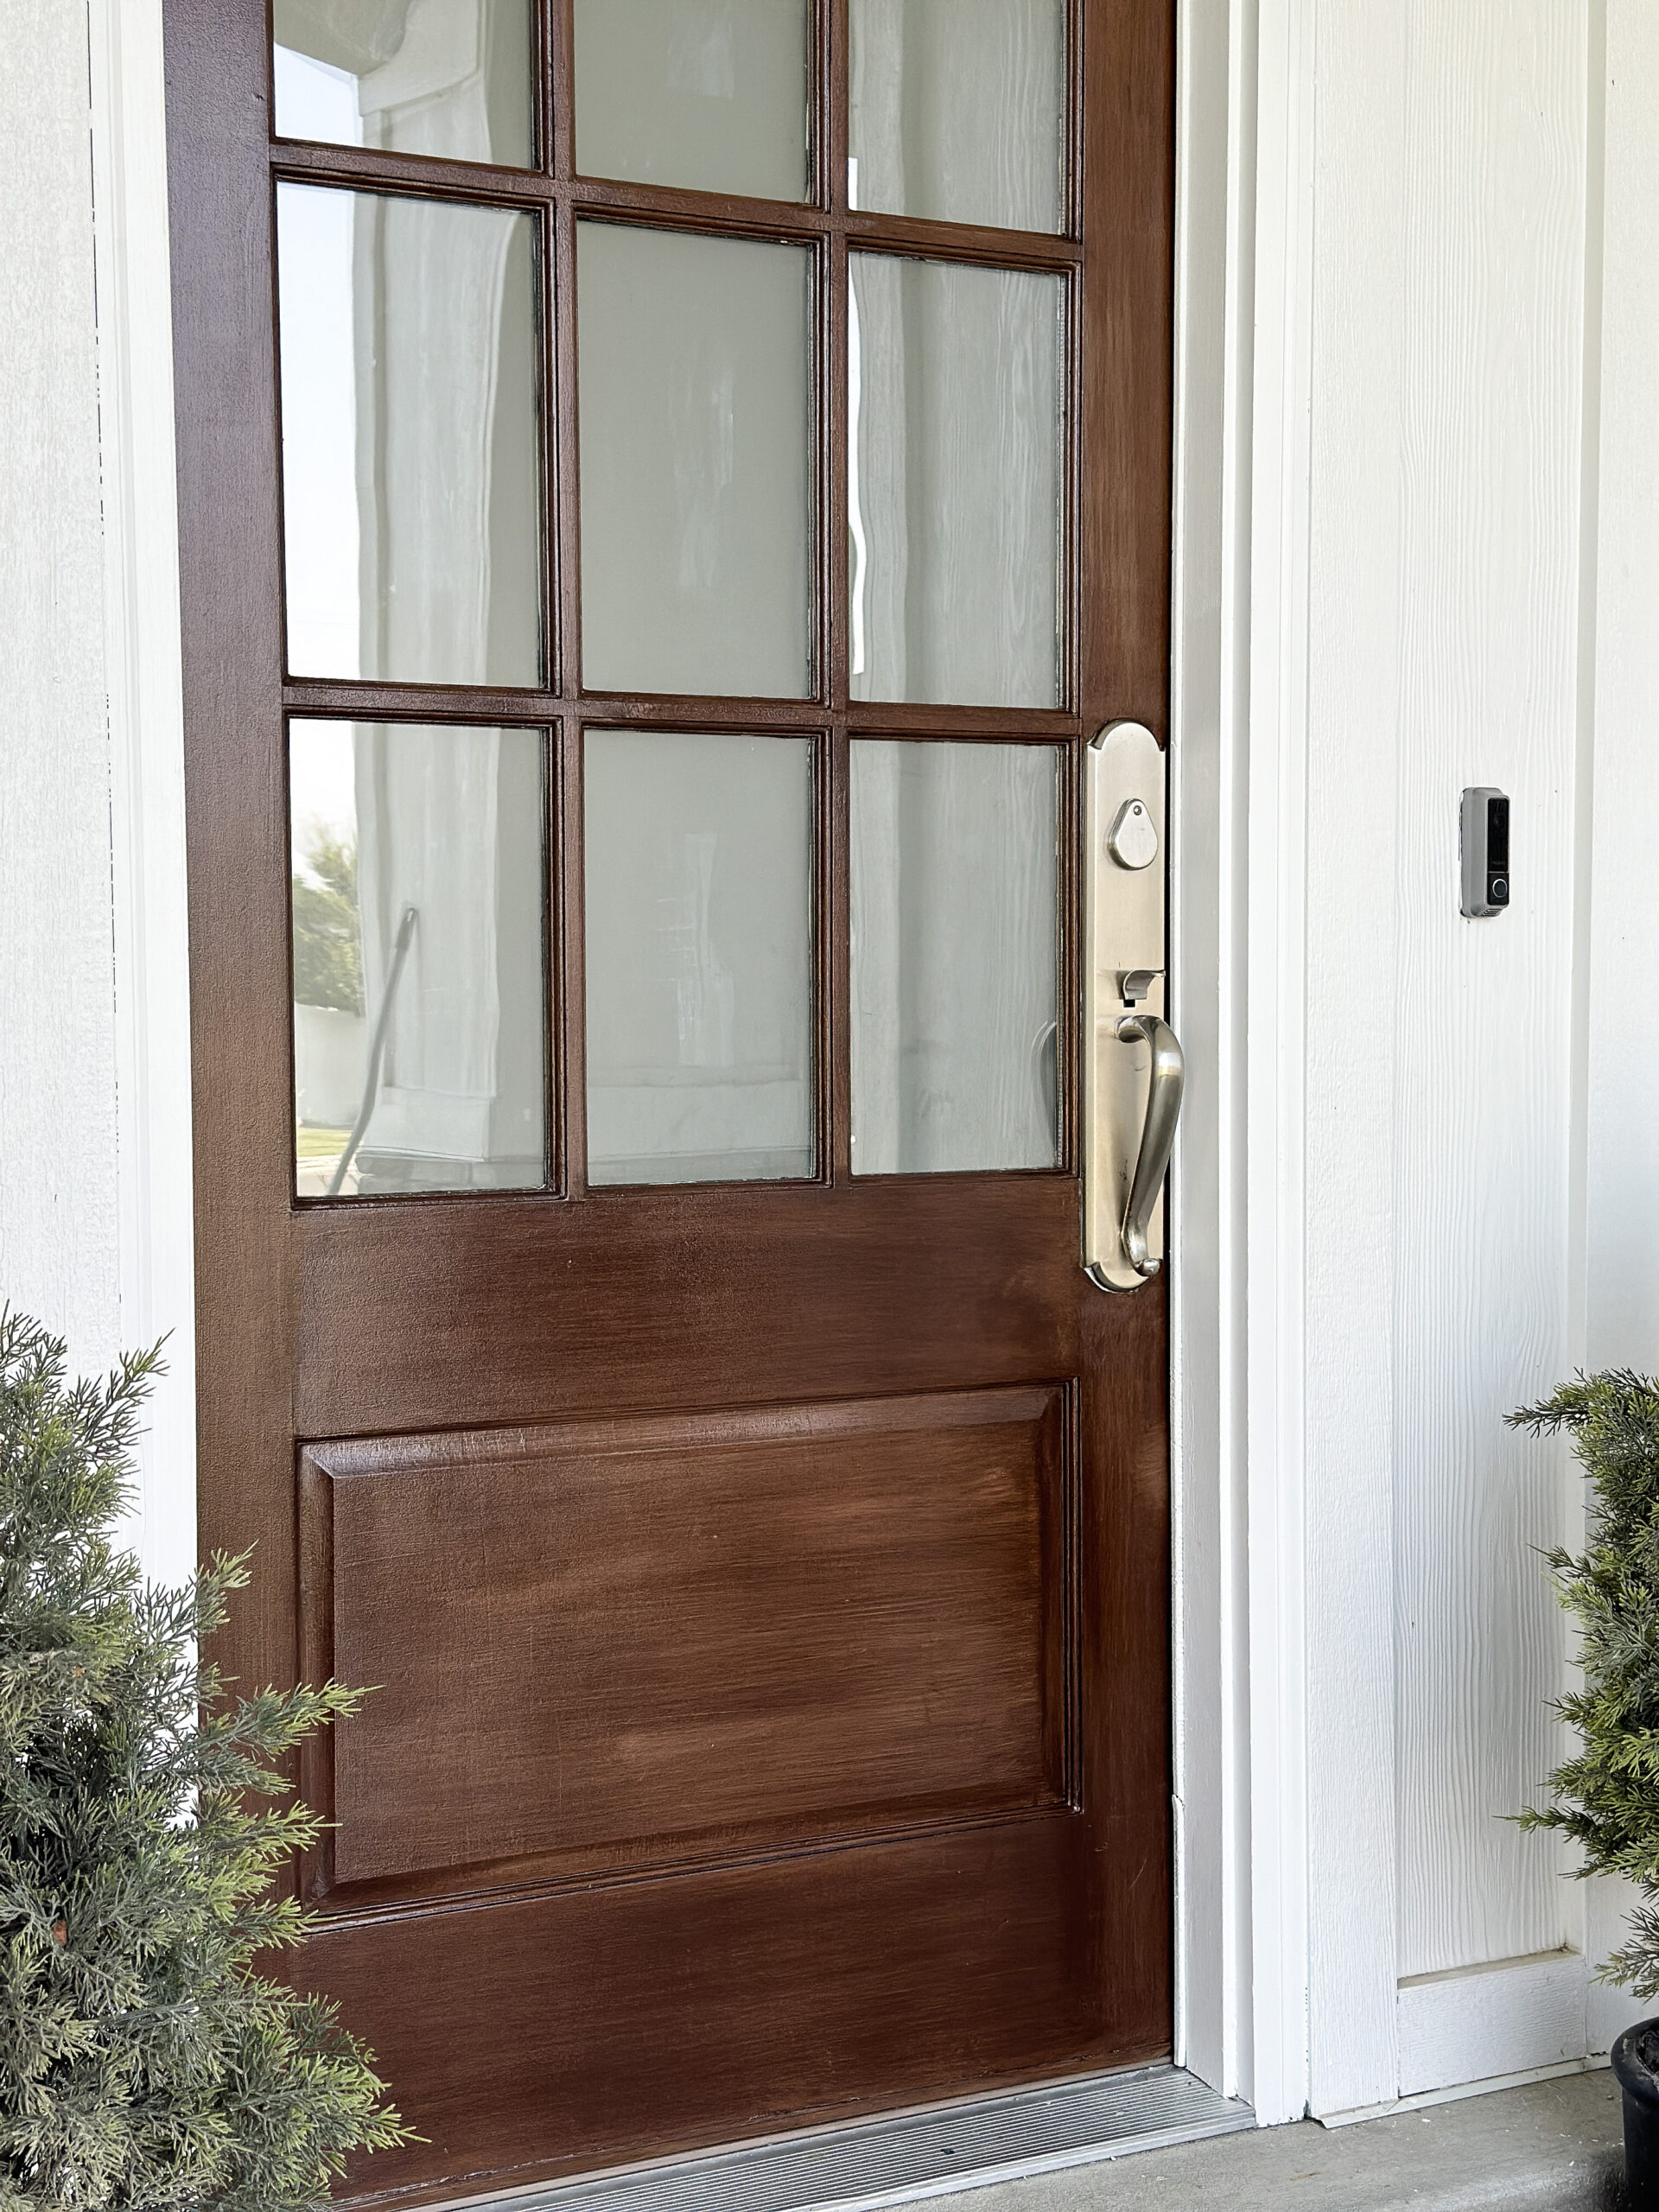
Apply gel stain (I used Hickory stain) over the top of your freshly painted door with a paint brush, and then use a staining pad and a thick brush to make long strokes to give the appearance of wood grain. Once dry, peal your masking tape off (the most satisfying part of the project!) And just like that, you’ve successfully given your door a faux stain look!

Final Step:
Decorate your porch! Throw down a new rug, some plants, and a decorative wreath and your porch will look like a whole new space!
click on the image to shop


OTHER BLOG POSTS YOU MAY LIKE:
Porch Swing Round Up
Paint a Glass Door the Easy Way


Beautiful!!! Was it difficult to get into the mitered inside corners around the glass with the stain and still keep the lines straight?
nope! with the masking liquid you don’t have to be super precise with your paint and stain. you can get it all over the glass and then cut the film away when you’re done.