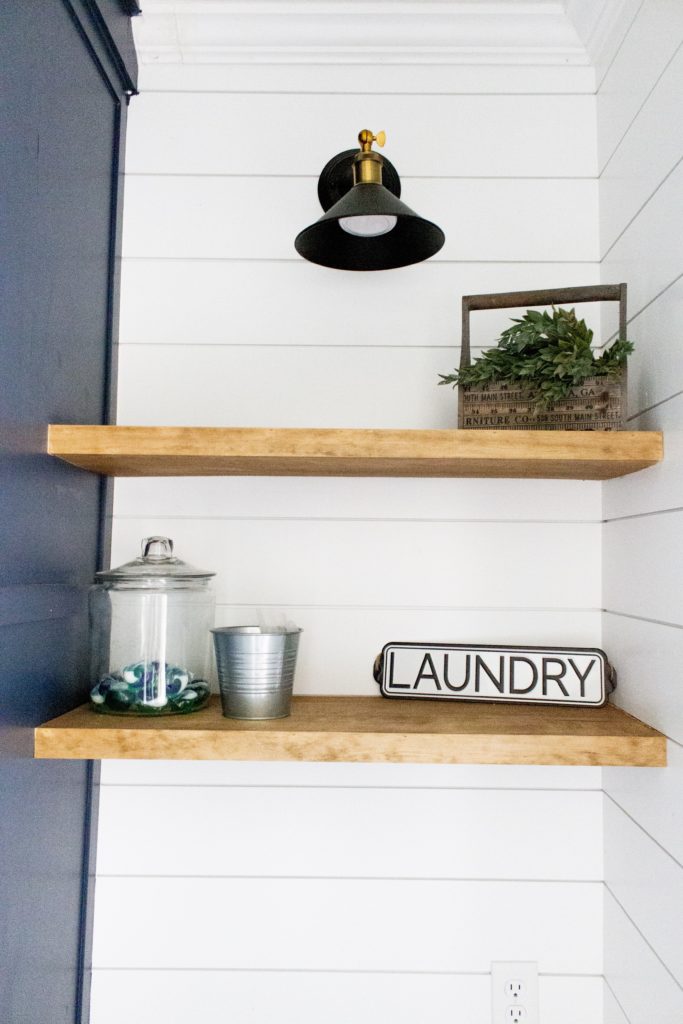
I was so happy when I found a thin floating shelf tutorial from Angela Rose Home (click here for link to her tutorial).
Here’s what I did to create these floating shelves.


Supply list:
1/4 inch birch plywood (this goes on the bottom side of the shelf)
1/2 inch birch plywood (this goes on top of the shelf)
1×2” common board
1×3” common board
1×2” select pine (face frame)
1 1/4” kreg pocket screws
Plastic wood drydex filler
Caulk
Early American Wood Stain
3” construction screws (only necessary because I wanted to go into studs and had shiplap and Sheetrock to go through, you could use 2”)
Brad nails 18” 1” and 2” long
Tools List:
R3-Promo Kreg R3 Jig Pocket Hole Kit With Free Classic Clamp Pack-In
Kreg KHC-PREMIUM Face Clamp
Ryobi P320 Airstrike 18 Volt One+ Lithium Ion Cordless Brad Nailer (Battery Not Included, Power Tool Only)
Ryobi P1832 18V One+ Handheld Drill/Driver and Impact Driver Kit (6 Piece Bundle, 1x P277 Drill / Driver, 1x P235 Impact Driver, 1x P118 Dual Chemistry Charger, 2x P102 18V Batteries, 1x Tool Bag)
CH Hanson 03040 Magnetic Stud Finder

I first measured the length of my opening. For these specific shelves, it was 32”.
I cut my common board 1×2” to 32”

I used my stud finder and marked on my wall where the studs were and put corresponding marks on my 1×2.
I took my kreg jig bit and drilled some holes in the side of the board so my screws would be recessed at the marks where it lined up with my stud.


Make sure as you are screwing in that your board is level!
Use 2-3” construction screws to secure into studs.
(If studs aren’t an option use Qualihome Drywall and Hollow-wall Anchor Assortment Kit, Anchors, Screws, Wall Anchor Hooks, and Hollow-door Toggle, 112 Pieces
I used 3” because I needed to go through the common board, shiplap, sheet rock, AND the stud.
Next I cut my support pieces out of a common board 1×3. These are are 9″ in length. I cut x6 of them, 3 for each shelf.

Using my Kreg jig once again I predrilled some pocket holes so the support pieces can attach.


I also predrilled some pocket holes on the sides of the support pieces to secure this directly into my laundry tower and wall to add extra strength and stability (below is pictured 6 support pieces, three for each shelf).

My Kreg KHC-PREMIUM Face Clamp allowed for brief support on the support piece to make sure it was level as I drilled in the pocket screws.

Once all three support pieces are attached its time to secure the top plywood.

The 1/2″ plywood was cut on my table saw to fit at a depth of 10 1/2″ and a width of 32″
(the plywood is cut to sit flush with the common board support pieces like shown below)


Using my Brad nail gun and wood glue I secured finishing nails from the support pieces into the top piece of plywood (to not have noticeable nails). Once the top was secure I attached the same size 1/4″ plywood bottom using wood glue and brad nails securing from the bottom (these nail holes I filled with wood filler). Once both pieces of plywood are secure its time to put on the face frame/finishing touch!

The face frame is a piece of Select Pine 1×2″ cut to 32″ and attached with flu and brad nails.
Once the entire shelf is nailed and secured in place fill all the existing nail holes with wood filler.
Stain
Sand down both shelves with 120 grit followed by 220 grit for a smooth surface once the wood filler has tried.
Run a tack cloth or rag across to collect any loose sawdust.
Take a clean cloth a rub wood conditioner in the direction of the wood grain. Allow the wood conditioner to dry for 30 minutes. Wipe off any excess.
Take another clean rag dipped into Early American wood stain and apply stain in the direction of the wood. I only did one coat to get my achieved color.

Once both shelves are stained I took another clean towel and wiped off any excess stain. If these shelves are going to be frequently used you can also use a sealer of polyurethane. The poly will give it a shinier coat and sometimes a darker look to the stain.

Thats it! Enjoy!
Check out the rest of the Laundry Room Makeover and as always, if you want more projects and tips, follow along on Instagram @honeybuilthome
Can’t wait to see what you create!


+ show Comments
- Hide Comments
add a comment