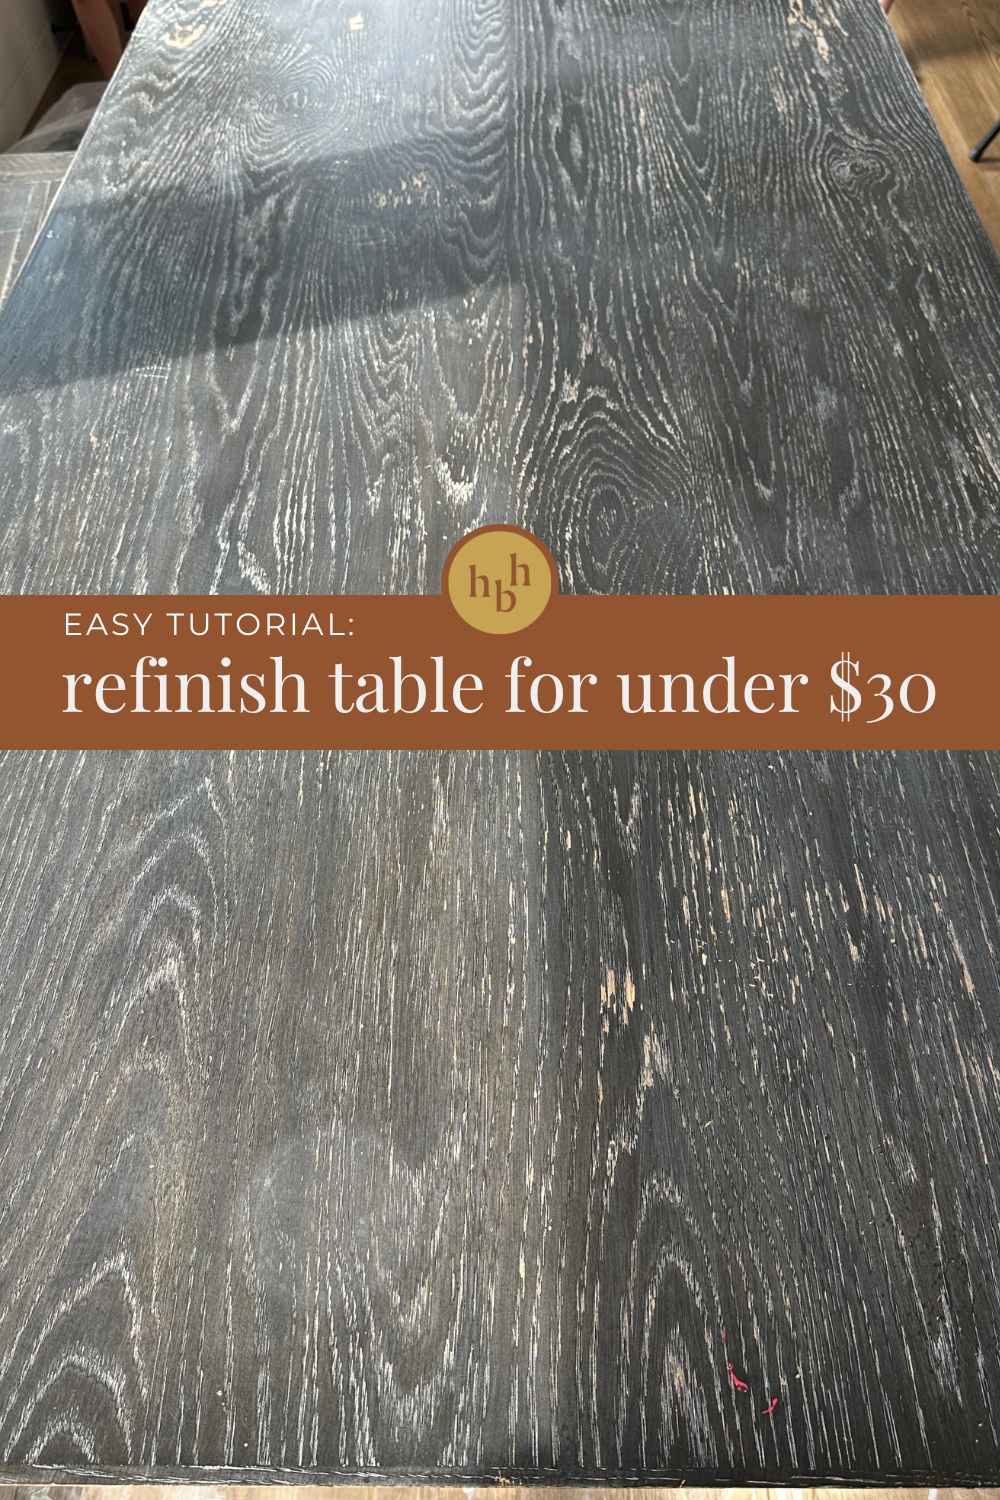
Yes, you can really refinish your table as good as new in an afternoon for around $30. Some of these products you might already have laying around your house, and the amount of stain you’ll use is minimal so realistically you could refinish 10 tables for $30 in one day; now there’s a furniture flipping business model someone should take up!
Other Posts You Might Enjoy:
Review: My Top Painting Supplies
How to Refinish Outdoor Furniture/Pergola in an afternoon
How to Paint a CRISP Line
Learn how to DIY: Online Course for Beginners
Let me show you how I fixed my sister-in-law’s dining room table. She purchased this table from William and Sonoma only two years ago, and the table was not sealed well. From normal wear and tear of the kids, spilling, and cups sweating, the finish on the table was completely worn off and warping in some areas.
I knew that if we didn’t refinish the table, that this damage would continue to exacerbate and totally ruin her table. It’s a beautiful table, so if you want to buy it because its HUGE and beautiful, follow this tutorial before you use it and it’ll stay in PERFECT condition for years to come 🙂


Gather your supplies
- Paint Brush (my favorite)
- Sandpaper Mouse
- Behr Water Based Stain + Poly
- 120 & 400 grit sandpaper
- Tack cloth
Step 1: Prep
The first thing that you’re gonna wanna do is lightly sand down the entire table with 120 grit sandpaper. You’re not trying to remove the finish, but you’re trying to scuff up the surface enough so that the new stain and polyurethane will adhere.
If you have any paint splotches or raised stains, you want to sand those areas smooth to the touch. Then wipe down with a tack cloth or microfiber cloth. This gets off all the saw dust, debris.


Step 2: First Coat
Next, you’re going to want to apply Behr Water Based Stain + Poly using a paintbrush to the entire surface. Be sure to catch any drips during the process and really make sure that you get those edges well.
After the first coat, you’ll want to sand down lightly with 400 grit sandpaper. Another alternative to this is sanding with your hand inside of a brown paper lunch sack. This just gets off any debris or dust that may have collected inside the stain and makes it extra smooth for you to apply the second coat.
Take a tack cloth or a microfiber towel, and wipe down the surface to remove any of the debris from when you sanded.


Step 3: Second Coat

Apply your second coat of Behr Water Based Stain + Poly and let that dry.
And that’s it – you’re finished, it really is that simple!

Things to note:
Obviously, I was working with a black table and was able to color match the stain using a black satin stain. Just to clarify, I did opt to use SATIN instead of GLOSS, but that’s a personal preference. Satin matched most closely to her existing finish. I find that the glossier things are, the more they reflect light, dust, and are harder to keep clean, but you do you.


Staining a brown wood color
If you have a brown wood color stain or a natural color, you want to closely match the stain to your existing wood.
Going Darker to Lighter
If you are going from a darker table and trying to stain it lighter, you will have to sand down to the raw wood, but be very cautious in doing this because your table is likely built out of a thin veneer, and if you sand all the way through that veneer, you will end up with plywood and the plywood will not stay the same as the veneer.
Going Lighter to Darker
If you are going from a lighter wood tone to a darker wood tone, you can follow the same steps that I showed here, where you don’t have to sand all the way down to the raw wood. This Behr Water Based Stain + Poly acts as a gel stain, so it sits more on the top surface of your wood instead of penetrating and soaking in like a traditional stain, which is how you can get such great coverage if you are changing colors.
To watch the process in action, check out my Instagram reel here.
If you have any questions, please leave them below in the comments.


Beautiful! I’m curious about water and heat on the table now. Is it more protected? Does she use a table covering?
Thank you!
it is more protected because the poly+stain has the poly which is the top coat! you can add additional top coat too if you’d like.
Is this solid wood? It almost looks like a veneer, could I do this to a veneer if I was super careful sanding? Thanks so much love following you and have done all your courses!
this is a veneer!! this is why I didn’t sand it all the way down. I have sanded a previous veneer table all the way down before to refinish it and that worked well except for a few spots I accidentally sanded too deep. With any veneer I would still opt for a poly + stain or a gel stain (basically the same thing) to make sure you get even coverage.