

After purchasing (and returning) three different mirrors, I finally decided it was time to DIY my own. The girls’ bathroom has two vanities, which meant I needed to make two identical mirrors—and double up on all the supplies. I found this incredible one on Pottery Barn’s website but I didn’t love the price. So I priced it out and found that I was able to make TWO for less than the one from PB.
This project turned into one of my favorite DIYs because it combined creativity (handmaking all the flowers!) with practicality (a functional bathroom mirror). Here’s how I pulled it together step by step.


Supplies Needed:

- 2 basic frameless mirrors (I picked mine up at Home Depot)
- Casting Resin
- Silicone Flower Mold 1
- Silicone Flower Mold 2
- Mixing cups and stir sticks
- Gold Leaf Rub N Buff (or metallic paint of choice)
- PL construction adhesive (for attaching flowers)
- Liquid Nails (for extra hanging support)
- Tape measure, painter’s tape & level
- Stud finder
- Hanging hardware (usually included with the mirrors)

Step 1: Casting the Flowers
The floral frame is what makes this mirror pop. To create it, I used resin and silicone molds in different flower shapes. The process was surprisingly simple:
- Mix the resin according to package directions.
- Pour it into the molds.
- Wait just a few minutes for it to cure—resin hardens quickly!
Since I needed to cover two mirrors, I made over 100 flowers in total.


Step 2: Adding the Gold Finish
Once cured, the flowers looked beautiful but I wanted them to have a bold, metallic finish. I used Gold Rub N Buff to hand paint each piece. This gave the flowers a dimensional, antique-gold look that makes the mirror feel luxe and custom.


Step 3: Prepping the Mirror
Before gluing anything down, I marked off the area on the mirror where I wanted the flowers to sit, creating a faux “frame.” Painter’s tape helped me map out the design and keep everything lined up.


Step 4: Attaching the Flowers
Using PL construction adhesive, I carefully glued each flower to the mirror along the taped border. This part was so satisfying—watching the design come to life petal by petal.
Step 5: Hanging the Floral Framed Mirror
Although the mirrors came with their own hanging hardware, I wanted extra security. I used Liquid Nails in addition to the hardware, ensuring the mirrors were safely and securely mounted.
To hang:
- Locate studs in the wall.
- Mark and level your placement.
- Secure the mirror to the wall, double-checking for balance.


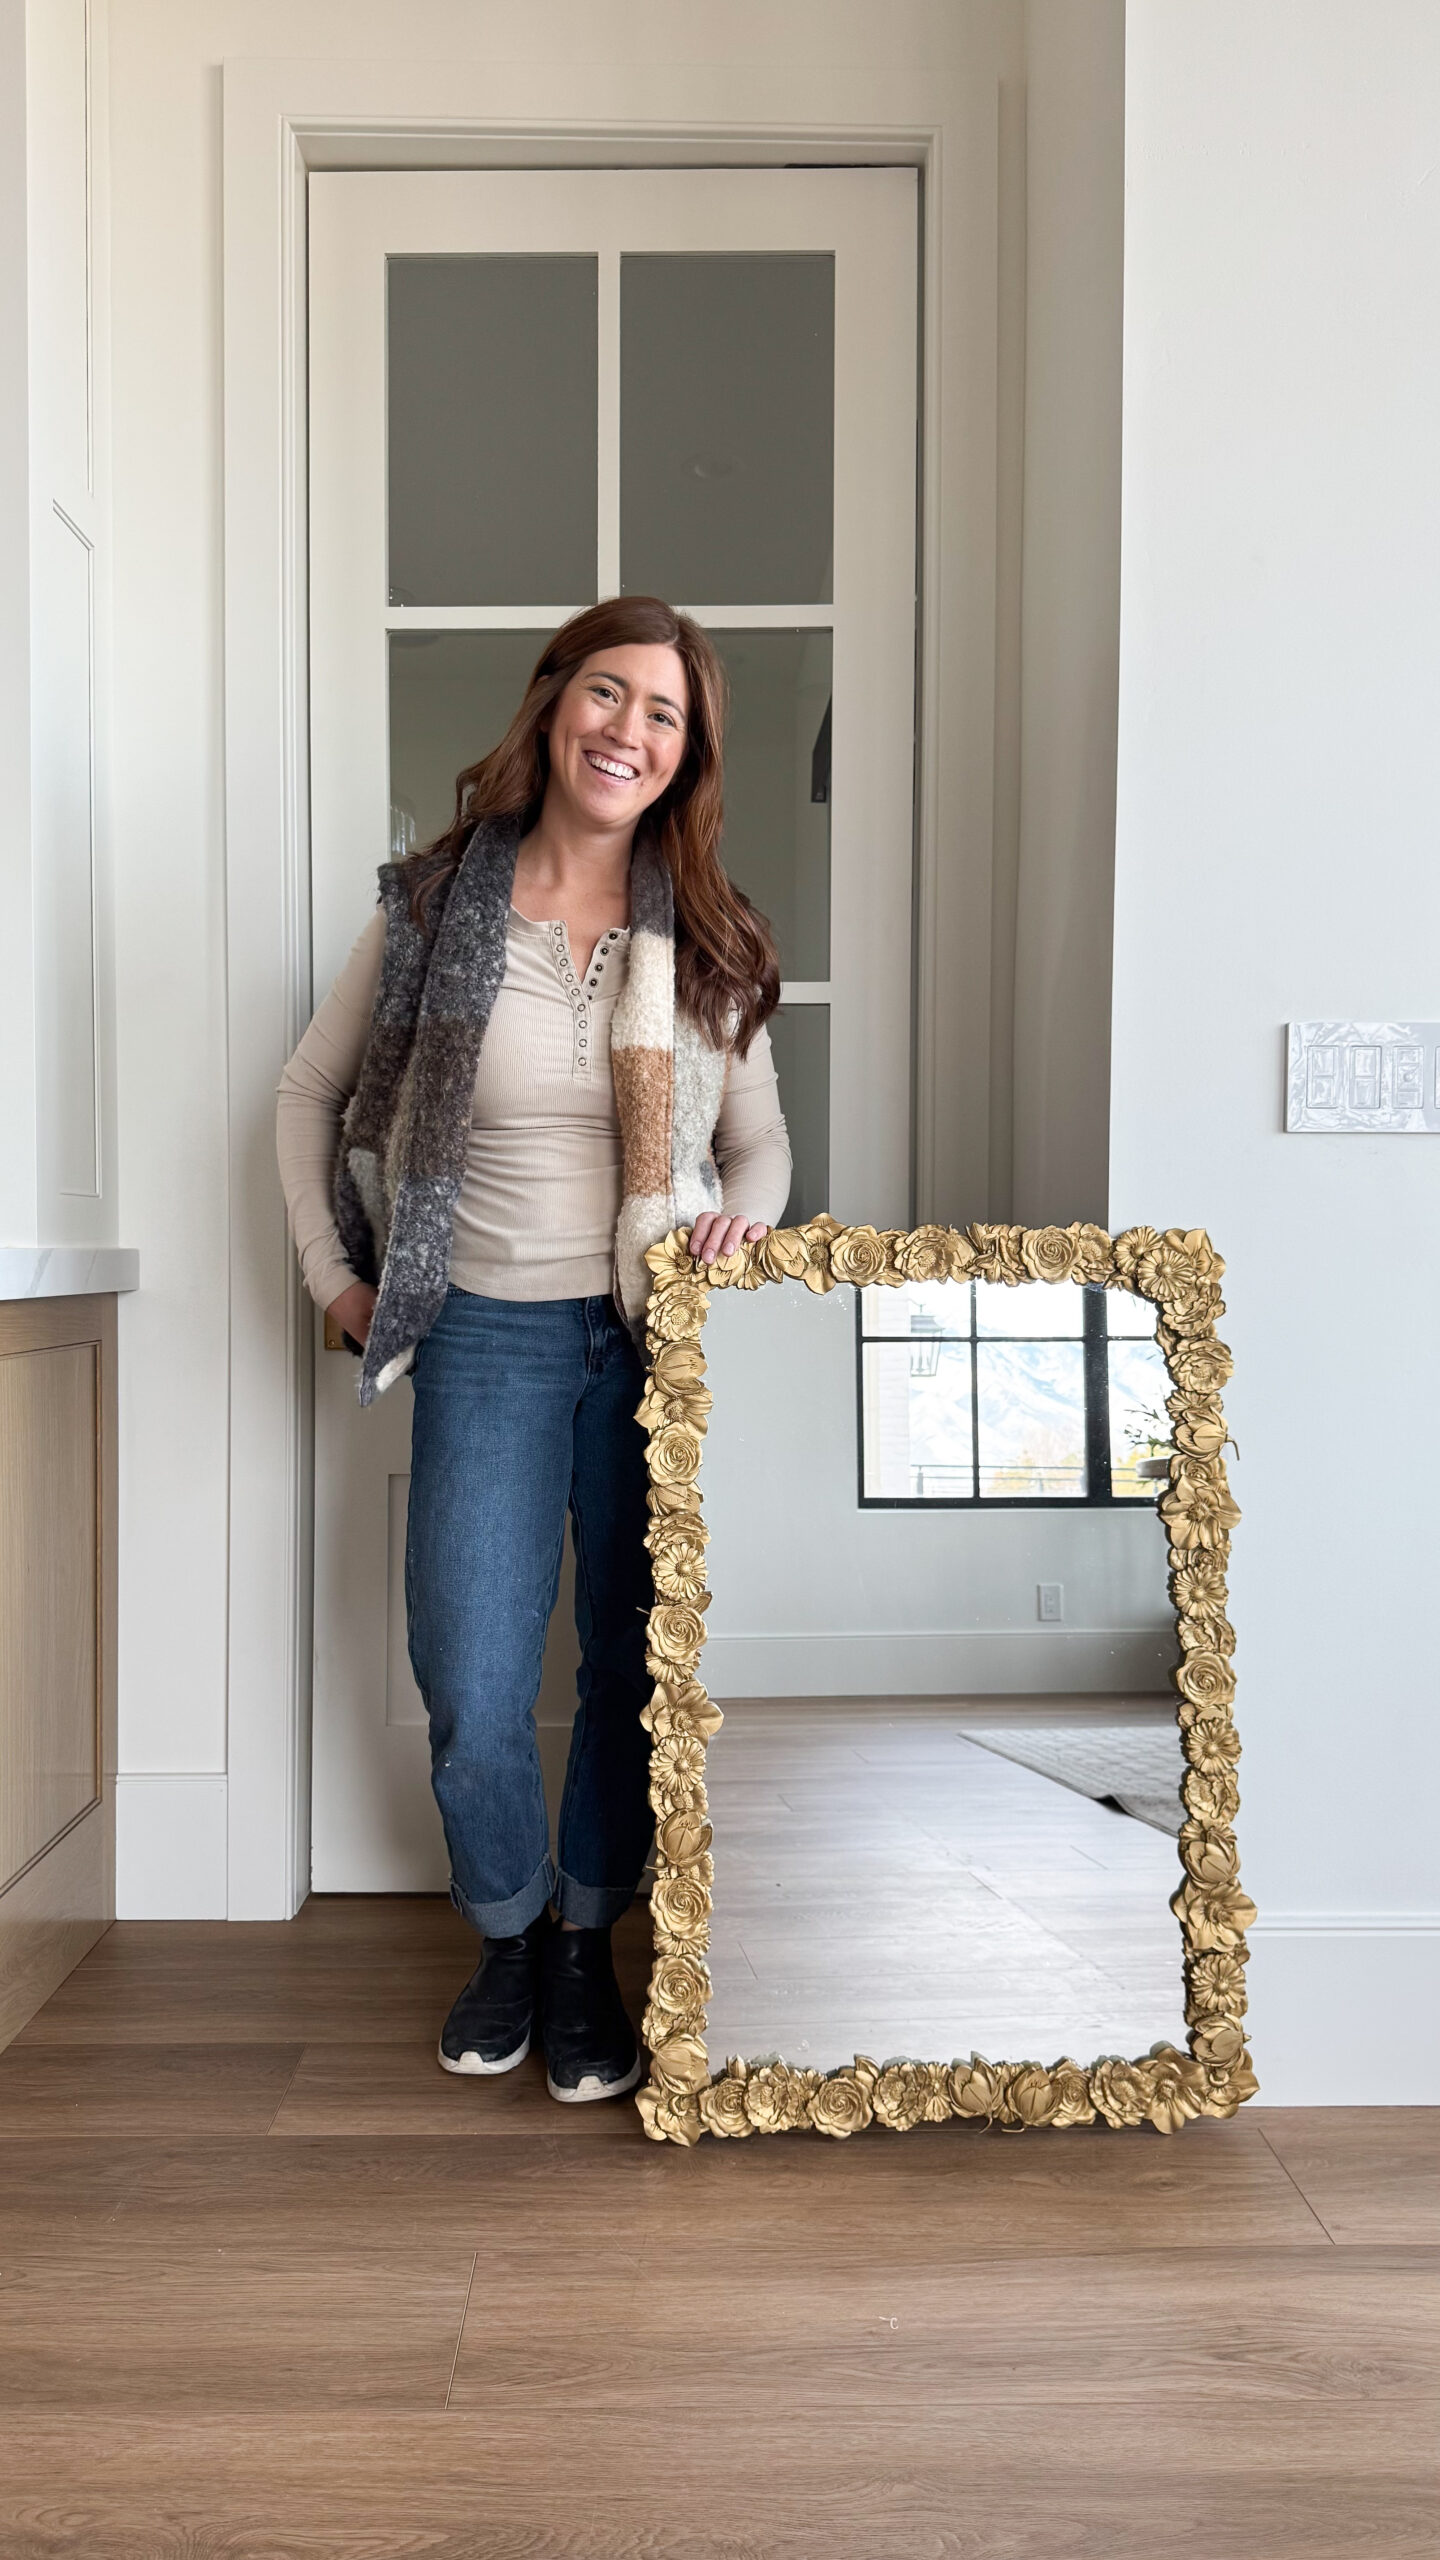
The Finished Look
The result? A custom DIY floral framed mirror that feels like boutique décor but cost a fraction of the price. The gold flowers catch the light beautifully and add the perfect touch of whimsy and elegance to the girls’ bathroom.
This project proves that when store-bought options don’t fit the vision, DIY can step in to create something truly unique.


Other Blog Posts You Might Like:
Girls’ Bathroom Reveal
New House: Tile selections, Fixtures & Plans
How to Pick Bathroom & Kitchen Fixtures
How to Build a Bathroom Vanity


+ show Comments
- Hide Comments
add a comment