

When we built our home, the builder left behind a giant pile of scrap wood destined for the trash. Instead of letting it go to waste, I scooped it up—knowing one day I’d find the perfect project for it. That day finally came!
Figuring out how to build something from nothing is one of my absolute favorite types of projects. This mantel build was all about creativity, problem-solving, and making the most of what I already had on hand.
Supplies:
Scrap wood or MDF boards
Brad nailer + brad nails
Wood glue
Bondo
Sandpaper (120–220 grit)
Primer and paint (your choice of color/finish)
2×4 board (for wall cleat)
Saw (miter saw or circular saw)
Measuring tape + pencil
Drill + screws
Planning the Mantel
Before picking up a single tool, I spent some time figuring out the scale of the mantel. I googled a few “standard sizes” for fireplace surrounds, but ultimately, I trusted my eye. Every space is different, and what looks balanced in one room might feel bulky or undersized in another.
Personally, I prefer narrower legs over chunky ones as it feels more classic and less overpowering. Eventually, I plan to brick the entire fireplace, but I wanted the mantel finished first so the brickwork can flow seamlessly around it.
Here is the inspiration photo that I found and knew I wanted to recreate! Once you see the finished product, I’d say I was pretty close!


I printed out my inspo photos and then started to determine what pieces I would need to use. I started with the measurements on my fireplace and was able to build on that. After I was able to determine the measurements, I went ahead and uploaded the measurements into a cut list optimizer to ensure I was using the pieces I already had, and didn’t need to purchase any.


Laying Out the Pieces
With the measurements in mind, I pulled out the scrap wood pile and started dry-fitting pieces together. This step gave me a clear picture of what I was working with before committing to cuts and assembly.
At first, I tried pre-drilling and using screws, but the MDF pieces kept splitting. Lesson learned: sometimes the simplest tools are the best. I ended up assembling everything with brad nails and wood glue—and it worked perfectly.


Filling and Finishing
After the frame was assembled, it was time to make it look like one solid piece. I used Bondo to fill all the seams. Unlike standard wood filler, Bondo is stronger and doesn’t shrink or crack over time. The downside? The smell is horrible! Definitely a step to do with windows open or a mask on.
Just when I thought I was in the home stretch, disaster struck and the entire mantel tipped forward, fell face down, and broke. (Cue the tears.) Luckily, nothing was too far gone, and with some patience, we got it patched back together and ready for primer and paint.


Securing the Mantel
Attaching the mantel to the wall was the last big step. To do this, I cut a 2×4 diagonally in half, creating a French cleat system.
- Bottom piece: secured directly to the wall.
- Top piece: attached to the back of the mantel.
- Once the mantel was lifted into place, I screwed the top piece down through the wood, locking the mantel snugly against the wall.
This method keeps the mantel sturdy, while also allowing it to be removed in the future if needed.


Final Thoughts
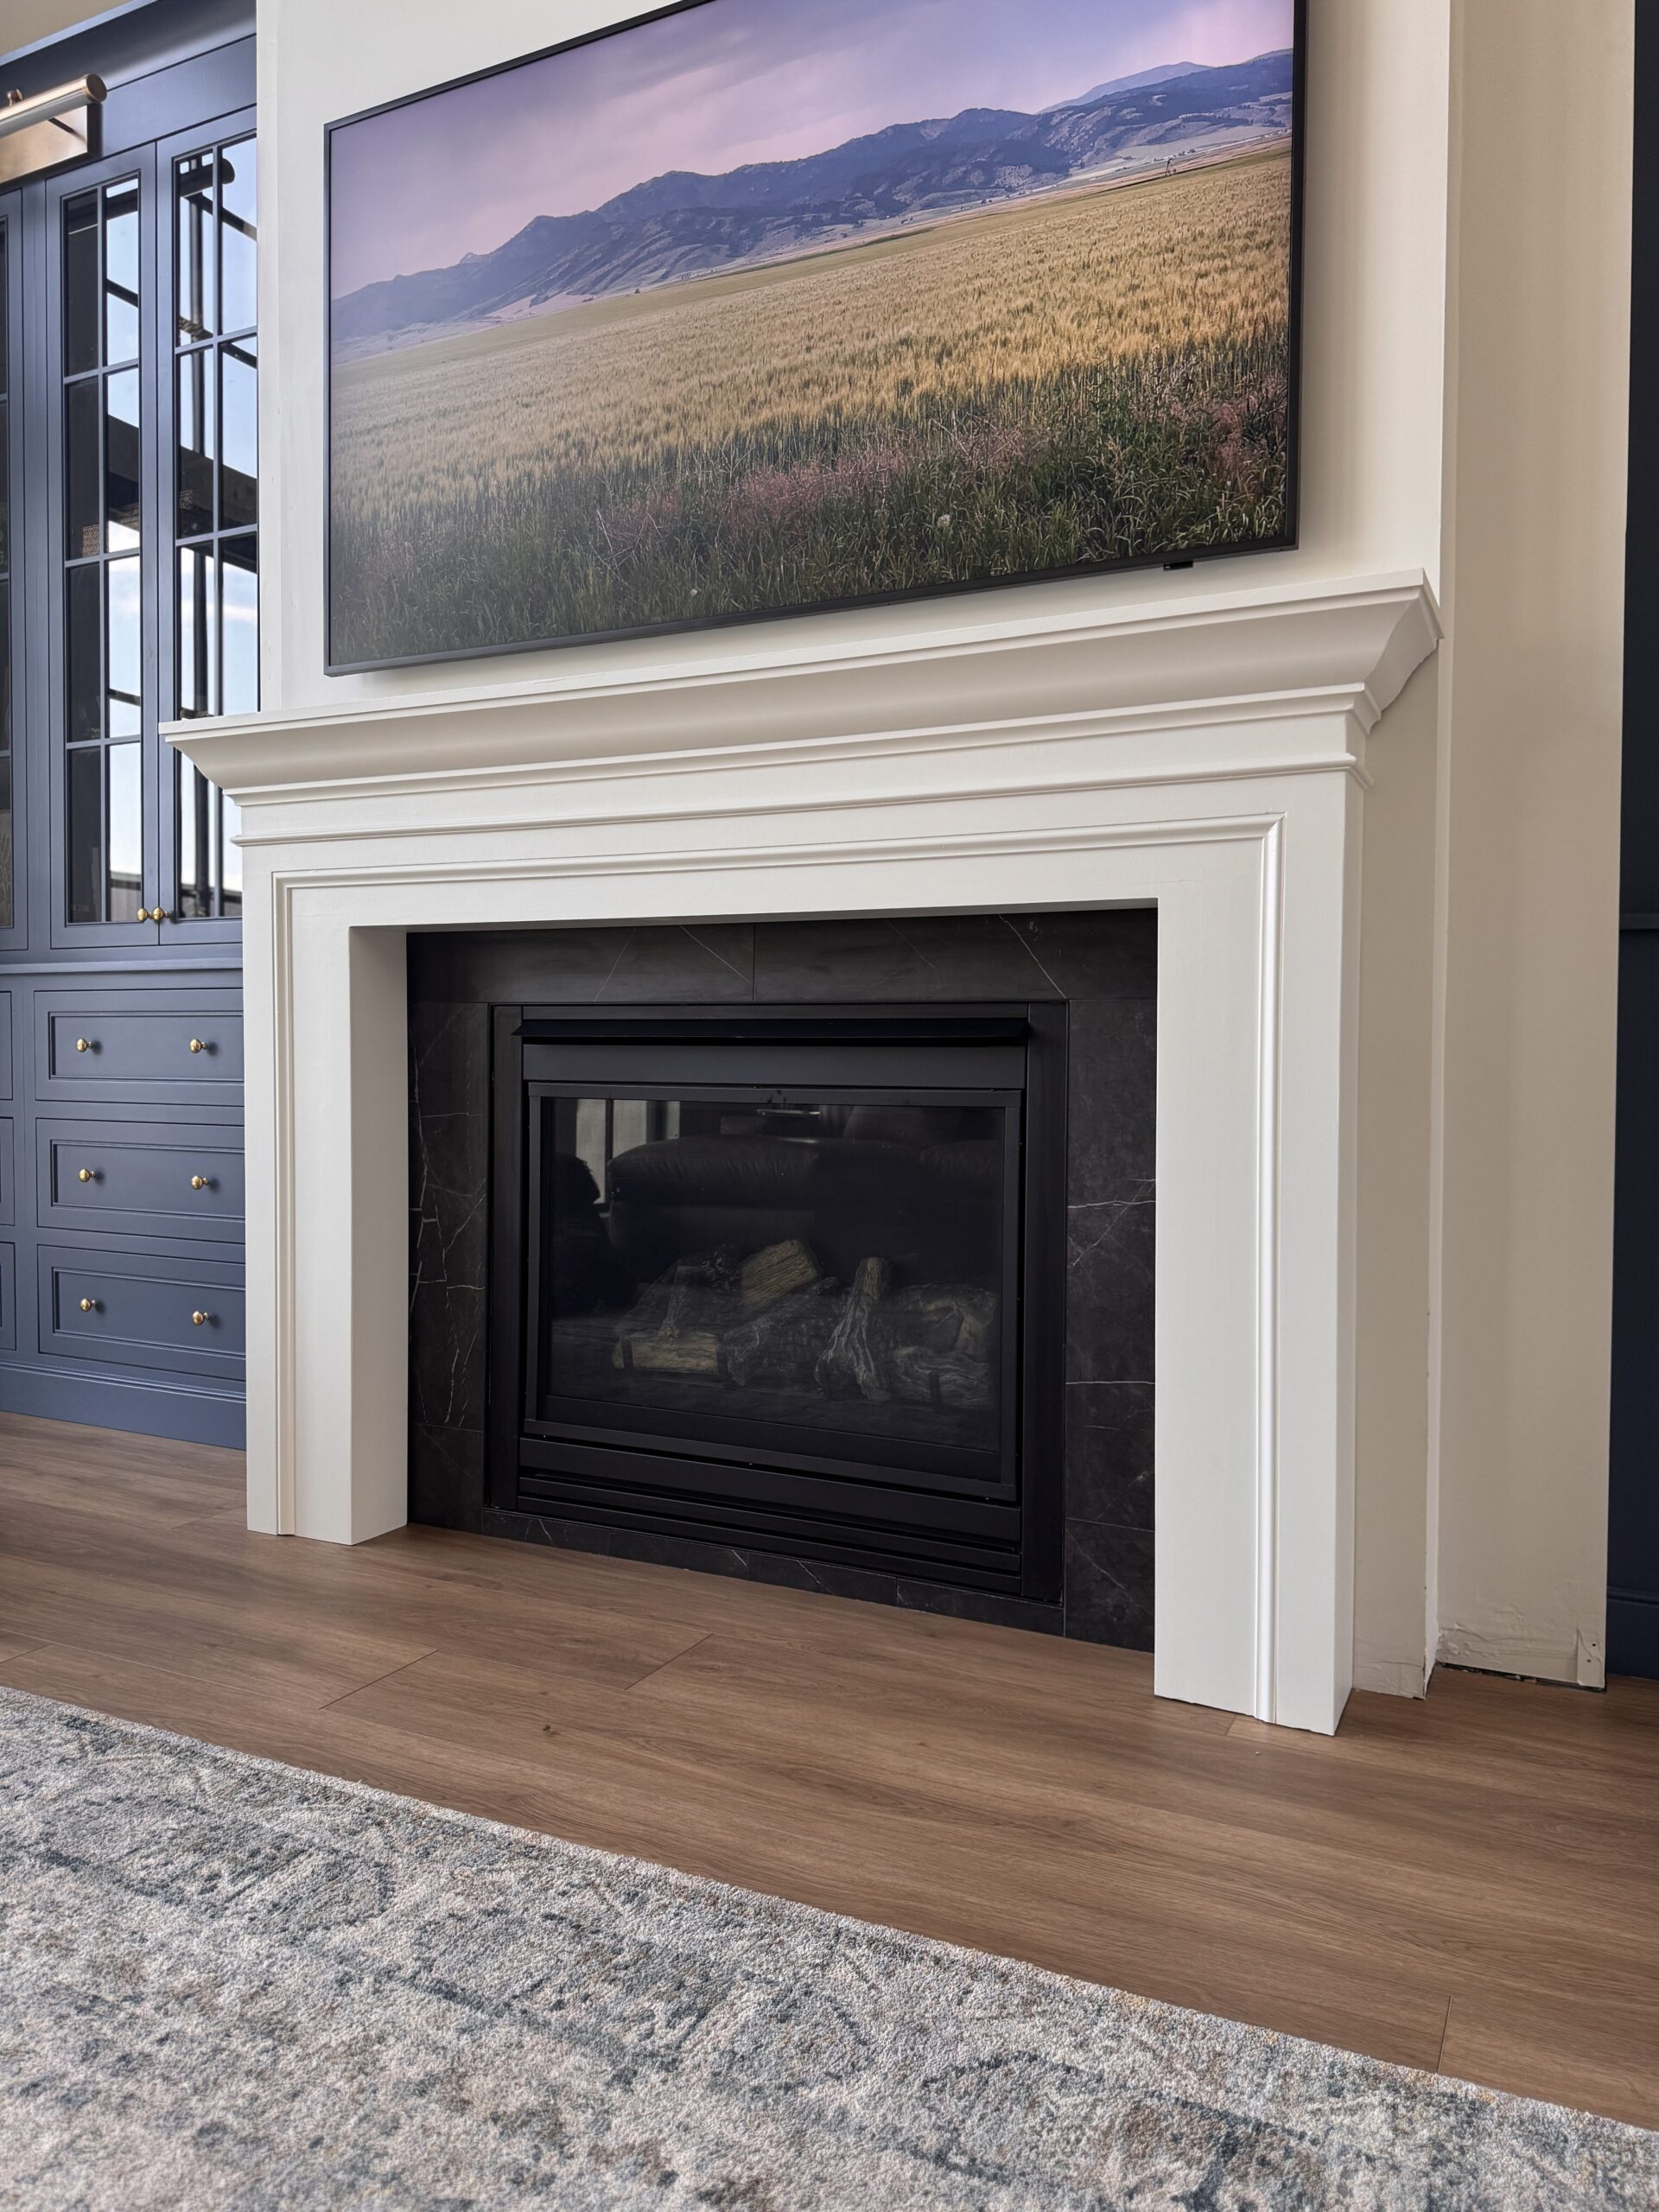
This mantel may have been built from scrap wood, but it completely transformed my fireplace. Projects like this remind me that DIY doesn’t always mean buying a cart full of new supplies—sometimes the best pieces come from making the most of what you already have.
Next up? Bricking the fireplace to finish the look!


Other Blog Posts You May Like:
Living Room Built-Ins
Jess’s Living Room Makeover
5 Ways to Refresh your Living Room On a Budget
Installing Luxury Vinyl Floors over Engineered Hardwood


+ show Comments
- Hide Comments
add a comment