This post is sponsored by Cutting Edge Stencils.
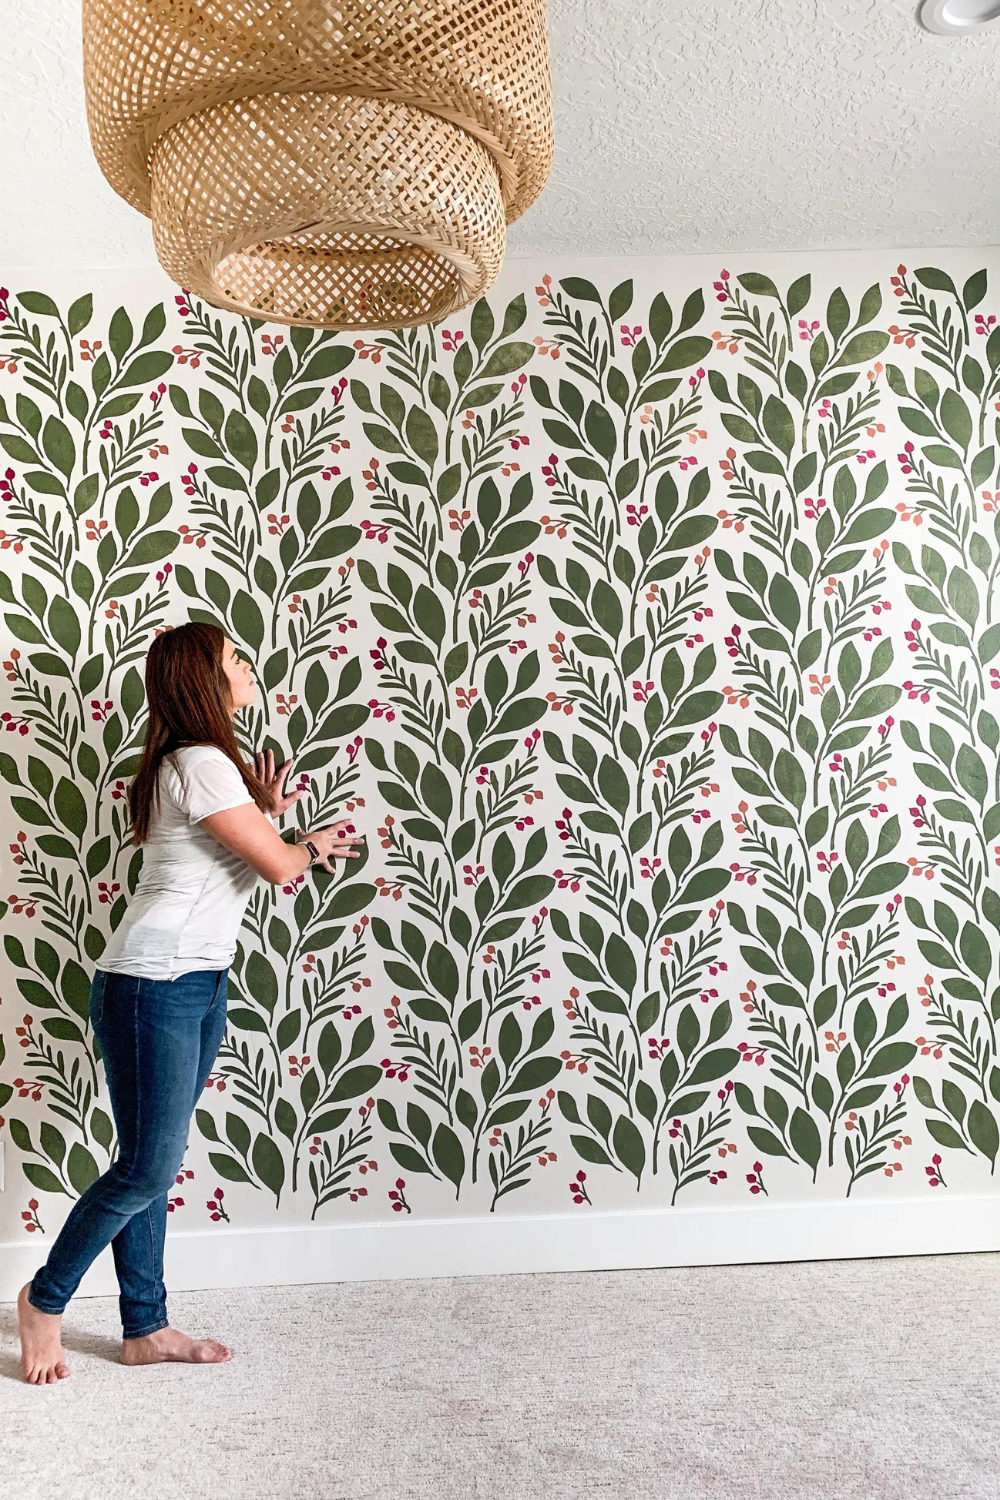
Creating a boho inspired room for Harper, I knew I couldn’t do a traditional wood wall treatment, and I needed a fun pattern but didn’t want to fully commit our budget to wallpaper. Once I saw the magnolia and berries stencil from Cutting Edge Stencil I knew it would make the perfect backdrop for her cane daybed (tutorial linked here.)

Cutting Edge makes using a wall stencil simple. They provide you with detailed written and photo instructions that discuss the materials needed, type of paint they suggest, how to apply the stencil to the wall, how to apply the paint, prevent bleeding, basically all the things in the box with the stencil. There are seven tutorial videos also found on their website that were extremely helpful.
So rather than repeat all of their instructions I want to give you guys a few pointers I found helpful when creating my stenciled wall.
Tips to Wall Stencil like a Pro!
First, buy the stencil essentials pack when you purchase your stencil. It comes with a foam roller, a small stencil brush and a snap on level. The level is seriously life changing when it comes to wall stenciling. No wall or corner is perfectly straight and it’s nearly impossible to hold the stencil still plus a bulky level all while trying to not let the painters tape stick in the wrong position. The snap on level can attach to the top or bottom of your stencil and it stays there… the WHOLE time.

Second, invest in some spray adhesive. This made a world of difference with my bleeding and overall application. I found spraying a light coat of spray adhesive on the wall, then applying the stencil basically eliminated any of the bleeding issues I was having. Plus it doesn’t leave a residue on your wall and allowed for repositioning.
Third, start in an upper corner and stencil as many full stencils as you can then if needed trim the stencil down with a pair of scissors and get the areas that are half size.


Wall Color: SW Egrot White
Leaf Color: SW Oak Moss
Berry Color: June Berry & Rojo Dust
For the leaves I used a roller, and for the berries I used the stencil brush. Because the berry colors were both shades of pink I simply wipe my brush on a paper towel between switching colors rather than rinsing the brush. This seemed to work well.
Last tip would be to make sure you aren’t over saturating your brush or roller. Its best to dab it off on a paper towel prior to applying it to the wall. It’s better to do multiple thin coats than one think coat.


And there you have it! a beautiful accent wall full of character and less than a fraction of the cost of wallpaper or wood trim!
Be sure to follow along with all the DIY adventures @honeybuilthome on instagram and on Pinterest.


+ show Comments
- Hide Comments
add a comment