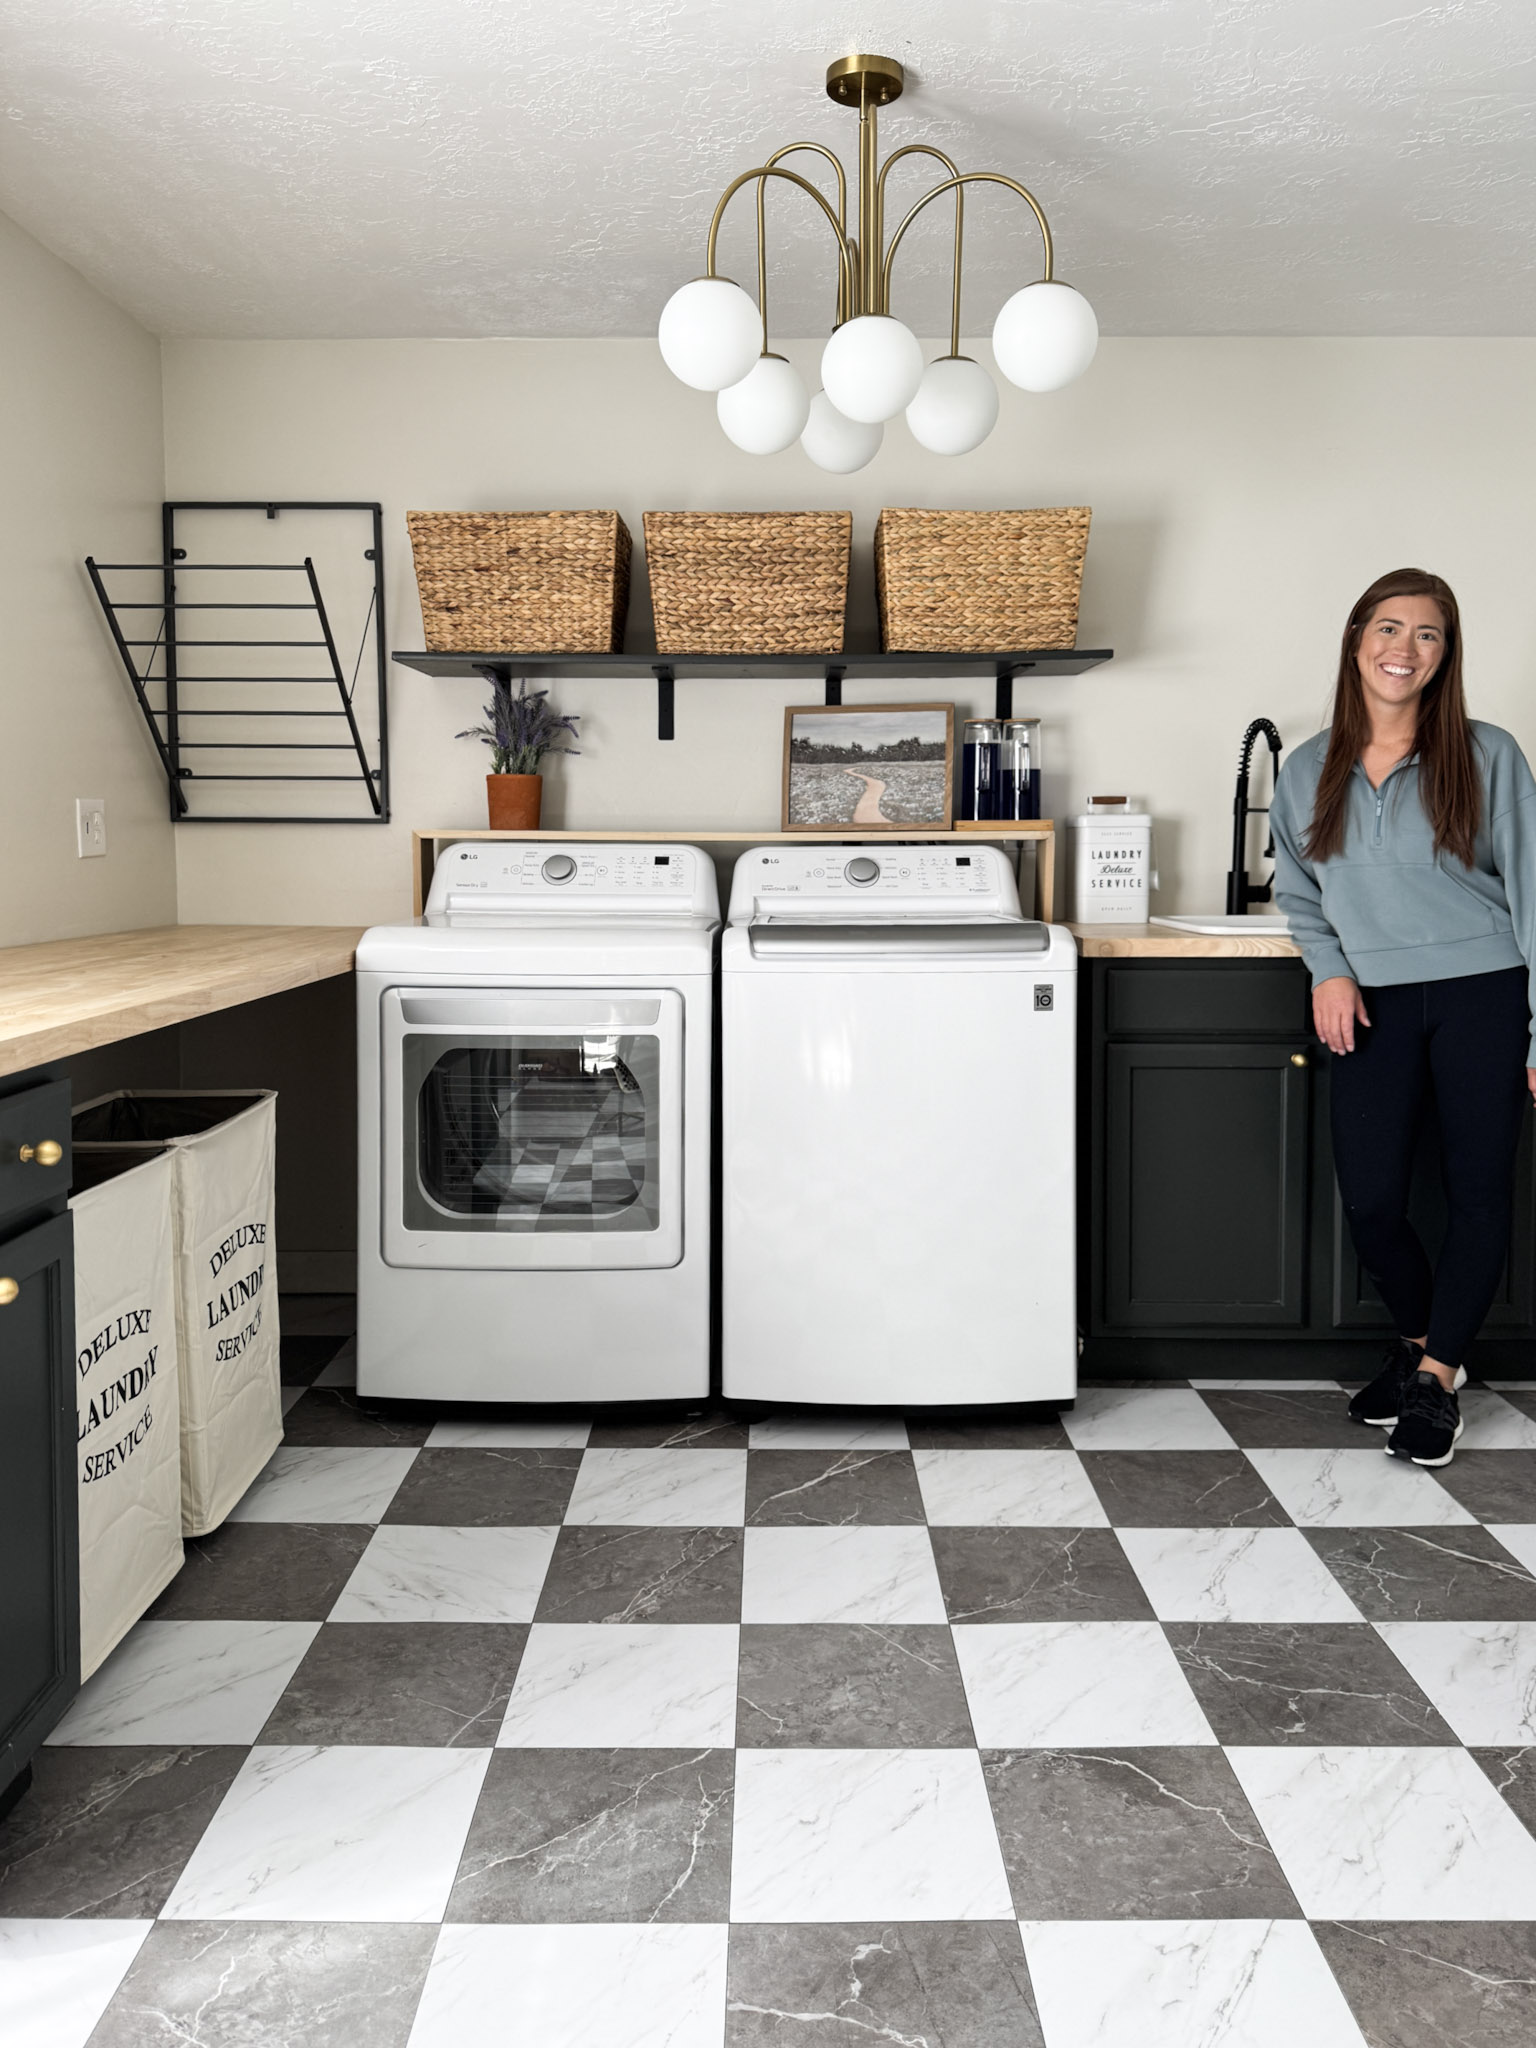
When Jess relocated her laundry room into her basement, she never imaged that shortly after it would flood. This caused damage to her brand new floors–so we had to improvise. What we didn’t realize is that the new flooring was going to be even better than before!


After all of the water damaged flooring was removed, we cleaned the floor and prepped for self leveler. This process was fairly simple, just takes a bit of time. We used spray insulation foam to block off the areas that wouldn’t get flooring (ie. the utility room and an area that will have a wall built in the future). The insulation foam acts as a barrier while the self-leveler dries, but then easily scrapes up once we are finished.
If you’re wanting to learn about the self leveling process, I have a whole blog post that goes over it. You can read that HERE.


Peel and Stick Flooring:
We found these really cool grout-able, water resistant peel and stick vinyl marble tiles (that’s a mouthful) at Lowes and KNEW this was the project we wanted to try them on. They have a fairly simple install that doesn’t require any power tools! We went with a combo of White Vinyl tiles and Grey Vinyl tiles in a checkered pattern. They come in 12×12, 12×24, and 20×20 sizes. We opted for the 12×12.

Laundry Room Flooring Installation:
When laying any type of flooring, you want to lay out one row of tiles the entire length of your room, in both directions. This helps prevent a sliver of a tile being at the doorway or entry of your room. If you see that there is going to be a thin piece on one side, you can shift everything to have two equal pieces on each side, or have the smaller piece on a hidden side of the room.
On the pieces of tile that you need to cut, you can use a box knife and scissors, or this 12-in Floor cutter.
The first row needs to go against a straight so we are measuring multiple points from the back wall and creating a straight line. I lined up my laser level on that line and from there, it’s so simple! Just peel, stick, peel, stick. Use tile spacers to create grout lines if you’re going to grout. We spaced the tiles 1/16″ apart


While the flooring was the main part of this renovation, we also swapped out cabinet hardware, lighting and some other decor. We also decided to go a little crazy and turn a Kobalt Utility cart into a laundry room island that doubles as storage. It seemed like a great idea, and we weren’t wrong! There is so much storage, the top can be used for folding, and the outlets on the side are perfect for ironing.


Supplies & Products:
Self Leveling Concrete
Drill Mixer Attachment
Spray Insulation Foam
12-in Floor Cutter
White Peel & Stick Vinyl Tiles
Grey Peel & Stick Vinyl Tiles
Grout
Light Fixture
Cabinet Knobs
Kobalt Utility Cart
Rolling Laundry Baskets
Large Round Laundry Basket
Large Wicker Storage Baskets


Want to see the IG Reels from this project? Check them out by clicking the pictures below!


Other Blog Posts You May Like:
DIY Laundry Basket Tower
New House: Tile selections, Fixtures & Plans
Primary Bathroom Reveal
DIY self leveling concrete


+ show Comments
- Hide Comments
add a comment