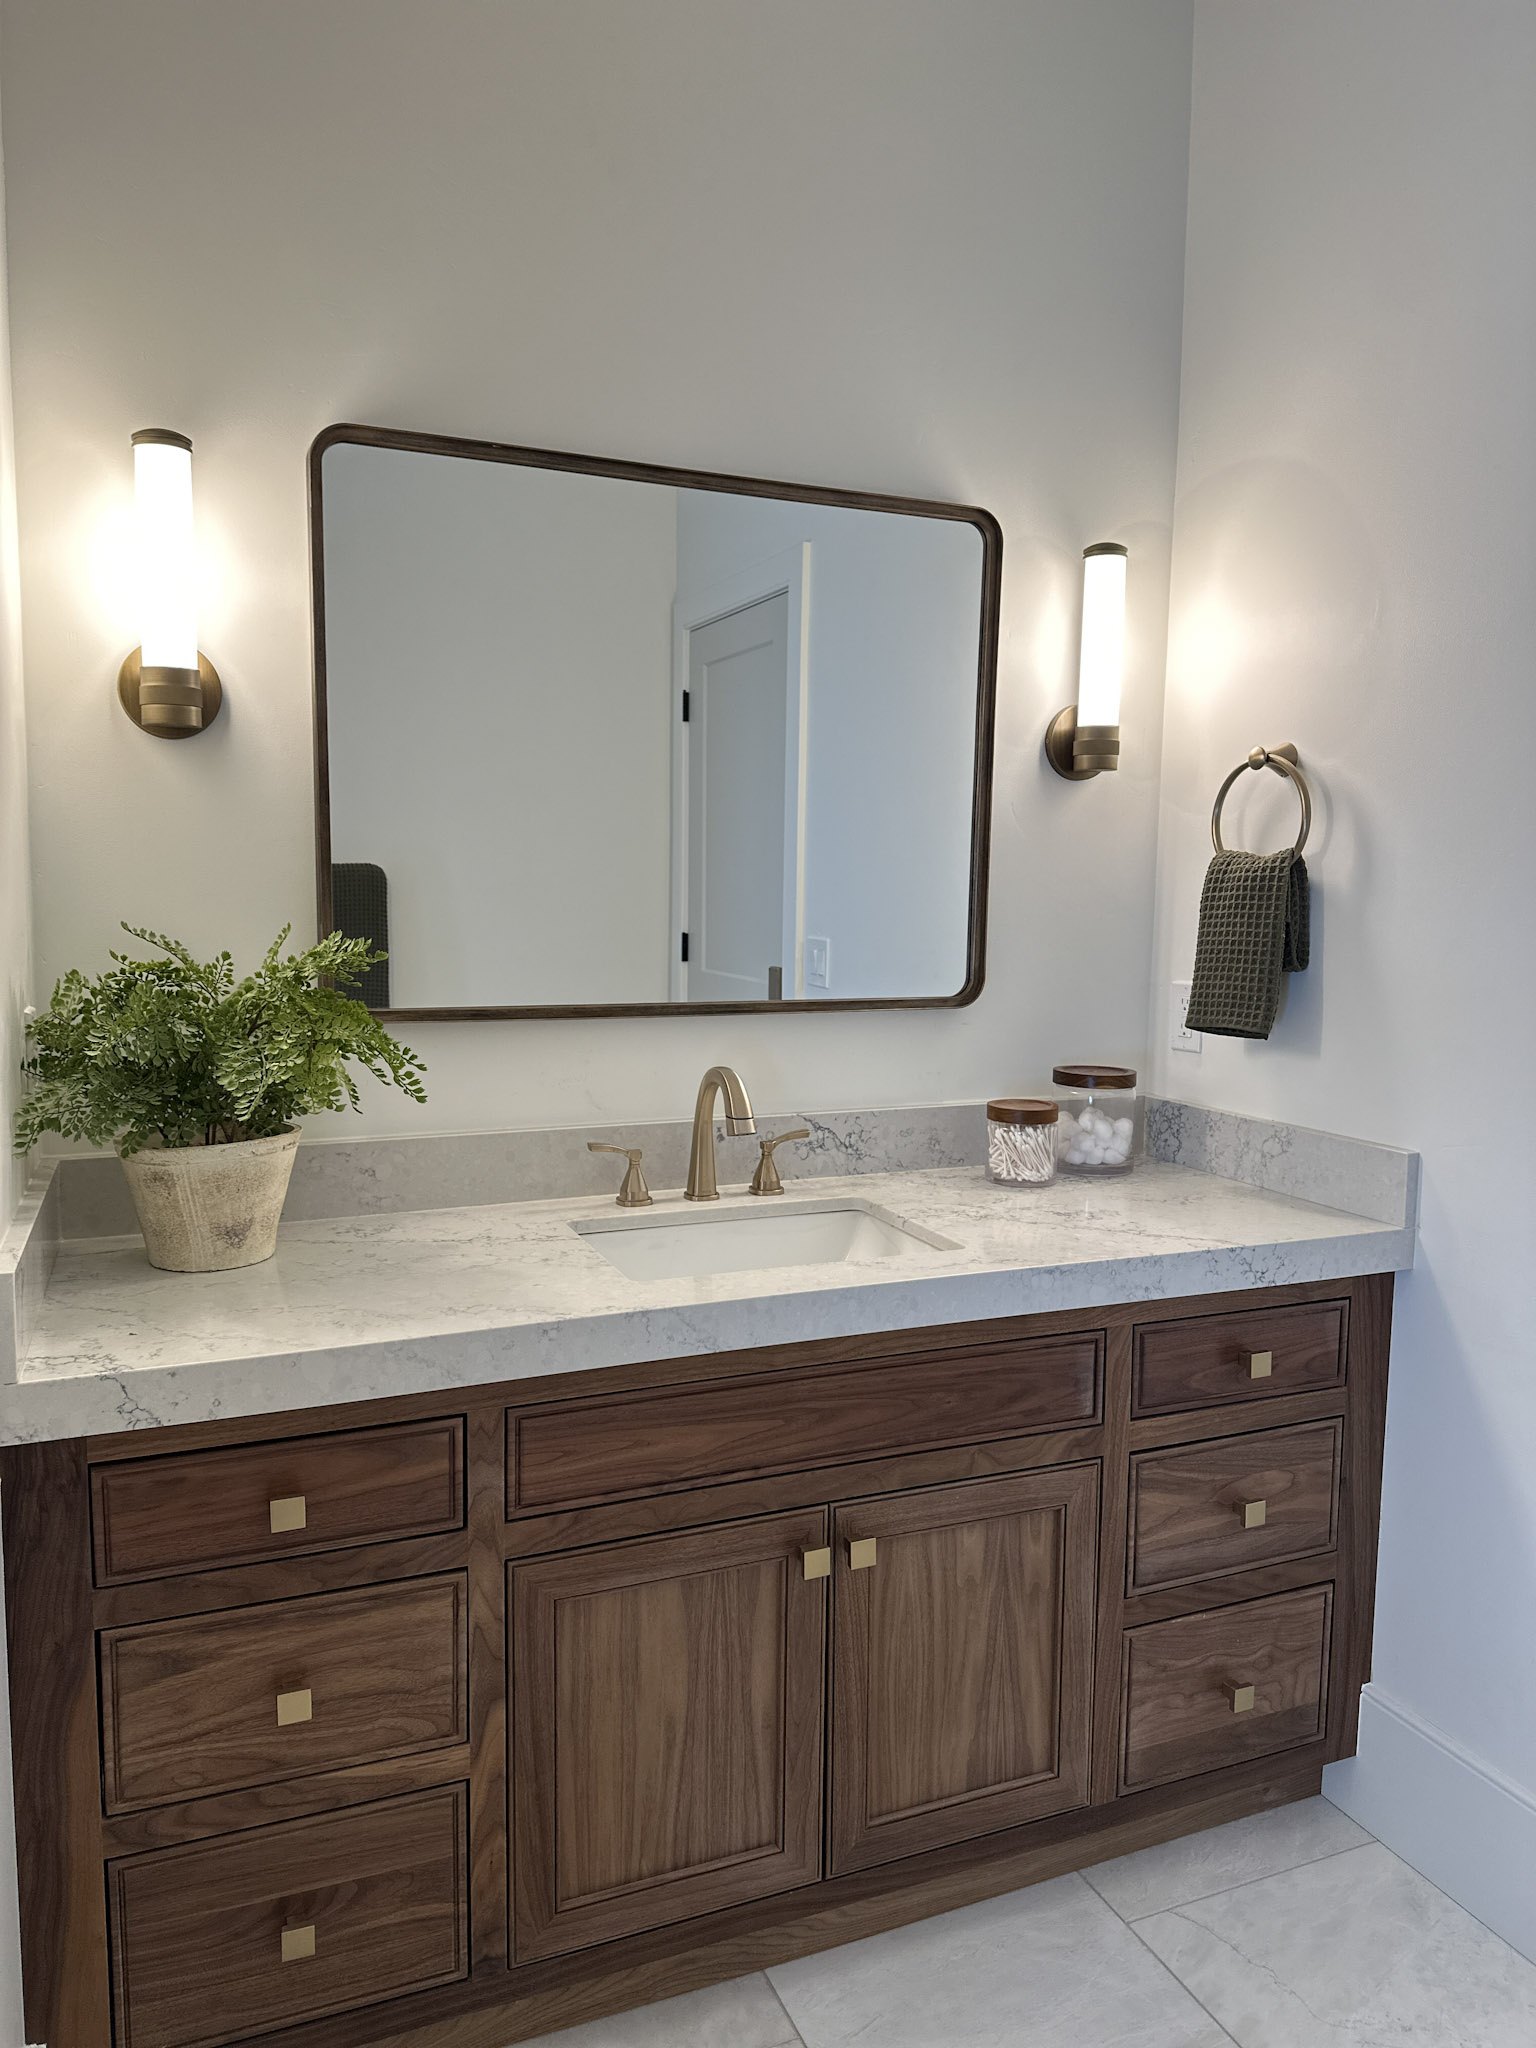
The Boys’ bathroom is finally finished! This room consisted of several smaller projects, but together they complete the space. From the vanity to the shower tile, this bathroom was very intentional. I wanted something that can grow with the boys, but that looked beautiful at the same time. Below I’ve listed all of the sources and links to everything you see in the space!


Boys’ Bathroom Tile & Accessory Selections
Vanity: Walnut Doors & face frame/body custom
Wall Mirror
Countertops:
Drawer Pulls: Emtek Paxton Cabinet Knob
Cabinet Handles: Emtek Westridge Cabinet Pull 6″
Vanity Lights: (similar) Sharima Ribbed Glass Rod Cylindrical Wall Lights
Faucet: Delta Faucet Cassidy Pull Down Bathroom Faucet
Towel Hook:
Hand Towels: Geometry Waffle Hand Towels in Forest – Code HONEYBUILTHOME
Floor Tile: 18×18″ Iceberg Brushed Marble
Grout: Castle Wall
Shower Details:
The shower was a labor of love, but turned out SO great. All of our waterproofing supplies came from Place for Pros, and I couldn’t be happier with their products. They offer complete shower kits that include everything you need to fully waterproof a walk-in shower. Their wall membrane can be applied directly over sheetrock, but if you’re working with exposed studs, they also have hard panels that eliminate the need for cement board—making the process even easier. This was my first time using their products, and I have to say, they’re very beginner-friendly!
Waterproofing Supplies: Guru
Shower Wall Tile: Green Cloe 2.5x8″ and Grey Cloe 2.5×8″
Shower Floor Tile: Matisse Mosaic Marble
Grout: Castle Wall
Shower Faucet: Modern Raincan Square Shower System
Soap Dispenser: Single Pump, Double Pump, Triple Pump


Tile Maintenance:
Want to keep your tile looking brand new for as long as possible? One of the best ways to do that is by sealing and regularly re-sealing both the tile and grout. It makes a huge difference in maintaining that fresh, like-new look! Here are my go-to maintenance must-haves to keep my bathroom looking just as good as the day it was finished:
Tile, Stone and Grout Sealer
Steam Cleaner
Get a Bidet:


If you’re debating whether to add a bidet to your new build, let me tell you—it’s 100% worth it. Even if you’re not ready to commit right now, at least have an electrical outlet installed near the toilet so you have the option down the road. We went with the BidetMate 5000, and let’s just say, once you try it, there’s no going back. It opens automatically when you enter, has a foot pedal to lift the seat (a game-changer for the boys), and even flushes and closes on its own after use. Oh, and did I mention the heated seat? Plus, it comes with all the bidet functions—front and back wash, adjustable water temperature, and customizable pressure. Trust me, this is one upgrade you won’t regret!
I’m thrilled that this room is finally finished and can’t wait to start tackling the other bathrooms/rooms in my house. Be sure to follow along on IG where I share my projects in real time!
Other Blog Posts You Might Like:
New House: Tile selections, Fixtures & Plans
How to Build a White Oak Vanity
How To Reface Your Cabinet
Jess’s Primary Bathroom Reno
Refresh Your Ugly Grout


+ show Comments
- Hide Comments
add a comment