This post is sponsored by 3M, but all opinions are my own.

Ever wanted to hang a beautiful mirror, amazing new wooden wall art, or maybe a gallery wall but didn’t know what tools you needed to get the job done? Well, what if I told you you can hang all of those heavy items without any tools. Yes! You heard me! No drywall anchors, or stud finder, no pre-drilling… the only thing you need is your fingers and whatever you plan to hang and a few spare minutes.
So here’s how it works…
The 3MTM CLAW Drywall Picture Hanger offers trusted strength in a few different weight capacities: 15, 25, and 45 pounds. Select the capacity that matches the weight of your wall art, use the accompanied foam alignment Spot Marker to help place the 3M CLAW Drywall Picture Hanger in the right spot.
Place the two curved claws next to the drywall, and push, firmly. Once its secure in the drywall hang your wall art and enjoy!
If the positioning of your 3M CLAW Drywall Picture Hanger isn’t exactly where you want it to be you can wiggle the product back and forth to remove it from the drywall and the best part is the holes it leaves are tiny like a tack and easy to fill unlike traditional drywall anchors that leave a dime size hole that needs to be patched.
Creating a Family Command Center with the 3M Claw Drywall Picture Hanger

The before:

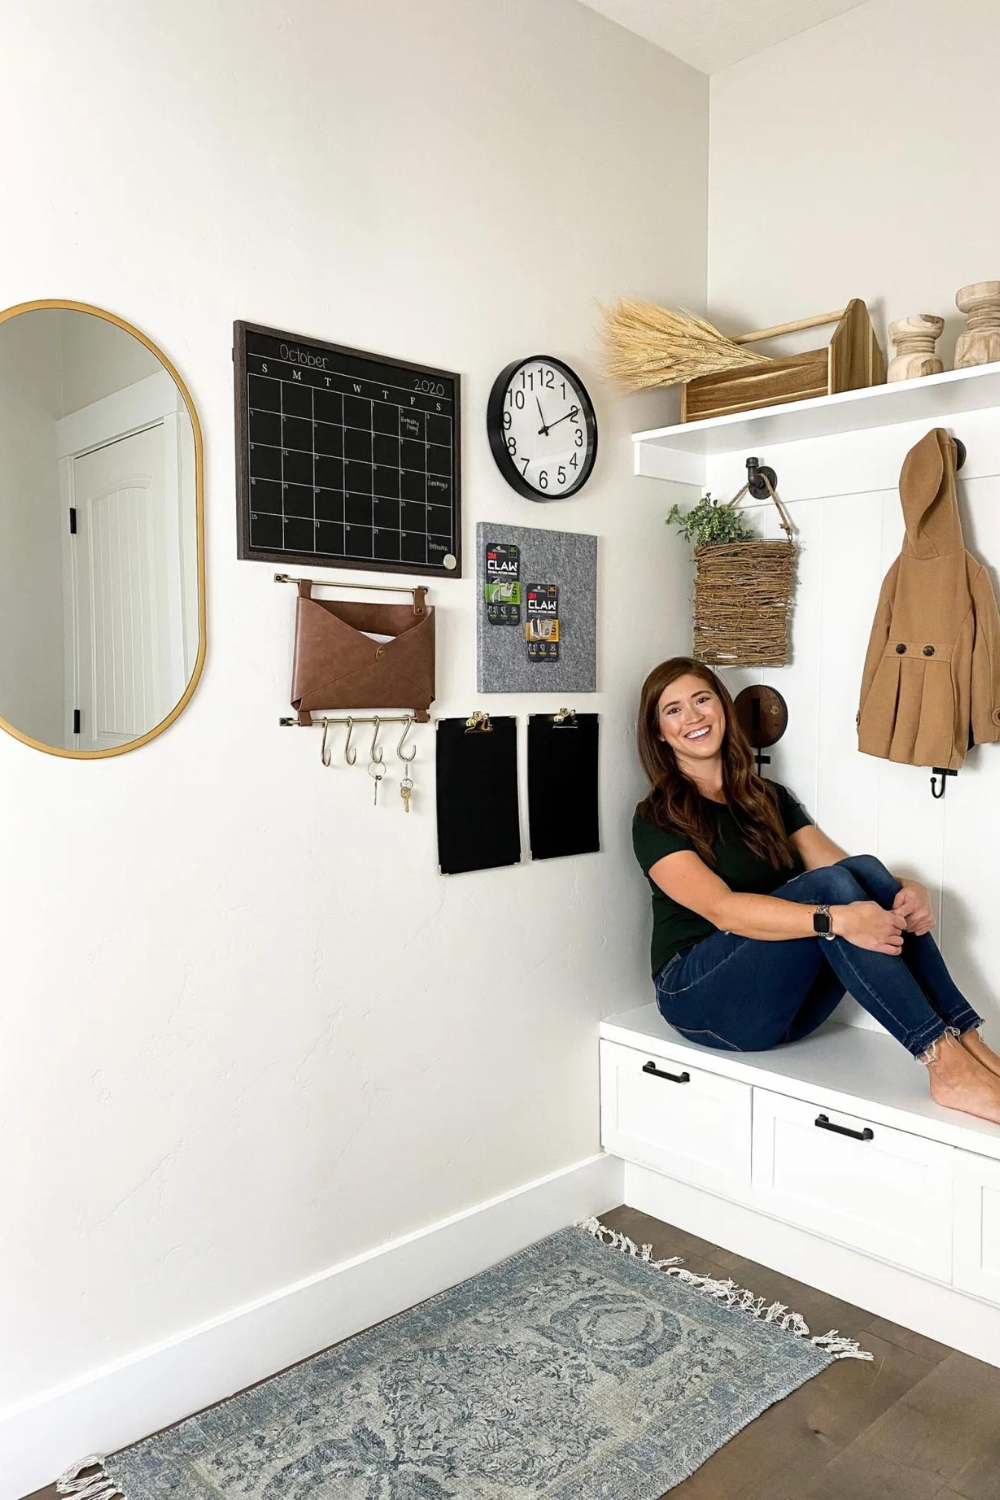
For my family of 5 I have been struggling keeping track of all the homework, weekly worksheets, birthday invitations, and sports schedules. I am fairly good at adding things to my phone calendar, but we just needed a space to keep all the things… that wasn’t all over my kitchen counters… and accidentally getting those week long homework packets lost beftcanore it’s time to turn them back in.
So for this gallery wall command center I wanted to include some heavy items like this pill shaped round mirror and this wooden chalkboard so I chose to use the 15lb and 25lb 3M CLAW Drywall Pictures Hangers to make it work.

Planning and Aligning a Gallery Wall
When figuring out the placement of a gallery wall it’s best to visually keep all of the items within a rectangle. Each item should be equally spaced from the next, ideally 2-4 inches from the next piece.
Use the 3M Spot Marker figure out the placement of your 3M CLAW Drywall Picture Hanger. Each Spot Marker has two adhesive sides. Stick one side onto your art directly above the nail hole, and align the art onto the wall. Press firmly to transfer the Spot Marker from the art to the wall. And wa-la! Now you know exactly where to stick in your 3M CLAW Drywall Picture Hangers!
Lightly mark the area right underneath the Spot Marker with a pencil and peel the Spot Marker away. Then align the 3M CLAW Drywall Picture Hanger with the dot left behind and firmly press it into the drywall. Then hang the art/mirror/picture and move onto the next!

Shop the post
Click on an image to shop
Clock
Wooden Candle Holder
Rug: Hobby Lobby
Paint Color: BM Classic Grey & SW Extra White
Do you have a command center in your home? How is it functioning for you?For more tips, tricks, and all the behind the scenes be sure to follow along on instagram @Honeybuilthome


+ show Comments
- Hide Comments
add a comment