
Office Builtin Bookcase


Can you even believe the office builtin bookcase? It feels like they were MEANT for this space. Be sure to check out part 1: custom IKEA and Nieu cabinets & DIY desktop here,

Material list:
1”x 2”x8’ (0.75-in x 1.5-in x 8-ft) Royal® PVC Board
1”x10”x8’ (0.75-in x 9.25-in x 8-ft) Royal® PVC Board
PVC Cement
2” screws
1 1/4” 18 gauge brad nails
220 grit sandpaper/sanding block
1 1/4” Kreg Pocket Screws
Paint (optional)
Tools needed:
Miter Saw
Drill
Level
18 gauge brad nailer
Drill bit
Kreg Jig
Clamps
Royal® PVC Board features one side that is a wood grain texture, and the other side has a smooth finish. First, determine which side you want visible. For these built-ins, the wood grain texture is facing down on each shelf so the underside is textured. For the rectangular bookcase, the wood grain is butted up to the wall so the smooth side is shown on the inside of the bookcase.
Building the rectangle:
Measure and cut two 1×10” wide PVC boards to the height of the bookcase (these are 70”) and one 1×10” wide PVC board the desired width (in this case, 36”). If this is a standalone bookcase, cut two 1×10” boards at 36”, one for the top and one for the bottom.
To attach the boards, first pre-drill three holes on each end of the 36” top (and bottom) boards. Then apply PVC cement and drill a 2” screw from the top board into the lip of the long side of the boards. This should make a solid rectangle.

Cut a 1×4” board to fit in the top corner of the bookcase. Drill four pocket holes, two on each side. Attach the 1×4” board to the back top of the bookcase using 1 1/4” kreg screws. These back support pieces will be secured into the studs on the wall to anchor the bookcase to the wall.
Build each shelf:
Cut one 1×10” board to a length of 36” (or desired length) and two 1×2” boards to the same length.

Turn one 1 1/2” board on its side and pre-drill three screw holes. Apply a layer of PVC cement to the other side of the 1×2” board, line up with the 1×10” board, and attach with a 2” screw straight through the 1×2” board and into the 1×10” board.

This will serve as the structural support for the shelf.


Optional: Apply PVC cement to half of the other 1×2” board and the front edge of the shelf. Line up and insert in 1 1/4” 18 gauge brad nails. This board serves as the face frame/front edge of the shelf.
Repeat above steps for as many shelves as you are building.
Attach the shelves to the bookcase:
To attach the shelves to the bookcase it works well to create side supports that are pocket screwed into the sides of the bookcase. Cut two (per shelf) 1×2” boards to 8 3/4” in length.
Use a kreg jig to drill pocket holes into the side support. Use 1 1/4” kreg pocket screws, PVC cement, and a level to secure the boards directly into the side of the bookcase.
Place the shelf on top of the side supports.
Optional: To create the face frame, attach a 1×2” board to the edge of the 70” bookcase rectangle using PVC cement and 18 gauge brad nails.
The built-in header of this particular bookcase is a 1×6” board topped with a 1×4” board directly on top.

Prep for paint:
Fill any nail/screw holes with wood filler and caulk seams with a paintable caulk. Sand wood filler smoothly with 220 grit sandpaper. This PVC bookcase can be left as-is, but is also paintable with 100% acrylic paint. I painted with Sherwin Williams SW0053 Porcelain in Emerald with a satin finish.
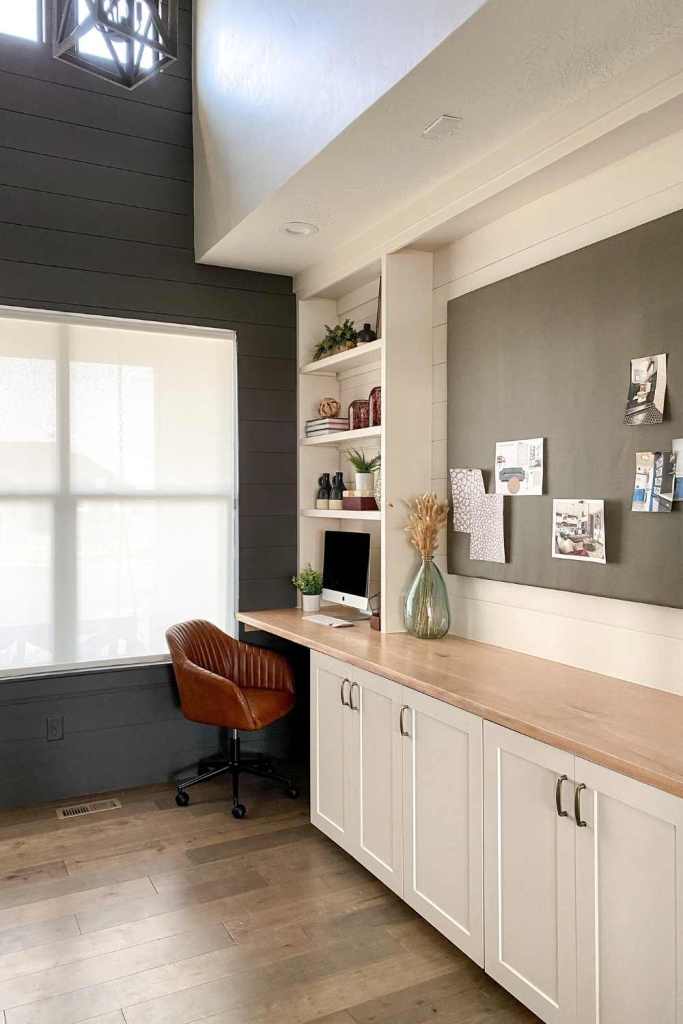
Finished product:
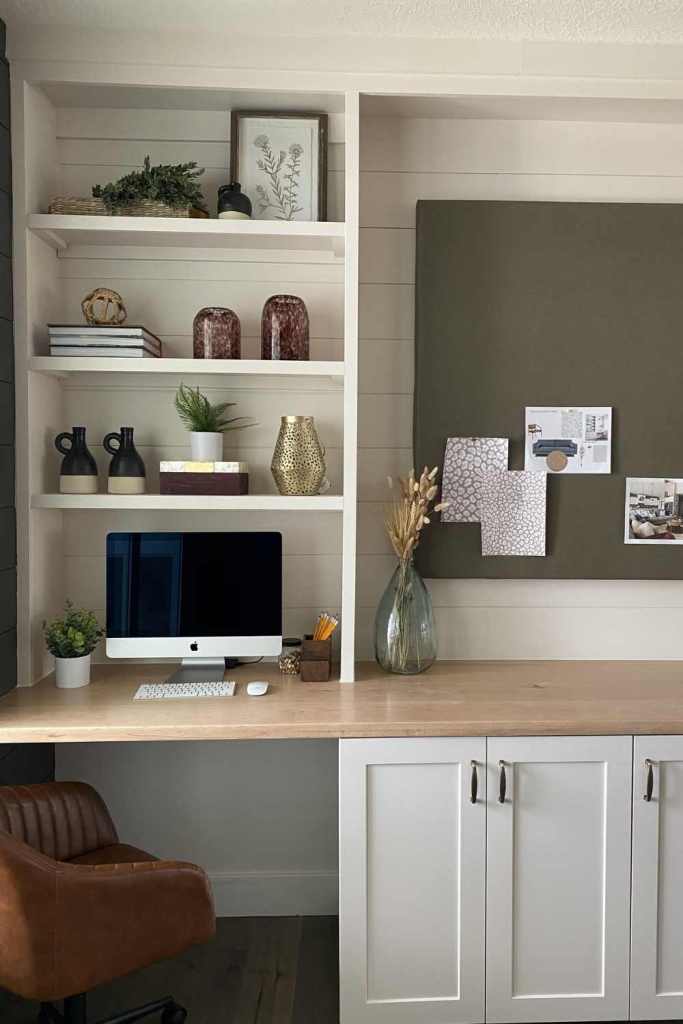

What is the office builtin made from?
Believe it or not, but the entire upper section of the office builtins, the shiplap, and the bookcases are Royal PVC trim boards. The boards vary in width from 9.5” down to 1.5” and are sturdy as can be.
PVC can be a great alternative to wood. PVC trim is flexible allowing it to fit an lot more snug than wood, especially when working in wall to wall spaces. Initially PVC is slightly more expensive, but it last for years and requires less maintenance than wood. Both materials are paintable, but because the PVC trim comes in a bright white color, it is ready to accept any acrylic paint without the need to prime or sand smooth first.

How are the boards attached?
Each board of the bookcase attaches with 1 1/4” pocket screws and PVC cement at the seams. Each shelf has a 1×2” support board that runs the width of the bookcase and secures into the studs. All decorative trim and face frame trim attaches with PVC cement and 18 gauge brad nails.
Prep Office Builtin for Paint
Fill the PVC trim nail and screw holes with wood filler and lightly sanded down with 220 grit sandpaper just as you would do with wood boards. Next, caulk each seam with paintable caulk and paint the bookcases Sherwin Williams SW 0053 Porcelain in Satin finish emerald interior acrylic.

Wallpaper: Custom Plaid Wallpaper from Indigo Designs.
Use code: HONEYBUILT20 for 20% off anything site wide


Shop the office
Plaid Wallpaper HONEYBUILT20 for 20% off
Rug HONEYBUILT62 for 62% off
Shiplap
Bookcase Trim 1×10
Bookcase Trim 1×2
Cabinet Doors: Shallow Calming Creme
Bookcase Trim 1×4
Miter Saw
Drill
Kreg Jig
PVC Cement
Bookcase Paint: SW 0053 Porcelain Emerald Urethane Trim Enamel Satin Finish
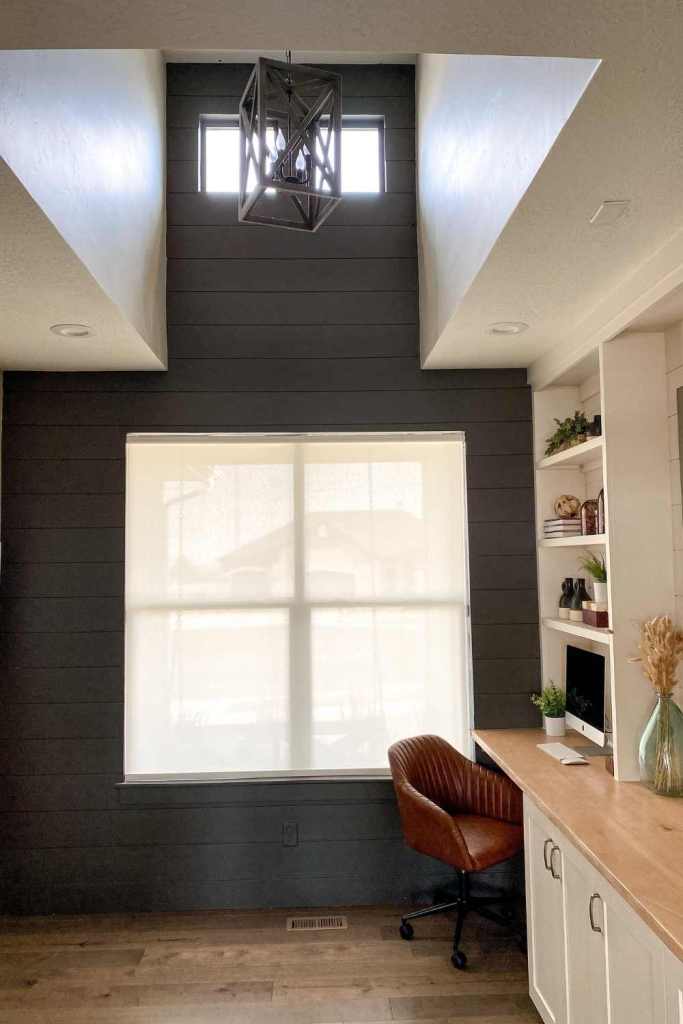
Shiplap Accent Wall Paint: SW7048 Urbane Bronze Emerald Acrylic Matte Finish
Cabinet Boxes
Cabinet Pulls
Leather Office Chairs + Task Chair Attachment
Leather Woven Chairs
Fabric on Pin Board: Joanns
Foam Insulation for Pin Board
Stapler
Staples
Router
Flush trim router bit
Velvet Sofa
Brown Couch Pillow
Floral Couch Pillow
White Square Waffle Pillow
Gold Floor Lamp
Round Gold Mirror
Tree Basket
Wooden Accent Stool/table
Fern Plant
*if decor isn’t linked it was purchased in store at Hobby Lobby.


Be sure to follow along on Insta @honeybuilthome for more fun DIYs


