
Week 3: One Room Challenge Update


This is the week that planning turned into doing. Click here for a refresh of week one (the design) and week two (the planning & mapping)
For more one room challenge inspiration check out the other amazing designers here.
The week started with laying some self leveling cement.

I’ve done this is other spaces but it’s never turned out as good. Here’s what I did to make the self leveling cement PERFECT:
PREP: clean the surface well, vacuum, dust, and wipe clean. Then apply a coat of primer (this is located right next to the self leveling cement) using a brush or roller. Let this set for 2-5 hours before you pour the concrete.


Self leveling concrete:

- Add 21 cups of water (according to the package and conversion of quarts to cups) to a 5 gallon bucket.
- Add 1/3 of the 50 pound bag of cement powder to the 5 gallon bucket. And mix with a cordless drill and mixing paddle.
- Add 1/3 more of the bag and continue to mix.
- Finally add the last 1/3 and mix for 2 minutes.
- You have to pour and work FAST the concrete starts to harden and you have about a 10 minute window to work with it.
- Start with the section furthest away and pour a enough to cover the floor 1’x3’. Take a trowel and lightly spread the cement towards the walls and corners. Let the concrete itself do most of the movement.
- Continue pouring until the entire space is covered and let set for 24 hours before you walk or tile on it.


Finally was able to start tiling the bathroom floor. Many times before I have just started in one corner and worked my way out cutting tile along the way, but this time I chose to cut all the tiles and map out the room before ever laying any thinset and let me tell you it made the tiling process so much less frustrating!


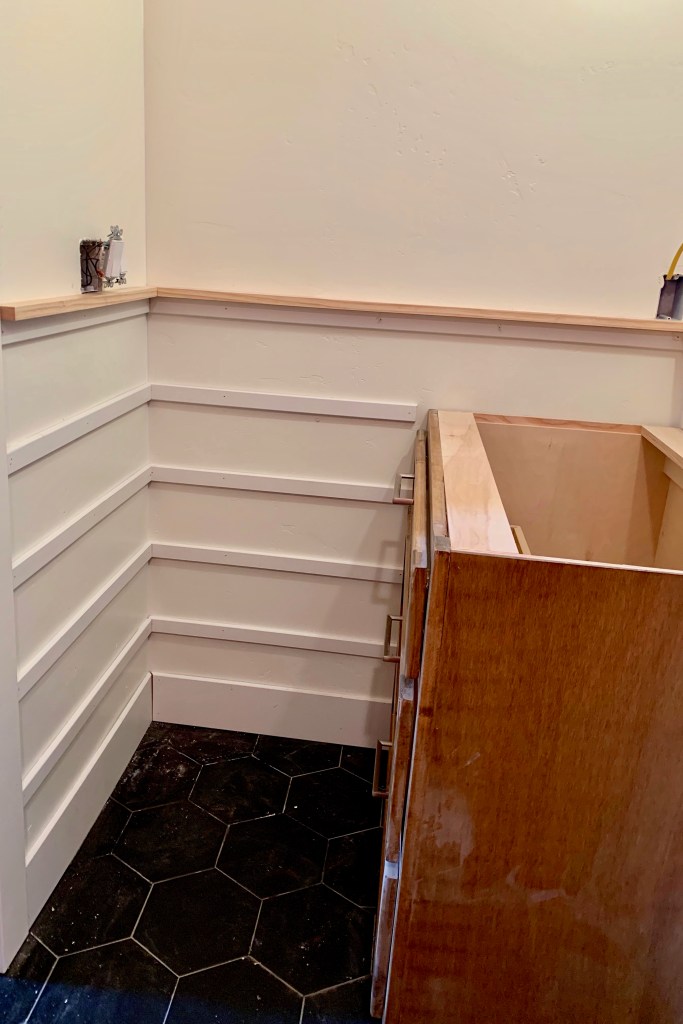
Tile floor is done with black hexagon tile and a classic grey grout.
Wall treatment-

The most impactful, we are making progress, thing that’s hit the space.

When deciding what style of wainscoting I knew I wanted it to be simple, modern, and a little but different from what I’ve seen. Thus I mentally fell in love with the idea of doing a horizontal board and batten when painted almost looks like shiplap with half of the work.
For more details on the step by step visit my Instagram and check out my highlight bubble.

Paint: I mentally went back and forth about painting the wainscoting white or green and eventually my heart settled with green. The color is Essex green by Benjamin Moore color matched in Emerald line by Sherwin Williams.


Looks fantastic! Love the green with the black tile. Can’t wait to see it finished!
Love the horizontal, fresh take on the trim.