

Might I say, this was one of the projects I was MOST excited to have finished! It was a long time coming, but I couldn’t be happier with the finished staircase product!! We got all of our stair supplies from the amazing Stair Supplies and they are beautiful both in quality and looks.


When we originally received the stair supplies, everything was stained the wrong color. Because of this, we had to sand EVERYTHING. The Newel posts, stair treads, handrails, everything.
We reached out to Stair Supplies, and they 100% agreed that the stain color wasn’t correct and wanted to render the problem. We looked into shipping all the stair parts back to them to be corrected, but decided it would be best to hire a professional locally. They are covering the cost to get this fixed and I’m so so grateful for this community because one of my incredible followers sent her husband to help!
The project of sanding was much bigger than we anticipated. It was meticulous to sand the stain off and not ruin the shape and detail of the wood.
My Process of Making Stairs:
My first step of working on the stairs was to cut off the nosing so the new hardwood treads will fit.
I did half of the stairs, and the trim carpenter did the other half. The new treads fit on top and are called replacement treads.
I opted to have a professional finish the stairs because I thought they would be much quicker than me. I didn’t want to not have a handrail and safe stairs for a long period of time, and this ended up being a decision that set us far behind schedule.
The professionals said they would get it done in a week and a half–it took EIGHT weeks. Luckily, we are far past that 8 weeks and have had beautiful, safe stairs for a while. I couldn’t be happier.
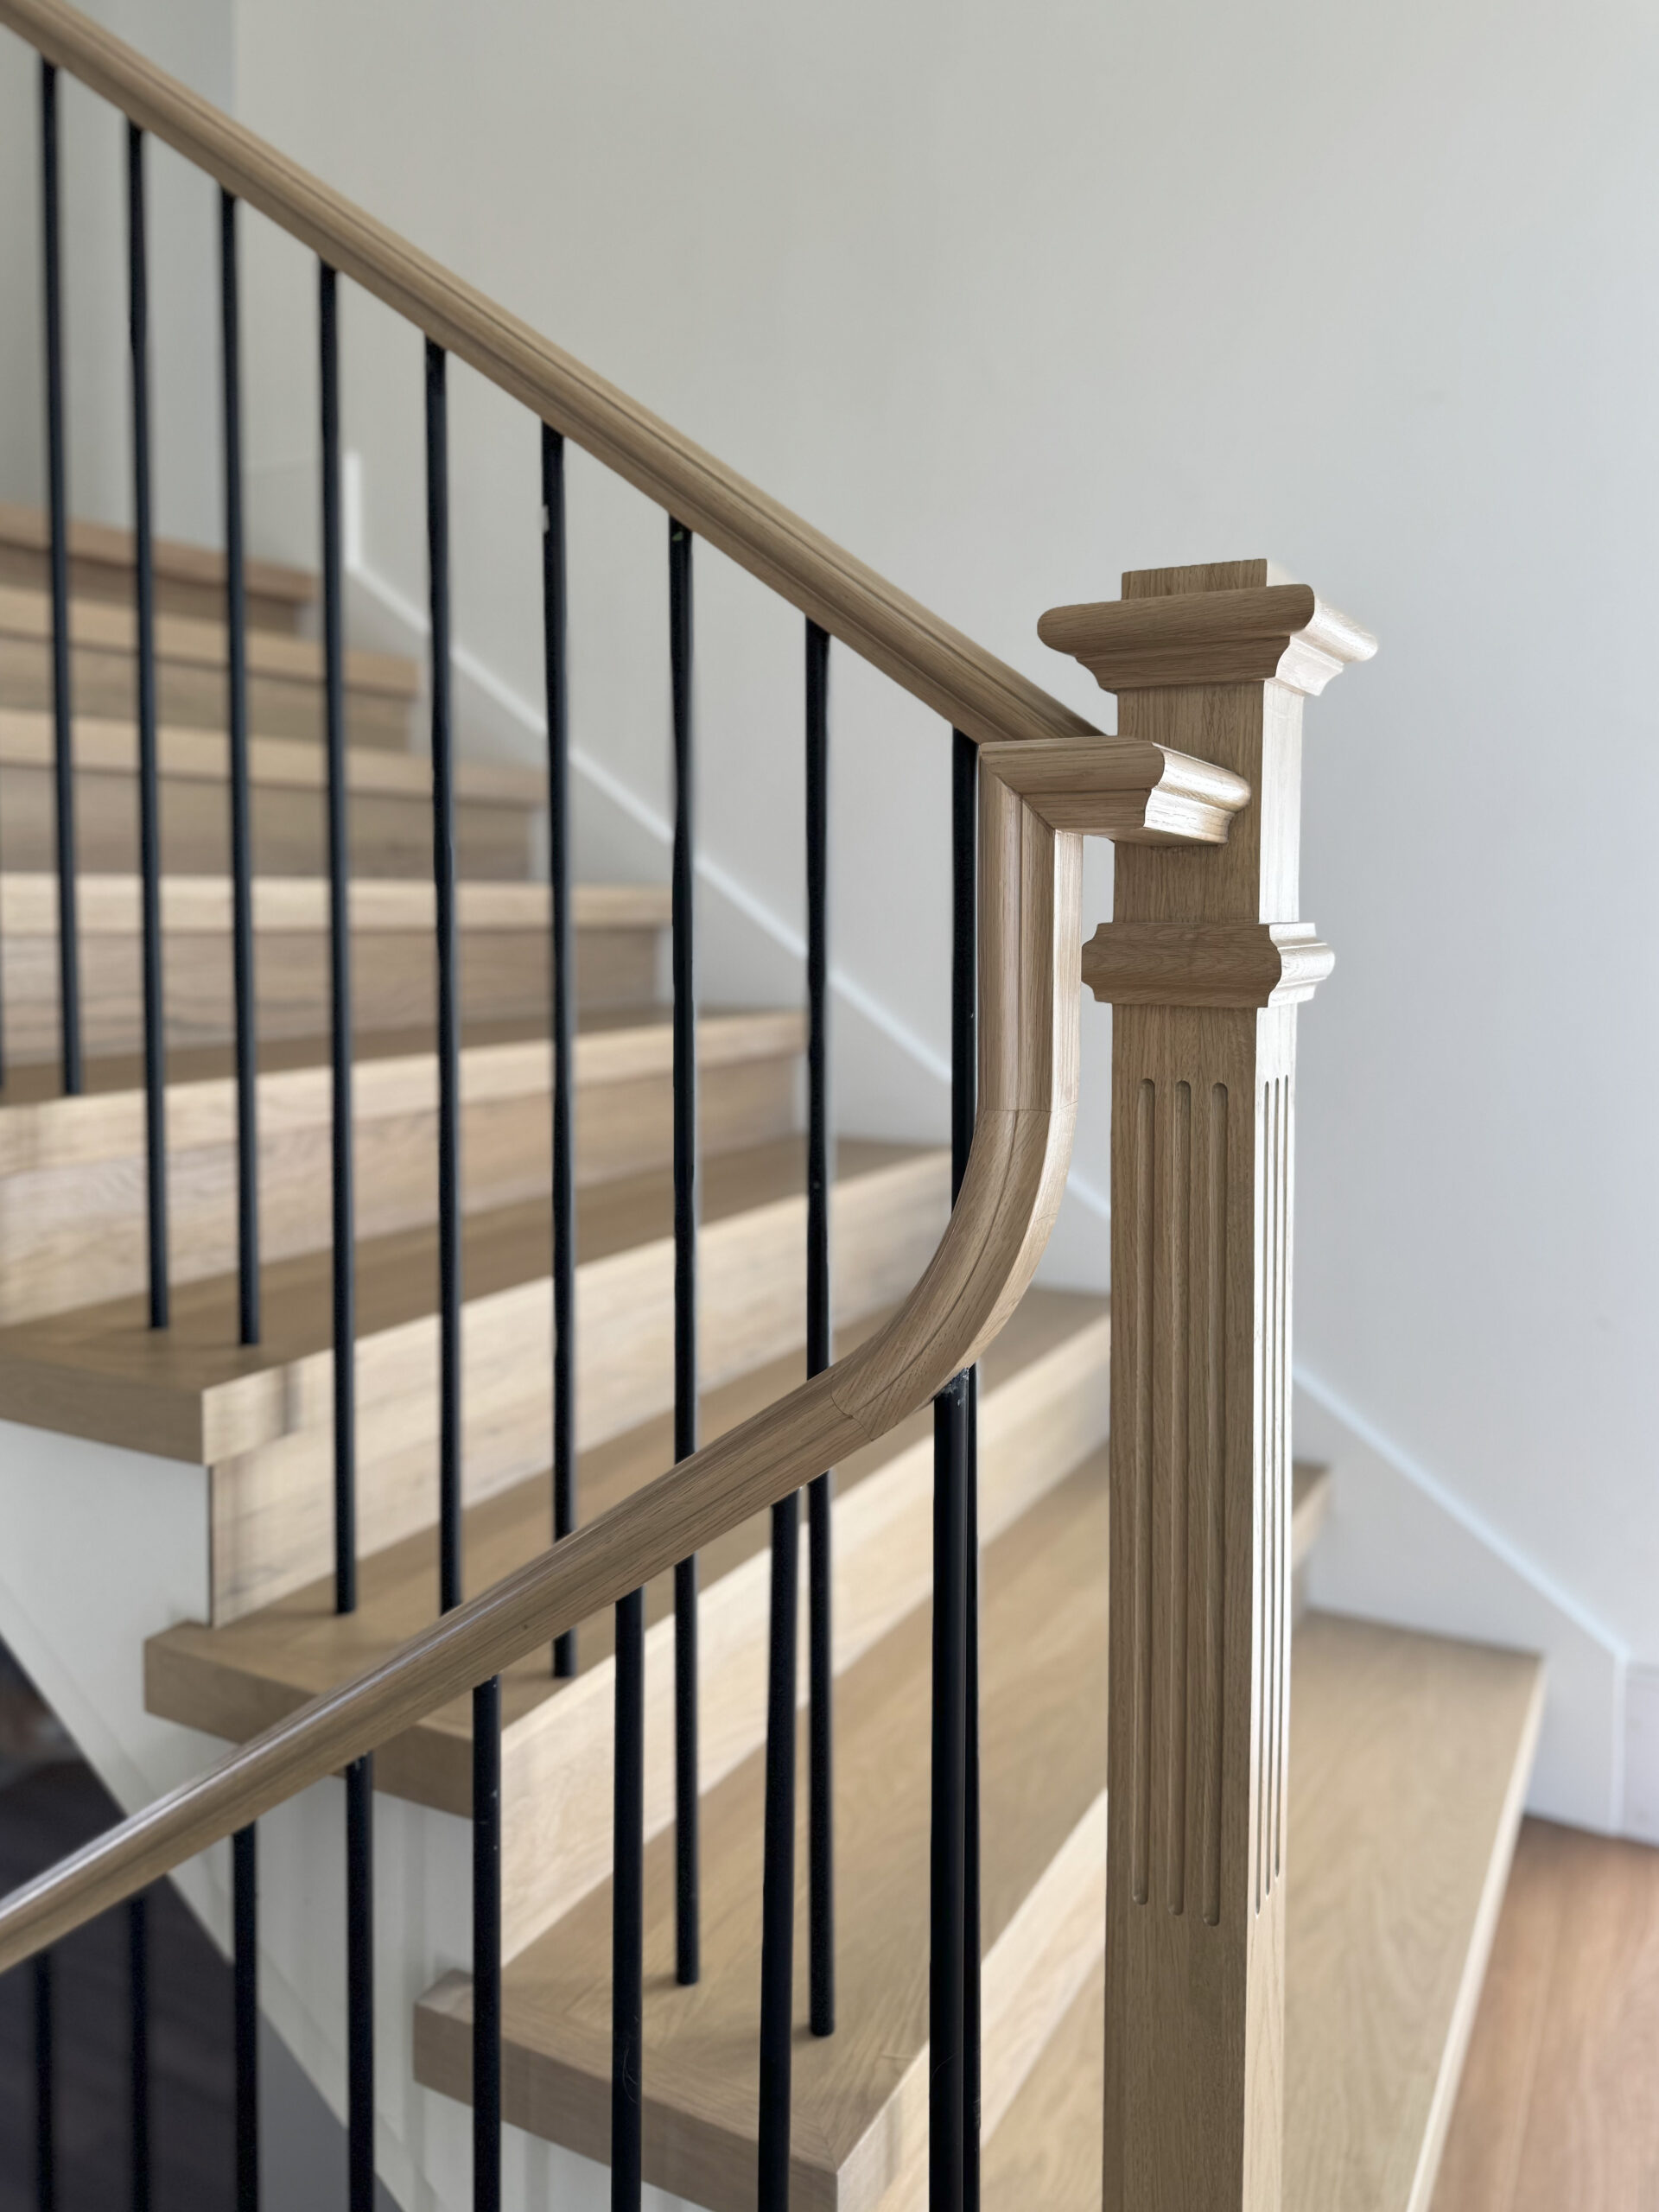
Want to recreate this staircase? These are the parts you’ll need:
1. 6800 White Oak Handrails
2. 4602 Fluted Ranch Newels
3. 7899 White Oak Goosenecks
4. 5/8″ Modern Black Balusters
5. Custom White Oak Replacement Treads with 2″ Nose
6. Custom White Oak Risers
Stain Formula:

Want to see the IG Reels from this project? Check them out by clicking the pictures below!


Other Blog Posts You Might Like:
Playhouse Under the Stairs Tutorial
How to Install a Stair Runner Without Power Tools
Operation Fancy: Box Molding our Hallway


+ show Comments
- Hide Comments
add a comment