

I’m sure you have been browsing the internet for hours looking at all of the cute striped wallpaper ready to pull the trigger and then measure and figure out that it’s going to cost you over $1000 for wallpaper. Then you researched some more and stumbled upon this post on how to PAINT stripes on your wall, yes crisp, clean, perfect stripes for under $100, possibly even under $50 if you’re like me and use left over paint! Well lets get to it!


Measuring out your stripes
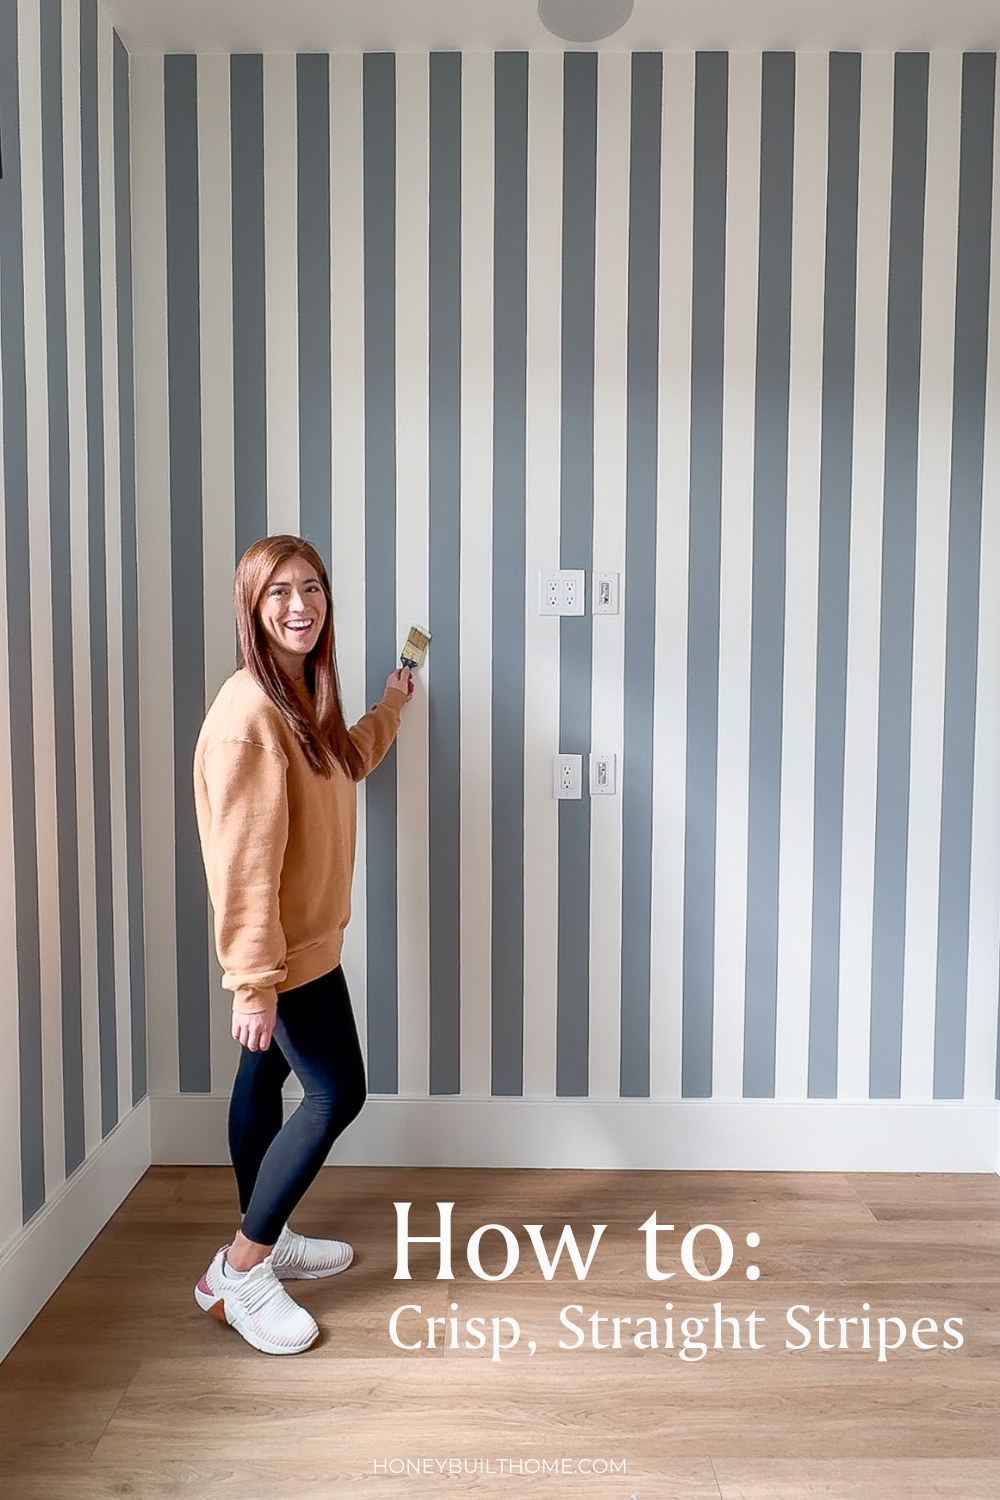
This part is 100% preference and depends entirely on the style you are going for! Best part of paint and tape is you can customize it for no additional cost! I opted to do 3.5″ stripes alternating between white and a light blue. The stripes are both equal in size, but you do you! Take some tape and a tape measurer and mark out a few layouts with painters tape. If you want to use a piece of computer paper and markers to help determine size and scale, go for it!

Once you’ve set your stripe width take your tape measurer and mark every ___ (mine is 3.5″) on your wall with a pencil lightly!
Line up your Laser
Can you do this project without a laser level? Technically yes, you could use a long straight edge or a 5′ level, but it’ll take a LOT more time and my favorite laser is only $40 and it self levels! Since I was doing vertical stripes I could set my laser on the floor, but if you are doing horizontal stripes/lines you’ll need to use the tripod to get it at the correct height.

To help speed things up I took a tiny scrap of tape and would set it on my pencil mark. Then from far away I could see my laser line on the scrap tape. As you go to tape your line, you want to try and keep it straight with the laser, but there’s a little wiggle room. You don’t have to be PERFECT to get perfect stripes.

Seal your tape first
There’s a few different ways to seal your tape. Frog tape can be activated by rubbing a damp rag over the tape, this will activate the seal. I’ve had some errors with this so I always opt to paint my base color over the tape, too. What the heck does that mean? Your walls should already be one of the colors you are wanting to show in your stripes. So if you paint that color over the tape any bleed through will just be the same color!

Example: My wall color is white. I want to paint my stripes white and blue. So after all the tape is up I paint over the tape with WHITE (same color as the walls). Once that is dry then I’ll paint blue.
Does this technique work on textured walls? YES! because any bleed through from the texture raising the tape is filled in with the wall color! (I’ve also seen people caulk the line, but the last time I tried this the caulk peeled away my new paint so proceed down that road with caution).

Paint your stripes
You can use whatever kind of roller you want to paint the stripes. I opted for a small high density foam roller since my wall texture is smooth and I wanted it to stay that way. I painted 3 coats of blue letting the paint dry fully between coat 1-2 and 2-3. Immediately after coat 3 I pulled my tape while my walls are still WET from the 3rd coat. This will prevent your tape from drying onto the wall and pulling off your new paint.
It’s a little messy so have plastic or a garbage bag ready to catch the wet paint tape!


Our new playroom:
We plan to use this space as a home office in the next few years, and I plan to keep it this blue color so I wasn’t worried about this being a temporary transition. Something you need to take into account when painting stripes is you’ll need to sand the edges before painting over it again because you have 4 more coats of paint on the “blue” sections making it thicker and raised.


Shop the playroom


See the Progress on Instagram:


Sources:
Paint Colors:
Wall – BM Swiss Coffee
Stripes – SW Let it Rain
Ball Pit
Kitchenette
Couch Fort
Toy Box
Wooden bubble frames
Disney Art – From Disneyland
Magnetic Dry Erase Clouds
Fabric for canvas wall art
Iron on Vinyl for canvas wall art
Similar canvas wall art
Basketball Hoop
5×7 rainbow rug

OTHER BLOG POSTS YOU MAY LIKE:
Review: Top Painting Supplies
6 Paint Tips
Paint Sprayer vs. Rolling when to do what!
Paint Glass Doors, the Easy Way
How to Paint a Boho Wall with a Stencil


+ show Comments
- Hide Comments
add a comment