This is a sponsored post written by me on behalf of Floor and Decor. All opinions are 100% mine.
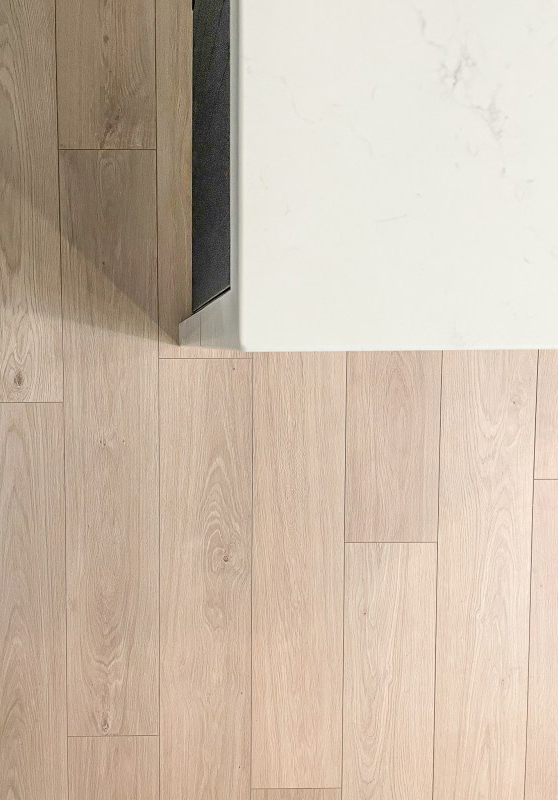
We have an exciting basement update! Our luxury vinyl flooring is installed and I am so pleased with how this turned out. We went back and forth with what type of flooring to install in this space and I am confident we made the right choice with luxury vinyl. Overall, this project took us just about a day, and that was with a few mistakes and hiccups along the way. This is the perfect weekend project!
When deciding on what type of flooring to lay in our basement, we looked at a few different options but landed on luxury vinyl flooring. The NuCore Performance Carmel Ash Rigid Core Luxury Vinyl Plank from Floor and Decor is extremely durable- scratch, dent and stain resistant. Basically, KID PROOF! I knew I wanted this space to be a place where we could enjoy family time together, and I didn’t want it to be a show place where my kids weren’t allowed to be kids. Another important feature for us is that this flooring is 100% waterproof. With the installation of the kitchen in the basement, it’s nice having the peace of mind that a little water isn’t going to hurt this flooring.

NuCore Performance Rigid Core Luxury Vinyl Plank flooring is a great choice for basements because it is lined with natural cork backing for a quieter, warmer, softer floor without the need for additional underlayment. If you are laying this directly on concrete, however, it is recommended to use a 6 mil poly vapor barrier for additional moisture protection and to make the flooring a little softer as well. If you are laying NuCore Performance Rigid Core Luxury Vinyl Plank on existing tile or glued in hardwood, you do not need to use additional underlayment. However, some luxury vinyl does require underlayment (check the packaging before purchasing).
Step 1: Prepare your surface
Prepare your concrete floor. Make sure it is clean and dry, and then lay out your underlayment of choice. We decided to use Sentinel Protect Plus Underlayment for our project, and laid out one strip at a time as we moved across the floor. Make sure you also purchase the Pacesetter Laminate Flooring Installation Kit. The wedge spacers provide the correct expansion gap at the perimeter of the room, and the tapping block and pull bar help make the installation a tight fit.

Step 2: Lay your flooring
Start in the far corner of your room and lay your first piece. Use a level to make sure the first piece is straight. Once your first piece is laid, prepare your second piece. Depending on your room size, you may need to cut the second piece (we used our miter saw to cut). If you need to cut, flip the piece the opposite way and mark your cut line with a pencil. Once cut, line up the short end and snap into place. This flooring uses click and lock technology, making it almost fool proof to install. If you notice a gap, use a rubber mallet to gently tighten your boards together. You must leave a gap on the perimeter by the walls to allow for expansion and contraction, but this gap will be covered by baseboards (use the wedge spacers from the installation kit). Continue to do so across the room. If you are more of a visual learner, you can check out the videos of our install HERE.
TIP: How to cut out tricky corners
Use a speed square to mark your flooring, and cut out with a miter saw or vinyl cutter.


Can you even believe this is the same space? What I love most about luxury vinyl flooring is how easy it is to install, and how durable it is. We plan to use this space for years to come, and I am confident this floor will last!

+ show Comments
- Hide Comments
add a comment