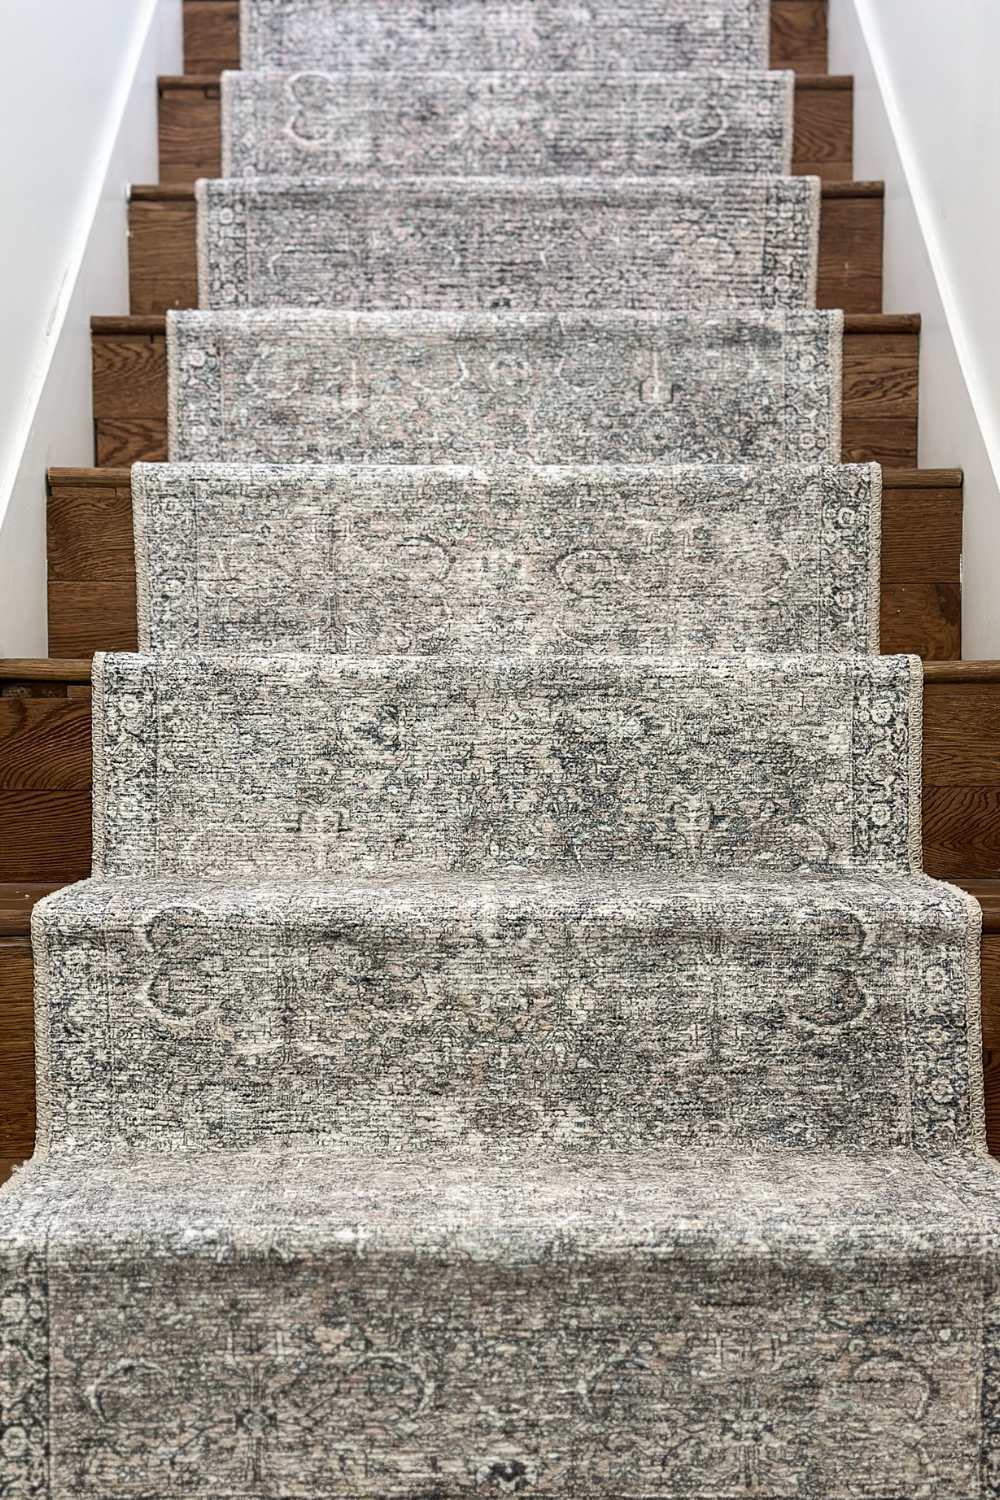
This post is sponsored by Walmart, but as always, all opinions are 100% my own. Purchases made through affiliate links throughout give a small percentage commission to Honey Built Home at no extra cost to you. Now, Let’s learn how to install a stair runner without power tools!


Are you looking to spruce up your home while also adding an extra layer of safety and comfort to your hardwood stairs? Well, you’re in luck because today, we’re diving into the world of stair runners. And guess what? You can find everything you need to get started at Walmart, without breaking the bank! Plus this tutorial is POWERTOOL FREE! Yes! I did installed this runner without using any power tools, and I’m going to teach you how to install a stair runner the same way!
Before we jump into the nitty-gritty of installation, let’s talk about choosing the perfect stair runner. At Walmart, we’ve curated a selection of runners under $50 that will fit any style and budget. Whether you prefer a classic look, a bold pattern, or something in between, we’ve got you covered.
Shop Runners that Double as Stair Runners
Scroll and click on an image to shop
Shop Supplies
Scroll and click on an image to shop
Shop Decor
Scroll and click on an image to shop

Choose Your Style
Measure the width of your stairs to determine the best size for your runner. You can opt to cover the entire tread or leave a polished 2-5 inch border of wood on each side. It’s all about personal preference and finding what suits your space best.
Determine Quantity
Once you’ve chosen your style, figure out how many runners you’ll need. To ensure a seamless look, plan to hide any seams by strategically cutting the rugs where patterns align. To calculate how many runners to buy measure the height (rise) of your stair and the width (run) of your stair. Add the two numbers together and then multiply by the number of stairs you have.
(Rise (height) + Run (width)) x # of stairs.
Start from the Bottom
Begin installing your stair runner from the bottom and work your way up. This technique hides the unfinished end seam under the first step and provides a polished finish at the top. Unless your staircase happens to look like mine where the first rise is carpeted. You don’t want an unfinished seam to hit on the tread (the part of the step you actually step on). So in this example I actually started at the top of the stairs.
Secure with Tape and Pad
Use double-stick permanent carpet tape on the risers and runners of each step. Additionally, add non-slip carpet padding to the treads for extra cushioning and to prevent slippage. I did not add the non-slip onto the rise sections because it was creating too much bulk.


Create a Template
Save yourself time and ensure straight installation by creating a template from scrap cardboard or wood. This will help you center the rug on each stair without the need for constant measuring.
Staple It Down
Utilize a hammer stapler with 1/2″ staples to secure the runner in place. If needed, hammer the staples in further to ensure a snug fit. These nails should go in every 4-6” in the rise and in the corner of the run. And add 2-3 samples along the edges of both the rise and run to hold the rug edges in place.

Cutting and transitioning rugs
More than likely you’ll have to blend together multiple runners to go the length of your stairs. For these stairs we needed 3 rugs. We lucked out and the rug ended exactly in the corner between the rise and run so we didn’t have to cut any rugs, but more than likely you will. You will use a utility knife and a straight edge to score your rug and cut it. Cut it so there it is a 1/2 in long and your next rug can cover up that seam.


Trim and Finish
Once everything is securely in place, trim any excess rug with a utility knife or carpet shears for a clean, polished look and staple in place.


With just a few simple steps and under $200, you can transform your hardwood stairs into a safer, cozier space. And don’t forget to check out Walmart’s new spring decor to complement your freshly installed stair runner!
So what are you waiting for? Head to Walmart today and start your stair runner project. Your home—and your toes—will thank you!
Looking for more tips and recommendations for flooring? Be sure to check out my other blog posts that help you choose the best pet-friendly carpet, teach you how to install LVP, and more!
Happy DIYing!


+ show Comments
- Hide Comments
add a comment