

When planning the exterior of our home, I knew there would be so many options. I knew I wanted a mixture of brick and stone, but finding the perfect combo was a trick. After deciding my stone, it was time to fine the perfect brick paint. That’s when I found Romabio.
Their exterior brick paint was superior for so many reasons. First, they have an incredible 20 year, no chip warranty. Last thing you want after taking the leap and painting your brick, is to see chips pop up all over. This warranty was just the peace of mind I was searching for. In addition to that, their paints are mineral based, so it allows the brick to breathe. This ensures that no moisture gets stuck inside of the bricks causing damage to the exterior.

After picking out some samples that appealed to me, I started by creating a “test board” with different types of bricks and grouts. I wanted to see how the paints would look with each style to help me decide what look I was going for. I wanted to see it on a smaller scale before committing. As a visual person, this was VERY helpful!
On the far left, I used a natural grout that has a more grey/natural look. I also over-grouted quite a bit to give a messier look. On the right, you’ll see the grout is lighter and cleaner finish.

While wet, the different paints looked fairly similar, but after they dried you could absolutely see the differences between the finishes and colors. They have different types of exterior paints including a Masonry Flat, Lime Slurry, Masonry Textured, and a Classico Limewash.


Once the board was completely dried, I placed it next to our stone sample board to help make my decision based on what complimented our stone the best. Again, the visual was so helpful because I was able to see everything side by side.
I ended up deciding on the Romabio Masonry Flat. I loved the finish, as it was very smooth and not glossy. This gave a very natural look to the brick. I had mine custom tinted. To get this look, you
can also use Romabio Masonry Flat in Avorio White.


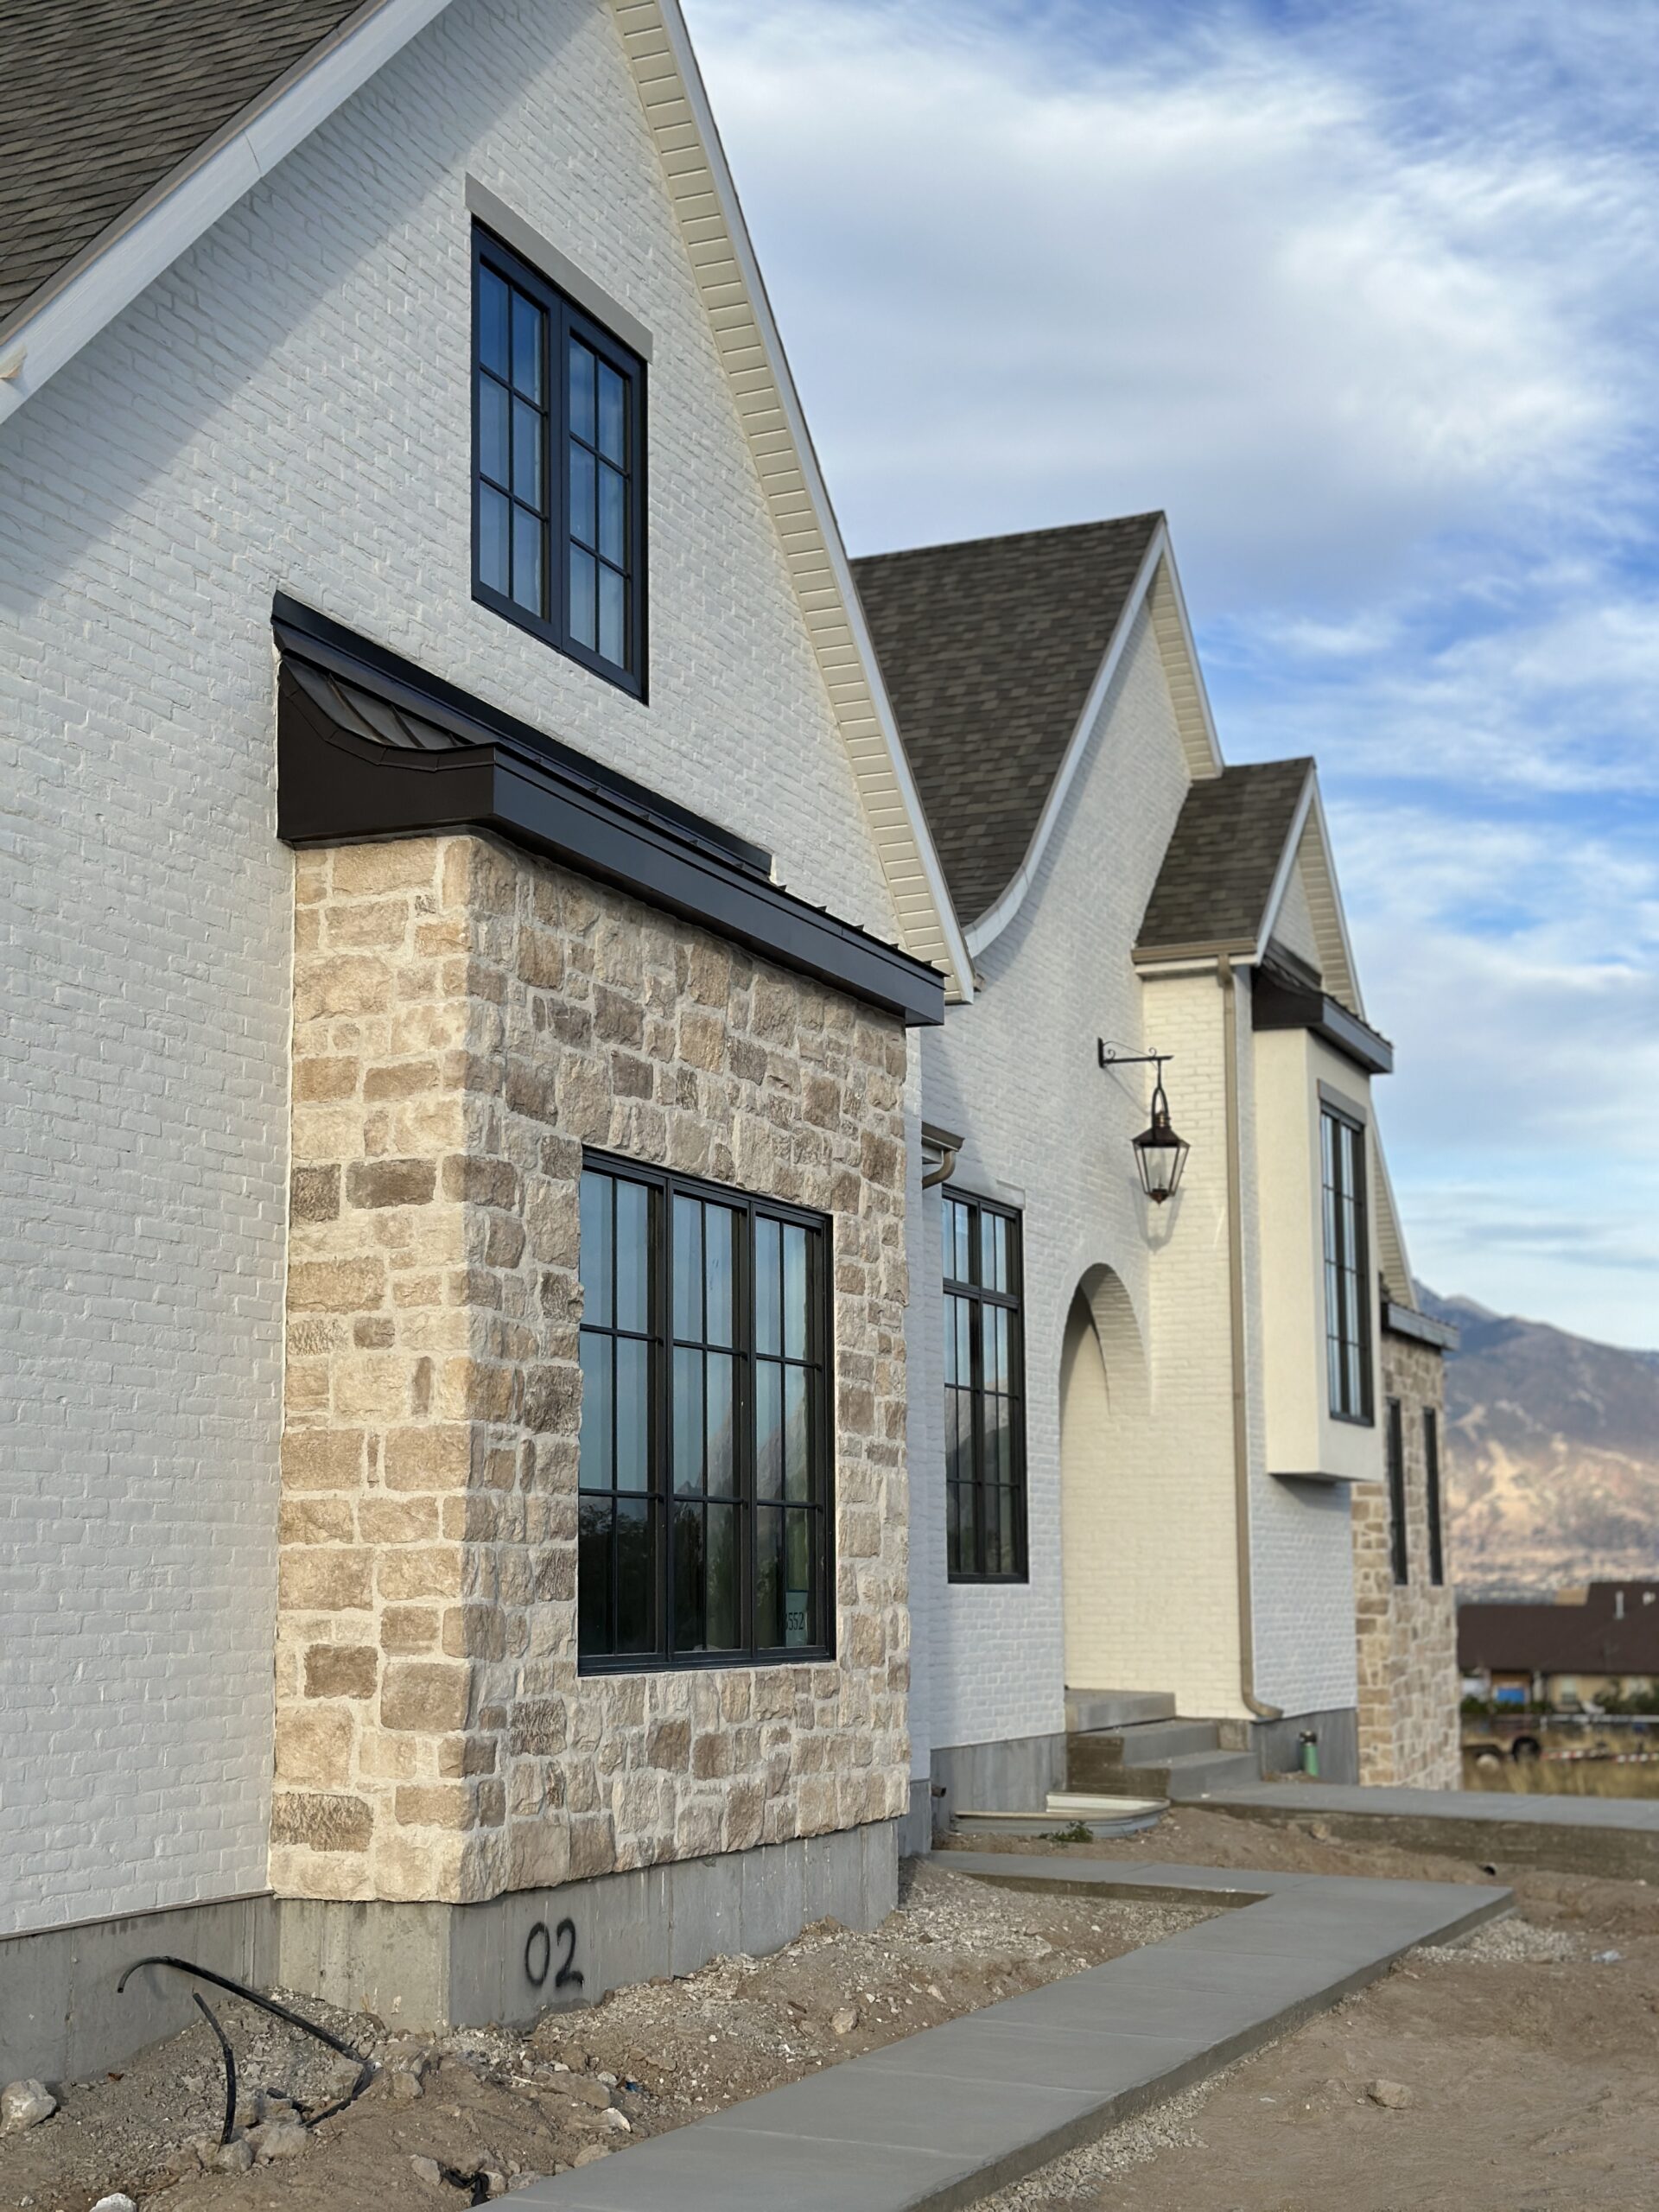
The exterior brick turned out better than I could’ve ever dreamed. It’s very cohesive and timeless. Follow along to watch as we now tackle the landscaping to help beautify the front yard.
Exterior Sources:
Brick & Stone – Creative Mines
Brick Paint – Romabio Masonry Flat in Avorio White
Exterior Sconces
Gas Powered Lantern – Copper Smith Adam Street Gas Lantern in Bronze 28″ with estate extension in classic york
Other Blog Posts You Might Like:
Creative Mines – Brick & Stone
BTS Part 1: Before We Dug
Behind the Build: Excavation,Soil & Timeline
Building our Multigenerational Home Casita


+ show Comments
- Hide Comments
add a comment