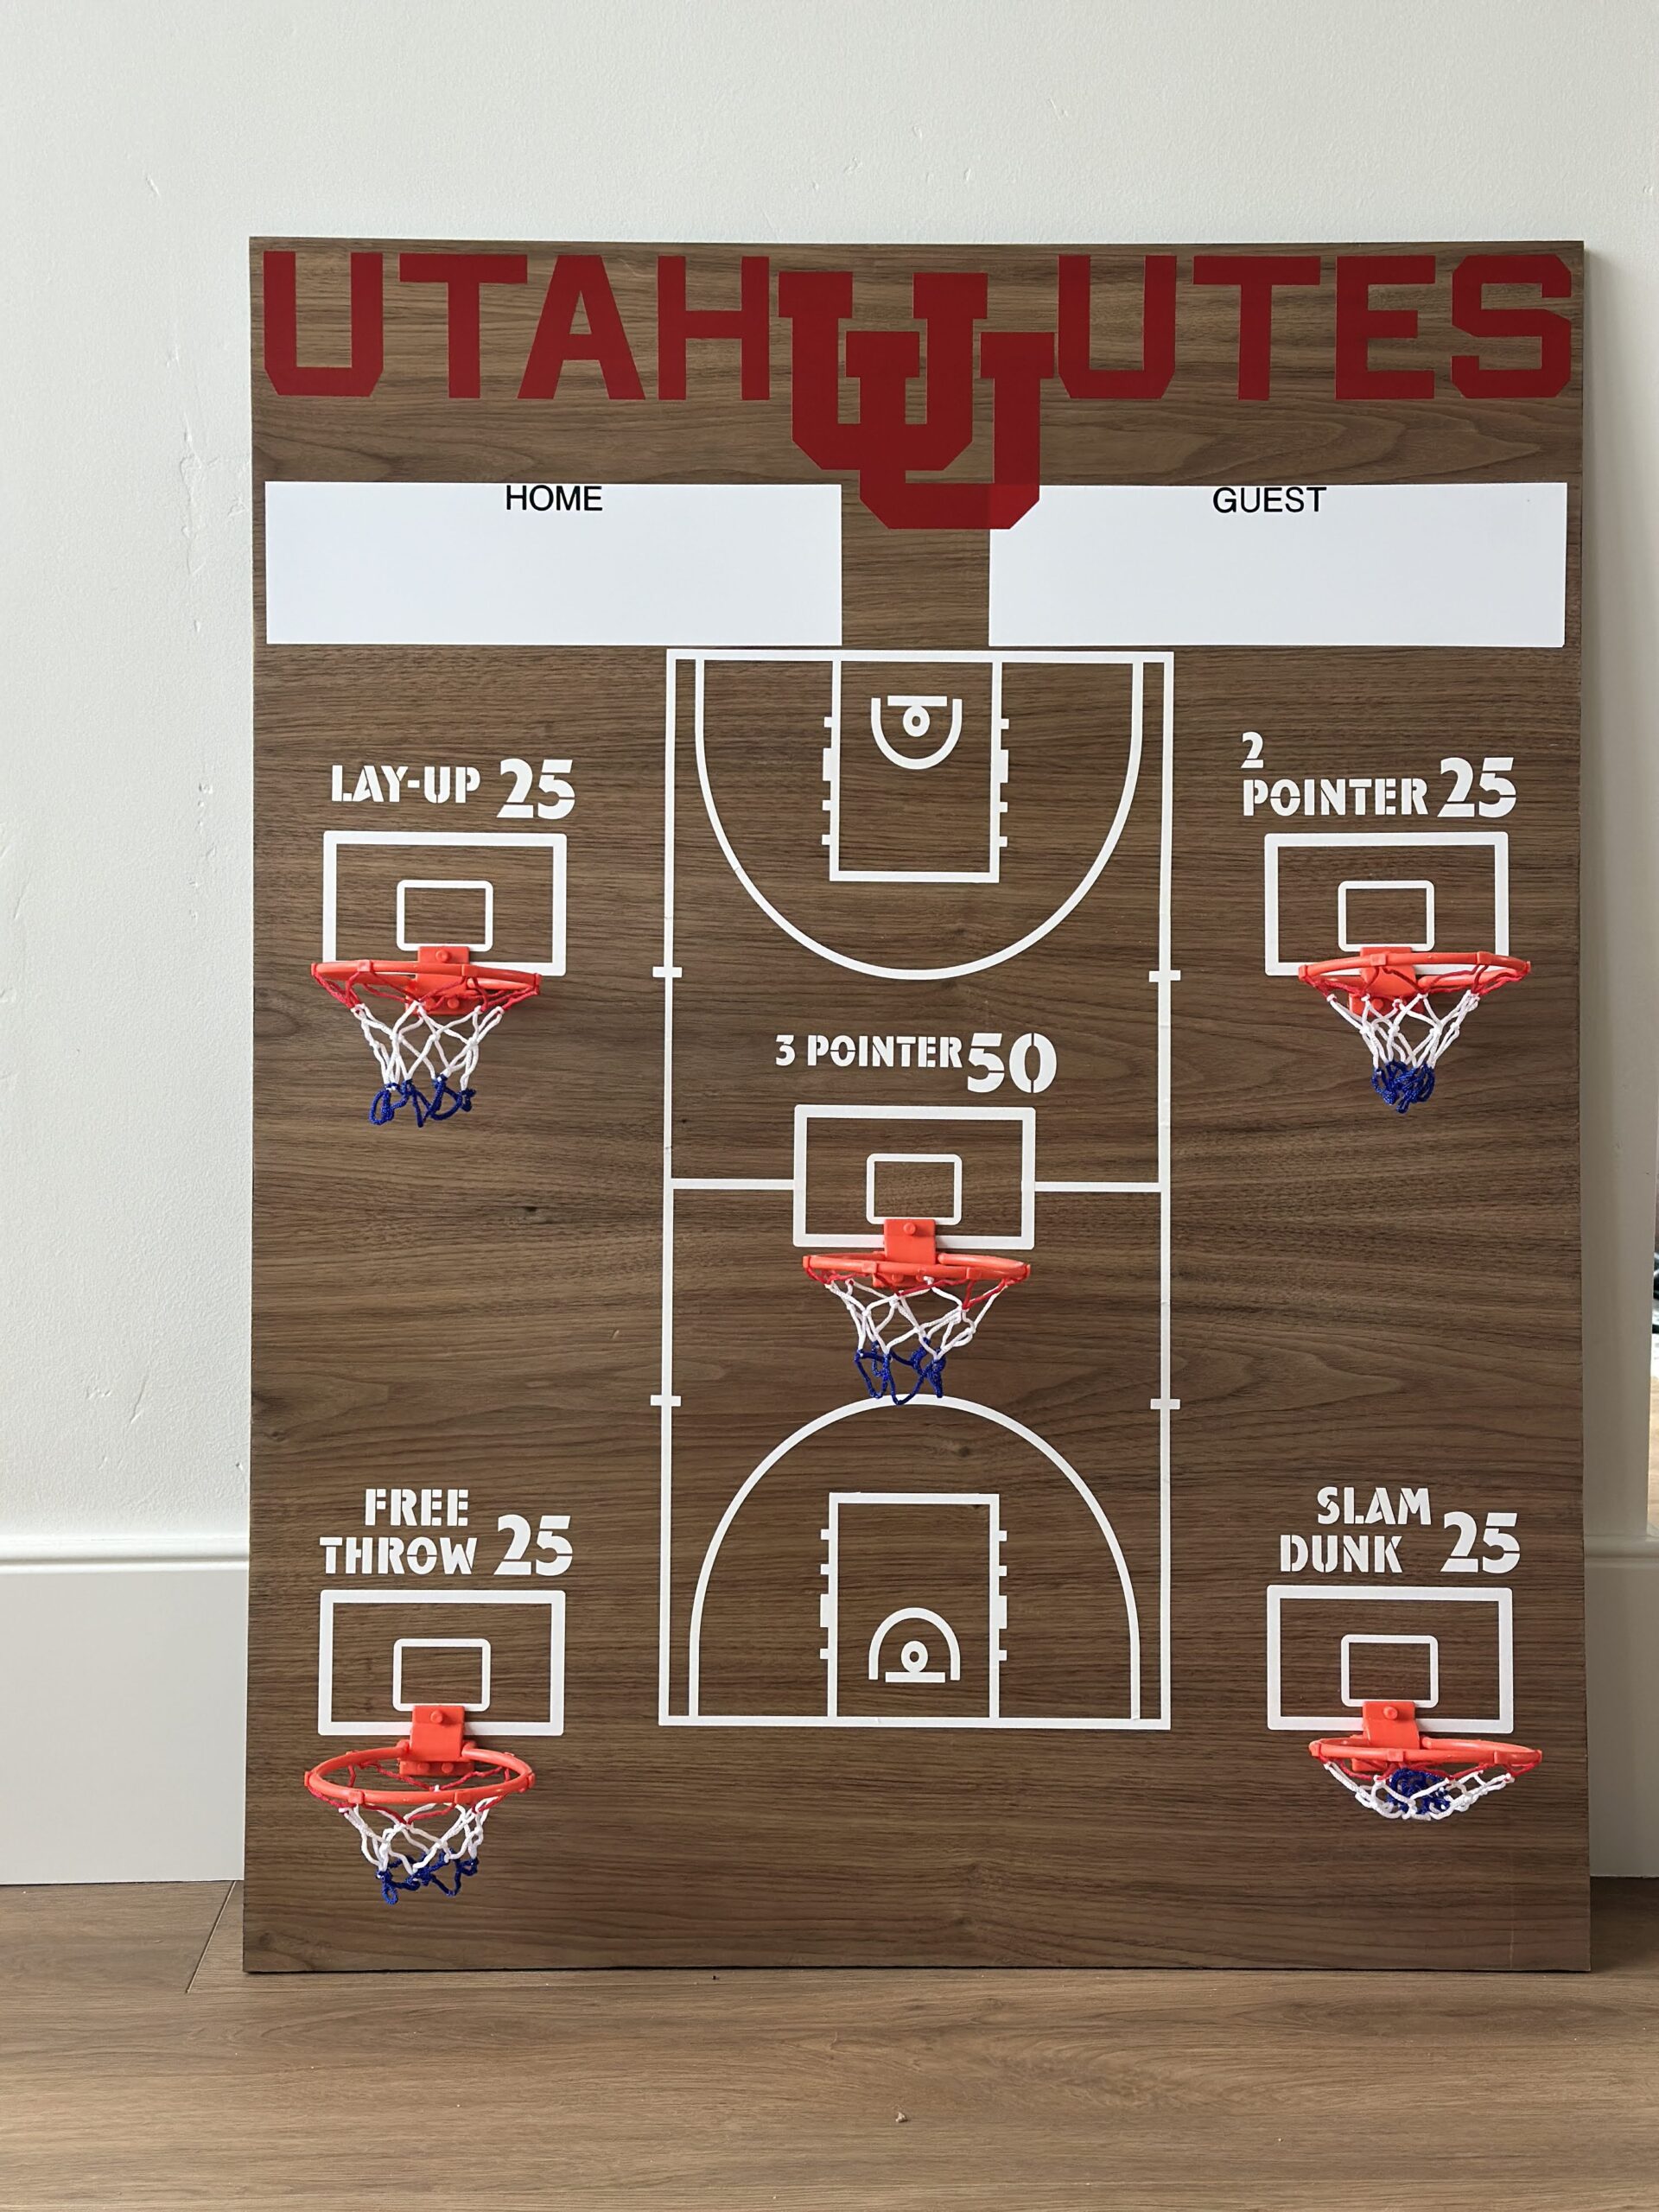
When your kid’s new mini basketball game breaks as you’re hanging it… you upgrade it. The store-bought mini basketball game for my 11-year-old fell apart mid-mount, so I rebuilt it with plywood, vinyl graphics from my Cricut, and better hardware. Here’s exactly how I made the new version so you can, too.

Materials
-Plywood backer (I used walnut plywood, but any cabinet-grade plywood works)
-Original mini hoops/rims and mounting hardware (I reused from the broken set)
–Vinyl + Cricut (or your cutting machine) for graphics
–Transfer tape
-Wood finish/topcoat (I used a clear protective topcoat)
-Black paint (for edges; acrylic craft paint or paint pen is fine)
-Mounting hardware: french cleat, heavy-duty D-rings, or keyhole hangers
-Wall anchors or wood screws (if hitting studs)
Tools
-Circular saw or table saw (or have the store cut your plywood)
-Drill + bits (match to your hoop hardware)
-Sanding block or sander (120 → 180/220 grit)
-Measuring tape, square, pencil
-Painter’s/template tape (for marking layout and drill guides)
-Level and stud finder
Step-by-Step Tutorial
1) Salvage & Measure the Original Mini Basketball Game
Lay the broken board on your plywood. This is your template for size, hole locations, and spacing. If the edges are jagged, measure the original overall width/height and rim spacing, then mark those dimensions on the plywood. The dimensions of the original boards were 23.63″H x 23.63″W x 3.79″D, so I decided to just model my DIY version off of that.


2) Cut the New Backboard
Cut your plywood to size with a straight, clean edge. Lightly ease the sharp corners with a quick sand so vinyl and finish won’t lift there.

3) Sand for Finish-Ready Smoothness
Sand both faces and edges (120 → 180/220 grit). Wipe clean. Smooth wood makes vinyl stick better and gives your topcoat that pro finish.
4) Edge Detail & Sealing the Wood
Paint the edges black for a crisp, framed look. A small brush or paint pen makes this fast and tidy. Let dry completely. Then apply a clear topcoat to the front and sides (back optional). Water-based polyurethane or a clear acrylic works great and won’t yellow most woods. Let it dry per the can, then do a light scuff-sand and a second coat if needed.
Why finish now? Vinyl adheres beautifully to sealed wood, and you won’t dull your graphics with sanding dust later.
5) Transfer the Layout
Use the old board as a hole template:
- Place it over the new backboard and align edges.
- Use template/painter’s tape to mark hole centers through the original board onto the new board.
No original to trace? Measure your hoop brackets and mark hole centers with a square and ruler.
6) Drill Clean Mounting Holes
Drill straight through at each marked center using the bit that matches your rim bolts/screws. Add a countersink on the front if you want bolt heads flush with the surface.
7) Design & Cut Vinyl
Open Cricut Design Space (or your software) and build your graphics: lines, numbers, team name, your kid’s name—whatever vibe you want. Cut the vinyl, weed it, and get your transfer tape ready.


8) Apply Vinyl
Dry-fit first. Lightly tack one edge with transfer tape, then hinge and smooth out with a scraper to avoid bubbles. Burnish well, peel the transfer tape back low and slow.


10) Optional: Seal the Graphics
If this will see heavy play, you can add a very light water-based clear coat over the vinyl to lock edges. Test a small scrap first—some clears can wrinkle certain vinyls.
11) Install the Hoops
Attach each rim using your pre-drilled holes. Tighten firmly but avoid overtightening (you don’t want to crush the plywood). Check that all rims sit square and level.


12) Mount It Safely on the Wall
- Find studs if possible; a french cleat gives the most secure, easy-to-level mount.
- If you can’t hit studs, use properly rated anchors for your board weight + game play.
- Use a level to align, then fasten. Give it a couple quick test shots to make sure nothing rattles.

Other Blog Posts You May Like:
School Aged Boys Gift Guide
Tow Mater Little Tikes Makeover
DIY Floral Framed Mirror
DIY Cookbook Holder


+ show Comments
- Hide Comments
add a comment