

After years of saying no, we finally caved and brought home a cat for our girls. Meet Peanut! With Peanut came all the joy, snuggles, and… a giant litter box. Instead of letting it become an eyesore in our home, I decided to build a custom piece of furniture—a cabinet that hides the litter box and doubles as a desk for my girls.
Litter Robot sells cabinet boxes specifically designed for their litter box for $400-1100, but I’m going to build one for under $250!


Why a Cat Desk?
- Functionality: The Litter Robot is fantastic at reducing odor, but it’s huge. Hiding it in a cabinet makes it blend seamlessly into the room.
- Space-saving: Instead of dedicating floor space to just a litter box, the desk gives my girls a workspace they love.
- Freshness: With BoxyPro Litter (probiotic litter that eliminates odors and reduces dust), there’s no smell, no tracking, and no worries about having it in their bedroom.
Materials Used:
- Stock 30″ cabinet (big enough to house a Litter Robot)
- MDF or plywood desktop (cut to your desired size)
- Beadboard Filler Panels (to cover unfinished sides)
- Paint – Sherwin Williams 7578 Borscht
- Jigsaw (for the cat entry cutout)
- Level
- Cabinet hardware (optional, if you want pulls/knobs)
- Claw Picture Hanger (For Mirror)
- Litter Robot
Step 1: Choose & Prep Your Cabinet
Start with a standard stock cabinet—mine was 30″ wide, which is just big enough for the Litter Robot. These cabinets usually have unfinished sides, so plan to add filler panels or beadboard later to make it look finished.
Remove the cabinet doors if you need to do interior cuts or adjustments, then give everything a light sand.


Step 2: Cut the Cat Entrance
Decide where you want Peanut’s entrance. I cut a cat-sized hole in the side panel using a jigsaw. Make sure it’s big enough for your cat to comfortably walk through (about 8–10″ wide works for most cats).
Tip: Trace a bowl or round object to get a smooth arch before cutting.
Step 3: Customize for the Litter Robot
The Litter Robot is bulky, so I had to make some adjustments:
- Removable desktop: Instead of permanently attaching the MDF desktop, I made it removable. This way we can lift it off if we ever need to pull the machine out completely.
- Cabinet access: To empty the tray, we simply open the cabinet doors and slide the drawer out.
This keeps maintenance simple while keeping everything hidden away.


Step 4: Add Filler Panels & Beadboard
To cover the unfinished cabinet sides, I attached beadboard panels as filler. This gave the piece a more custom, furniture-like feel. If you’re not a beadboard fan, you could also use flat MDF or shaker-style panels for a cleaner look.
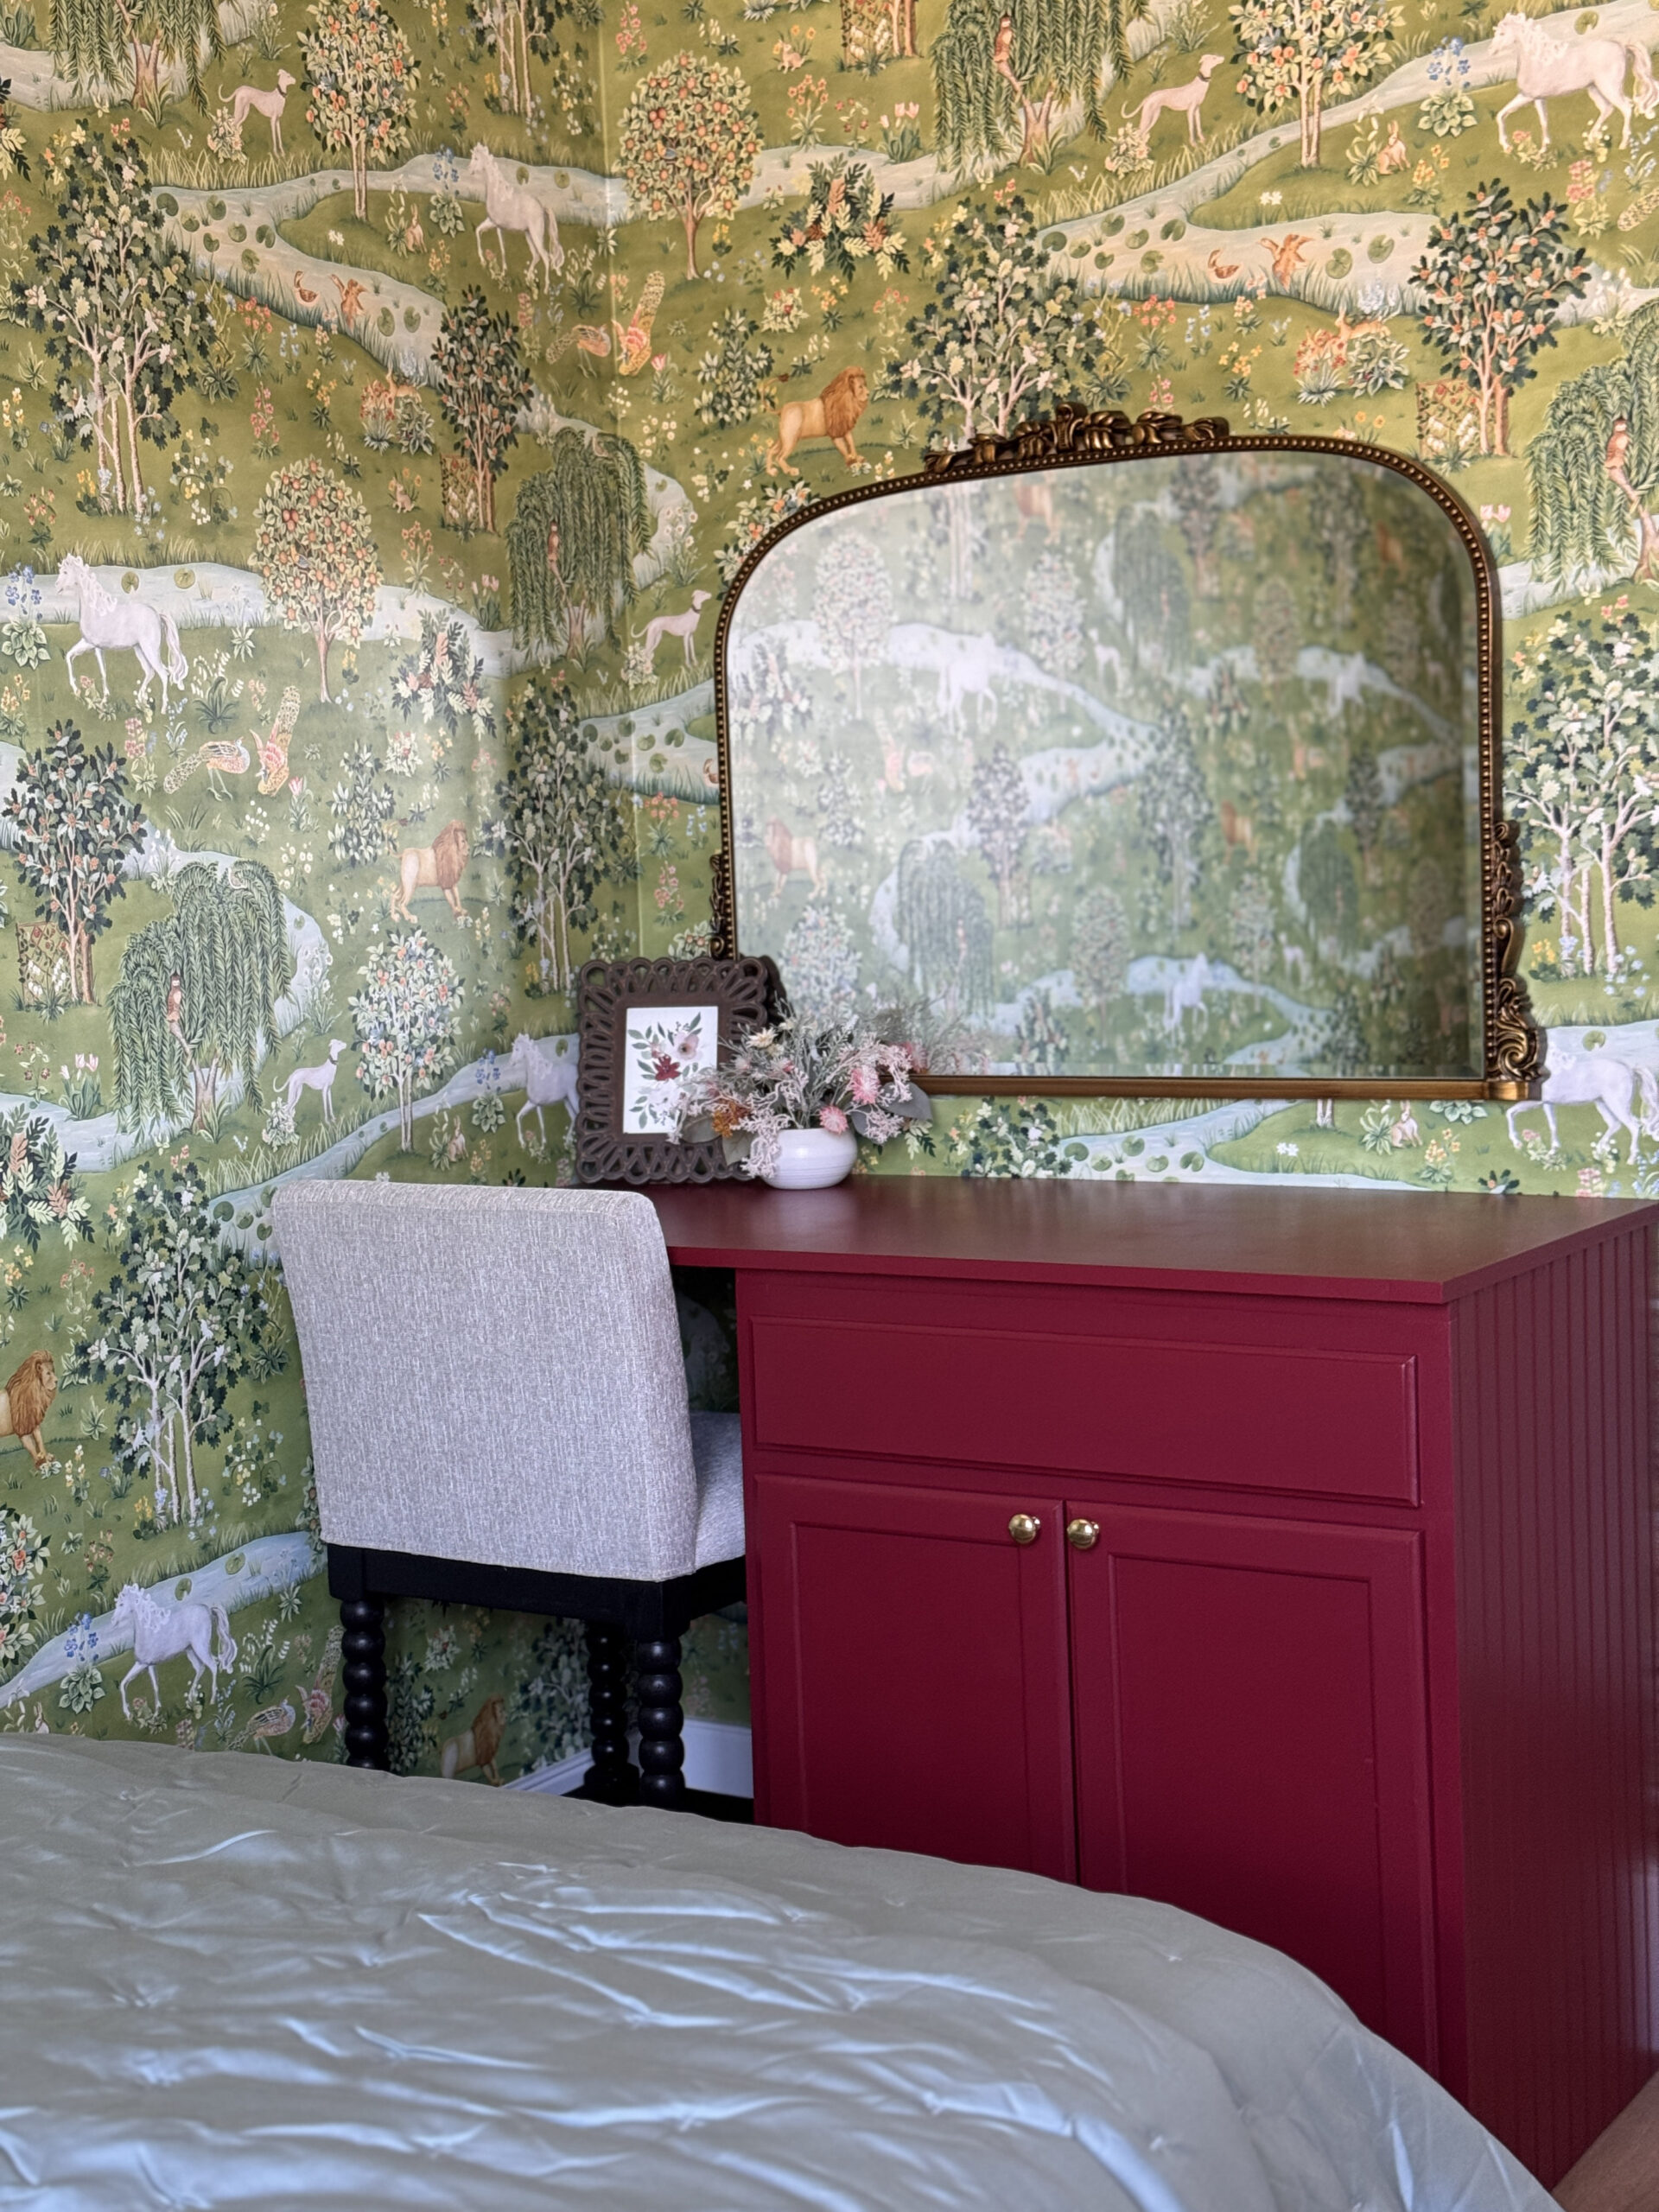
Step 5: Paint & Finish
The girls picked Sherwin Williams 7578 Borscht—a bold, rich color that really pops in their room. I primed everything first, then added two coats of paint for durability.
Tip: Use a high-quality enamel or cabinet paint for extra durability since this piece will see a lot of use.

Cat Desk FAQs
Q: What litter box do you use?
A: We started with the Petsafe system, but it still smelled no matter what we tried. Switching to the Litter Robot made a huge difference—it’s worth the investment. The only downside? It’s massive, which is why hiding it was so important.
Q: Why put the litter box in your girls’ room?
A: Peanut sleeps in my daughters’ room at night. Keeping the litter box in there prevents accidents and makes it easy for him.
If you’re looking for a way to disguise a litter box in your home, this project is proof that with a little creativity, you don’t have to sacrifice style for function.
Other Blog Posts You May Like
Girls Whimsical Bedroom Reveal
Girls Bedroom Reveal
Boho Glam Teen Bedroom
Rainbow Cat Bedroom Reveal


+ show Comments
- Hide Comments
add a comment