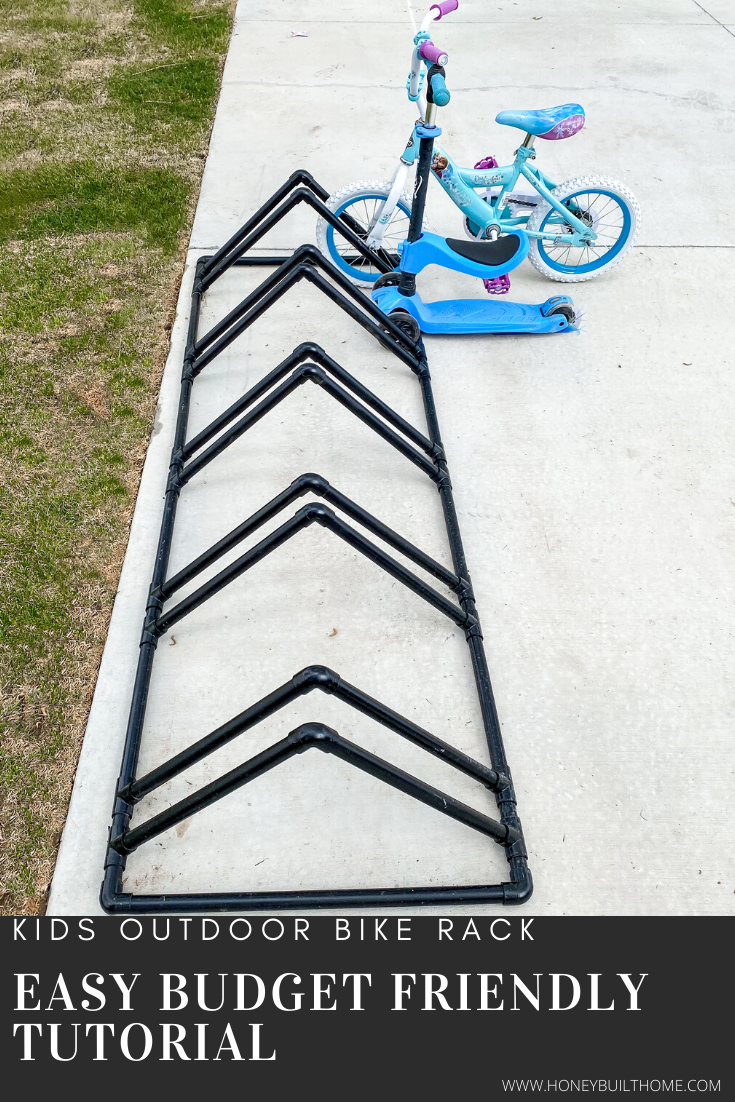
As a parent I am constantly trying to battle screen time with outdoor play, and increased outdoor play usually results in bikes, scooters, push mowers, and all the things being left all over the yard. The clutter and disorganization was getting to my husband and I so we went hunting for an inexpensive solution.
My first thought was to get a half shed where they could all be parked inside like a garage, and then I realized spending $300 for a small shed wasn’t in the cards.

My husband suggested buying a metal adjustable bike rack from amazon similar to this, but my heart still couldn’t pull the trigger so I’m excited to share a PVC version which is customizable and inexpensive!
Another PVC hack I did was adding a clothes rack to my laundry room, $15 well spent and has held up great for drying clothes. Tap here to check out that tutorial.
Materials:
(4) 10′ 3/4 inch (or 1 inch) PVC pipe
(20) 3/4 inch T’s
(14) 3/4 inch 90 degree elbows
pipe glue
(2) cans spray paint *optional
pipe Cutters or miter saw
Cut List:
(2) 23″ PVC
(20) 16″ PVC
(8) 12″
(14) 2′

using this plan from 3D Warehouse
Assembly:

First attach the 16″ pipe pieces with one 90 degree in the middle and 2 T’s on each end. You can dryfit all the pieces together before apply the pipe glue/cement.

Once all the triangles are made attach two of the triangles T’s with the short 2″ segments and this is where the bike’s tires will rest. You will have a total of 5 tire holders.
Next you’ll attach these tire holder triangles with the 12″ segment so there’s a gap between each tire holder.
Last you’ll use two more elbows to secure a the long 23″ segments onto the ends.
It’s that simple!! The final step is securing these pipes is to apply pipe cement to the outside of the pipe and inside of the fitting where they will join. Be quick to set the pipes into the fittings because the glue does dry quickly.
Paint
You can certainly leave the PVC plain, but I opted to paint mine black with spray paint. This is my favorite spray paint to use on plastic surfaces.

For more DIY projects and all the behind the scenes be sure to follow along on instagram @honeybuilthome


+ show Comments
- Hide Comments
add a comment