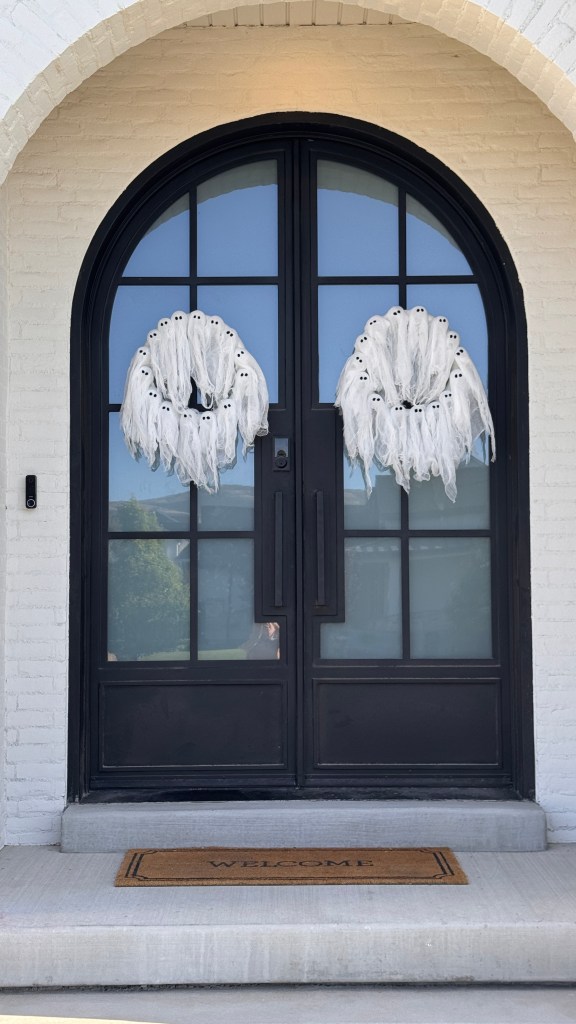
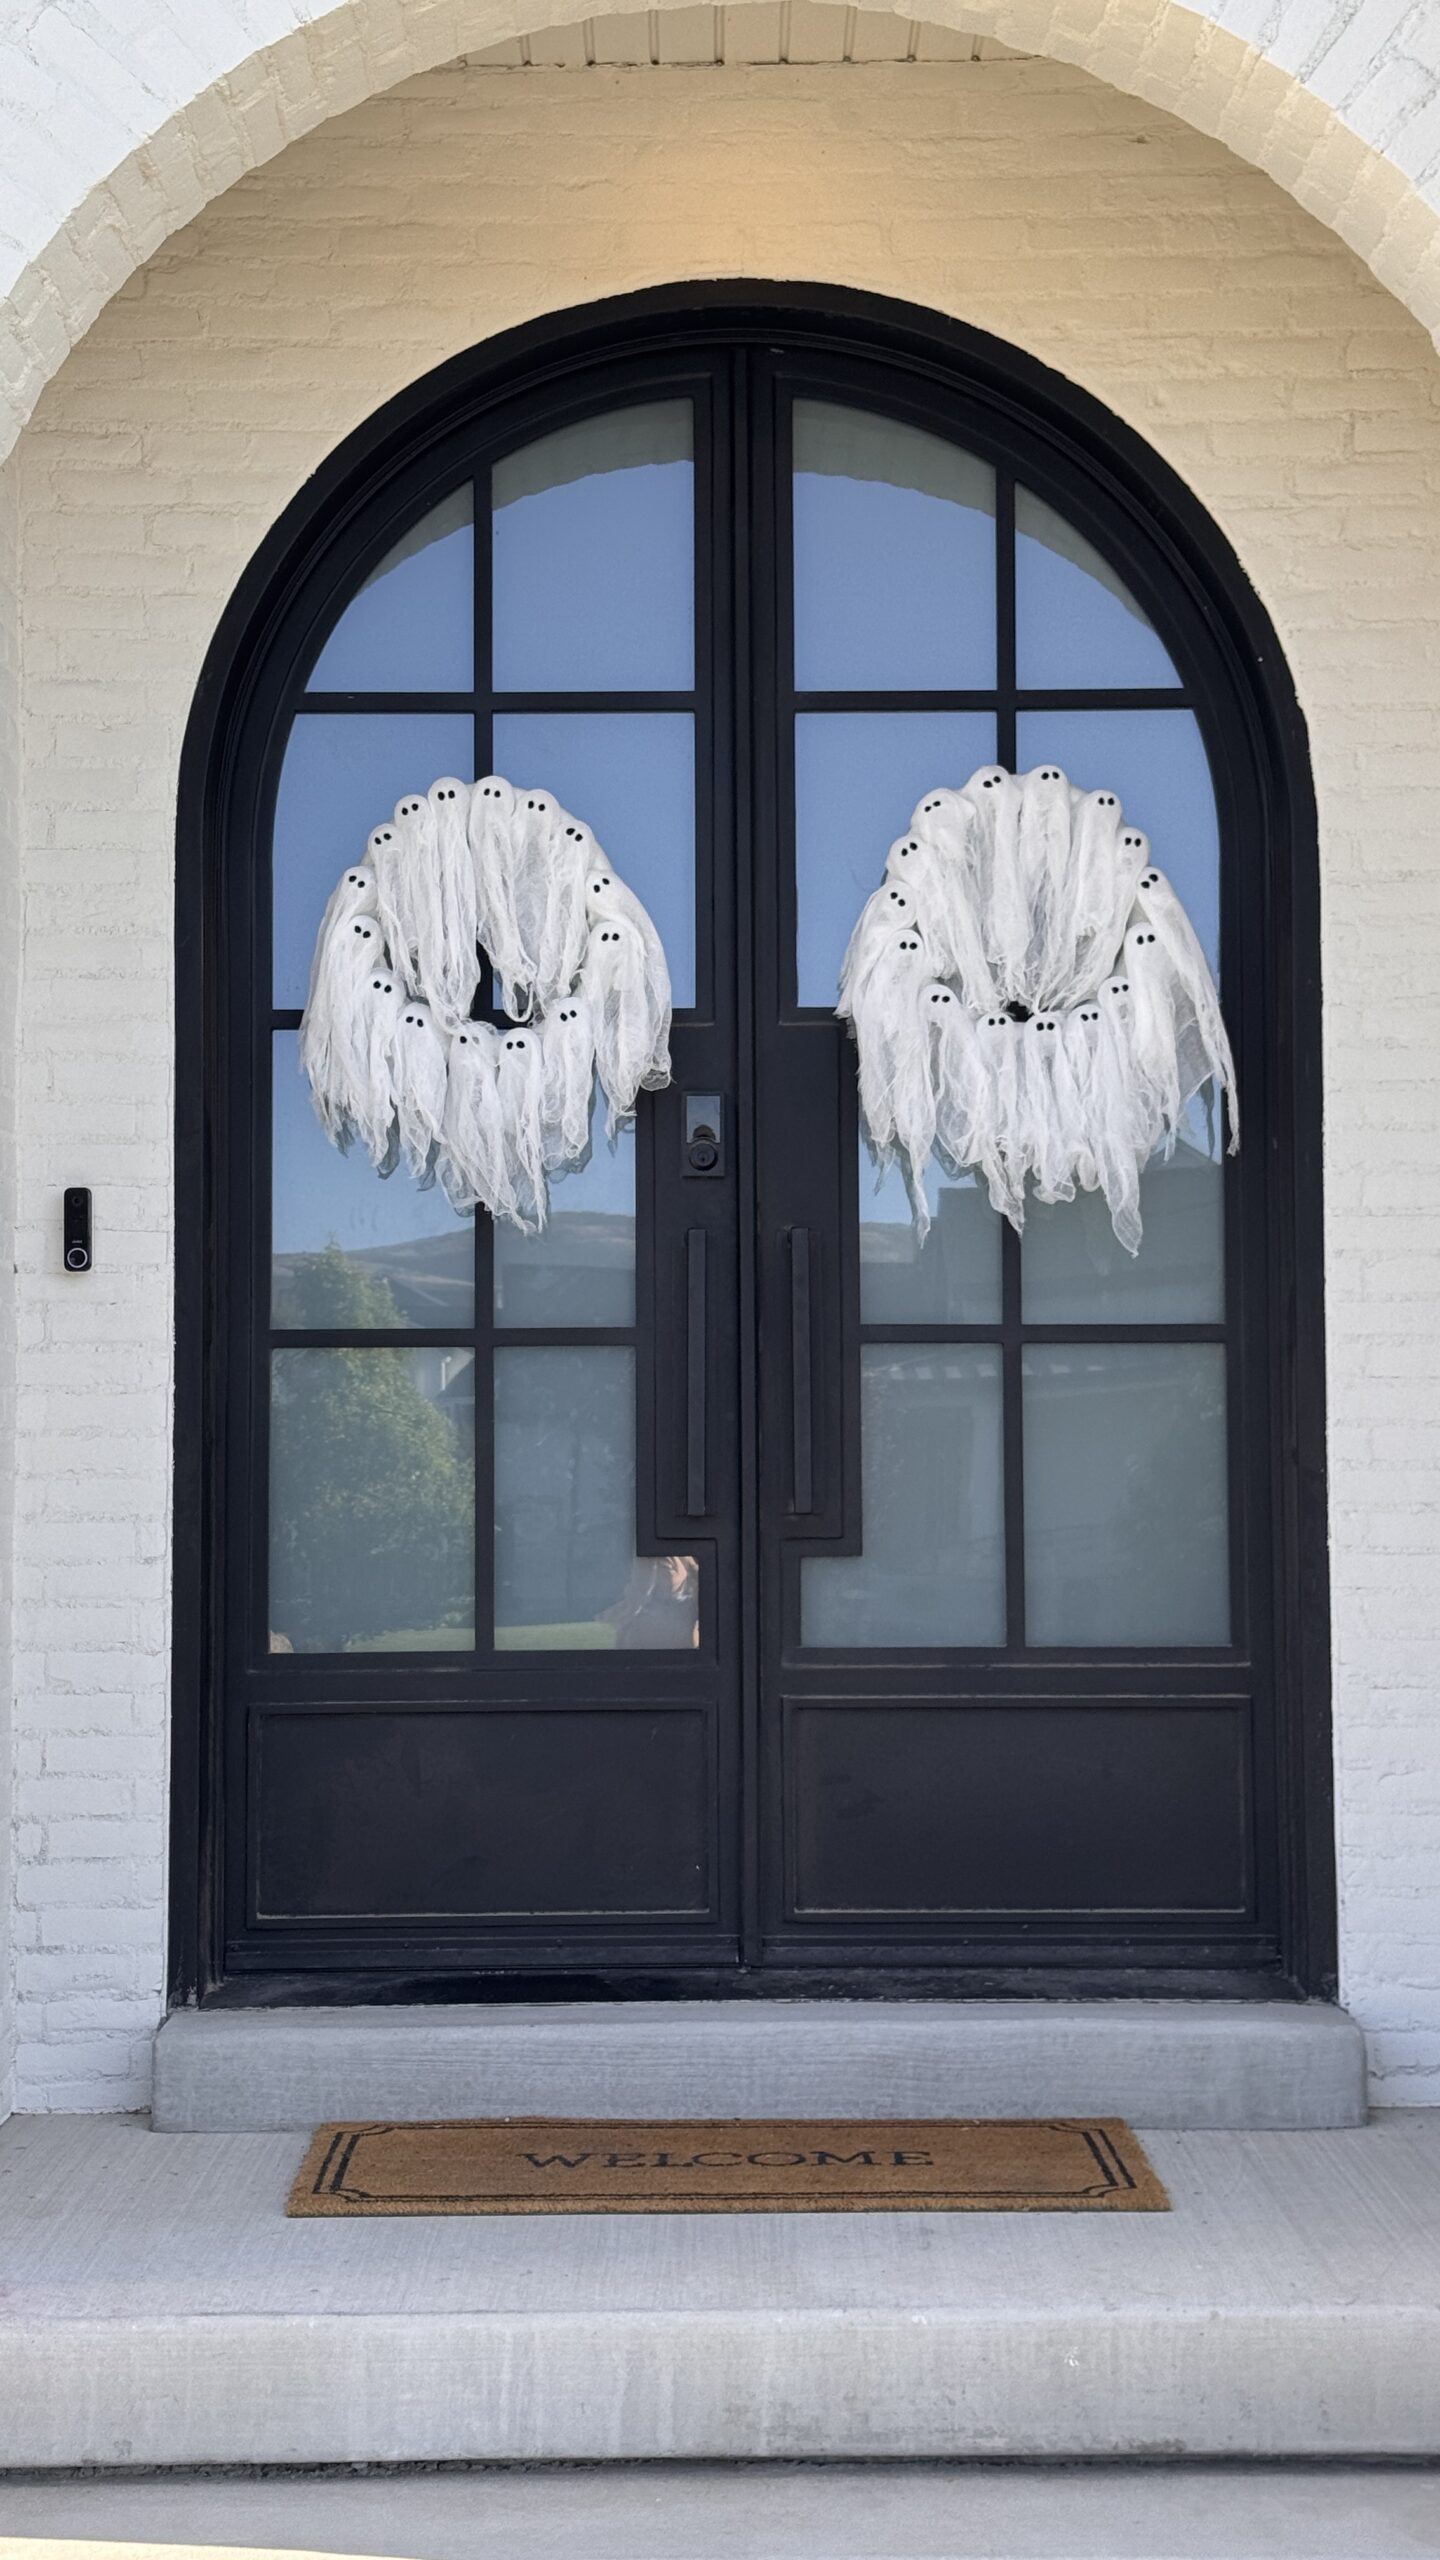
There’s something about Halloween that makes me want to get extra creative with décor, especially when it comes to the front door. This year, I wanted a piece that felt spooky at night but still whimsical during the day, so I designed a light-up ghost wreath. It uses simple supplies—clear ornaments, cheesecloth, fairy lights, and felt—and comes together in about an hour. The result is a glowing ring of little ghosts that instantly makes your door festive and fun. This DIY Ghost Wreath is one you’re going to want to make for yourself!

DIY Ghost Wreath Supplies:
- 22″ foam wreath form (or whatever size you want)
- Clear plastic Christmas ornaments (about 15 for a 22″ wreath)
- Battery-powered LED fairy lights (1 strand; 100 LEDs/33 ft works great)
- White cheesecloth (2–3 yards, depending on how fluffy/long you want the ghosts)
- Black felt (for eyes)
- Hot glue sticks (consider low-temp for foam)
To create this wreath, I started with a 22-inch foam wreath form as the base. I used fifteen clear plastic Christmas ornaments, making sure to remove and discard the metal hanging tops. By flipping the ornaments so the opening faced downward, the rounded bottom became the perfect ghost head shape. Battery-powered fairy lights gave the project its magic glow, while layers of white cheesecloth created the flowing bodies of each ghost. I also kept a sheet of black felt nearby to cut out tiny eyes, and of course my hot glue gun and scissors were essential tools from start to finish.
Preparing the Ornament Ghosts
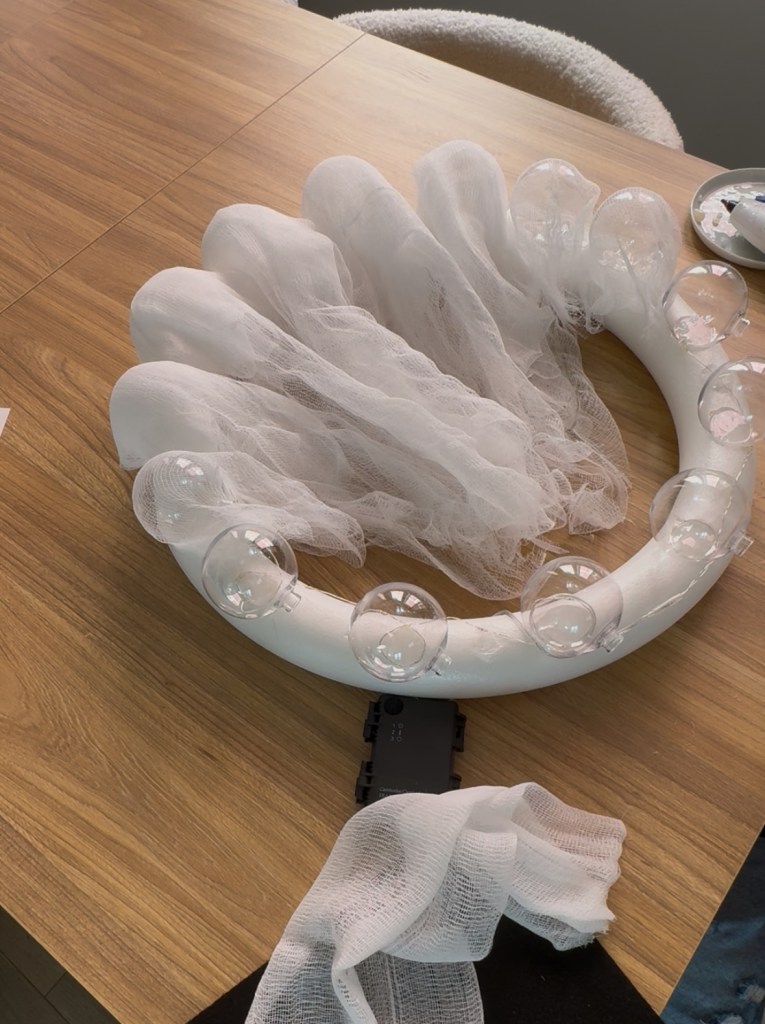
Once the metal hangers were removed, I carefully glued the ornaments around the wreath, spacing them evenly. Because the L-shaped openings of the ornaments were pointed down toward the wreath form, the smooth rounded part at the top looked just like the crown of a head. With the ornaments secured in place, I could already start to see the shape of the ghost family forming.


Wrapping the Fairy Lights
Next came the fairy lights. I attached the battery pack to the back of the wreath where it would be hidden, then began wrapping the strand. As I worked my way around, I made sure to loop the lights around each ornament. This ensured that when switched on, every ghost would glow softly from within, giving the wreath its spooky nighttime personality.

Adding the Cheesecloth
To create the ghostly bodies, I cut pieces of cheesecloth into rectangles and draped them over each ornament. I liked using two layers per ghost to make them look fuller and more textured. Once in place, I added a dot of hot glue at the crown of each ghost’s head to secure the fabric, then used a few extra dabs of glue along the sides to prevent the cloth from blowing wildly in the wind. The layers of gauzy fabric floated gently, which gave each ghost its own movement and personality.

Finishing with the Eyes
No ghost is complete without a face, so I cut small circles out of black felt and glued them onto the cheesecloth. Placing the eyes about a third of the way down from the top helped the ghosts look balanced and expressive. I kept some eyes closer together and others farther apart, which gave the group a playful, varied look.

Fluffing and Hanging Your Wreath
Once all of the ghosts had their fabric and eyes in place, I stepped back and made a few adjustments. I teased the cheesecloth layers so they looked fluffy and natural, then trimmed any fabric that felt too long. I wanted them to feel airy but still cohesive as a group. With everything finished, I hung the wreath on the door, flipped on the lights, and instantly loved the effect. The glowing ghosts looked charming and festive, and the soft light gave the wreath just enough of a spooky glow to stand out at night.


Checkout how the finished product with my outdoor lights over on my IG (Click the picture below)

Other Blog Posts You Might Like:
Exterior Brick: Breathable Brick Paint
Renovate – DIY Project Planning App


+ show Comments
- Hide Comments
add a comment