

Over the last 6 1/2 years, splashing baths have wreaked havoc on my vanities. I decided that in preparation of selling our house, I’m going to reface the cabinets to give them a second life.

Removing Existing End Panels
I started by removing the end panels that experienced the majority of water damage. The existing panels were just stained plywood. This was a tedious task because we needed to be careful not to break the face frame or cut into the cabinet. I successful by using three tools: a hammer, Oscillating Multi-Tool and a 9-In-1 Painter’s Tool. I started by inserting the painters tool into the parts that were already lifting, then used a hammer to push the tool and separate the end panel further. In parts that wee still more secure, I used my oscillating tool to make space to then repeat the process with the multi tool.
I had the option to just stain new plywood to match the current face, but there were a couple reasons I chose not to. First, I don’t know the exact species of wood, so it would be extremely difficult to match perfectly. Secondly, I honestly never loved the look of these cabinets.
Because of that, I’m going to use the existing cabinet carcass and completely transform it with new end panels and doors.

Prep Existing Cabinets for Painting
Prepping was a majority of the work. I started by using my nail pullers to remove all existing nails. After those were out, I filled all of the wood knots, screw and nail holes using bondo. Once the bondo is dry, it was time to sand everything down using my orbital sander and 120 grit sandpaper. This allows for everything to be smooth prior to priming and painting.
After everything is sanded down, it’s time to prime. My go-to primer is Bin Shellac Primer. I use it for every project and love the results it helps to give. When you’re going from a stained wood to a paint, there’s usually a sealer on top of the stain and you have to sand and prime it well for the primer to adhere. Especially if you’re doing a light colored paint. Your paint will eventually yellow if you don’t prime it well.


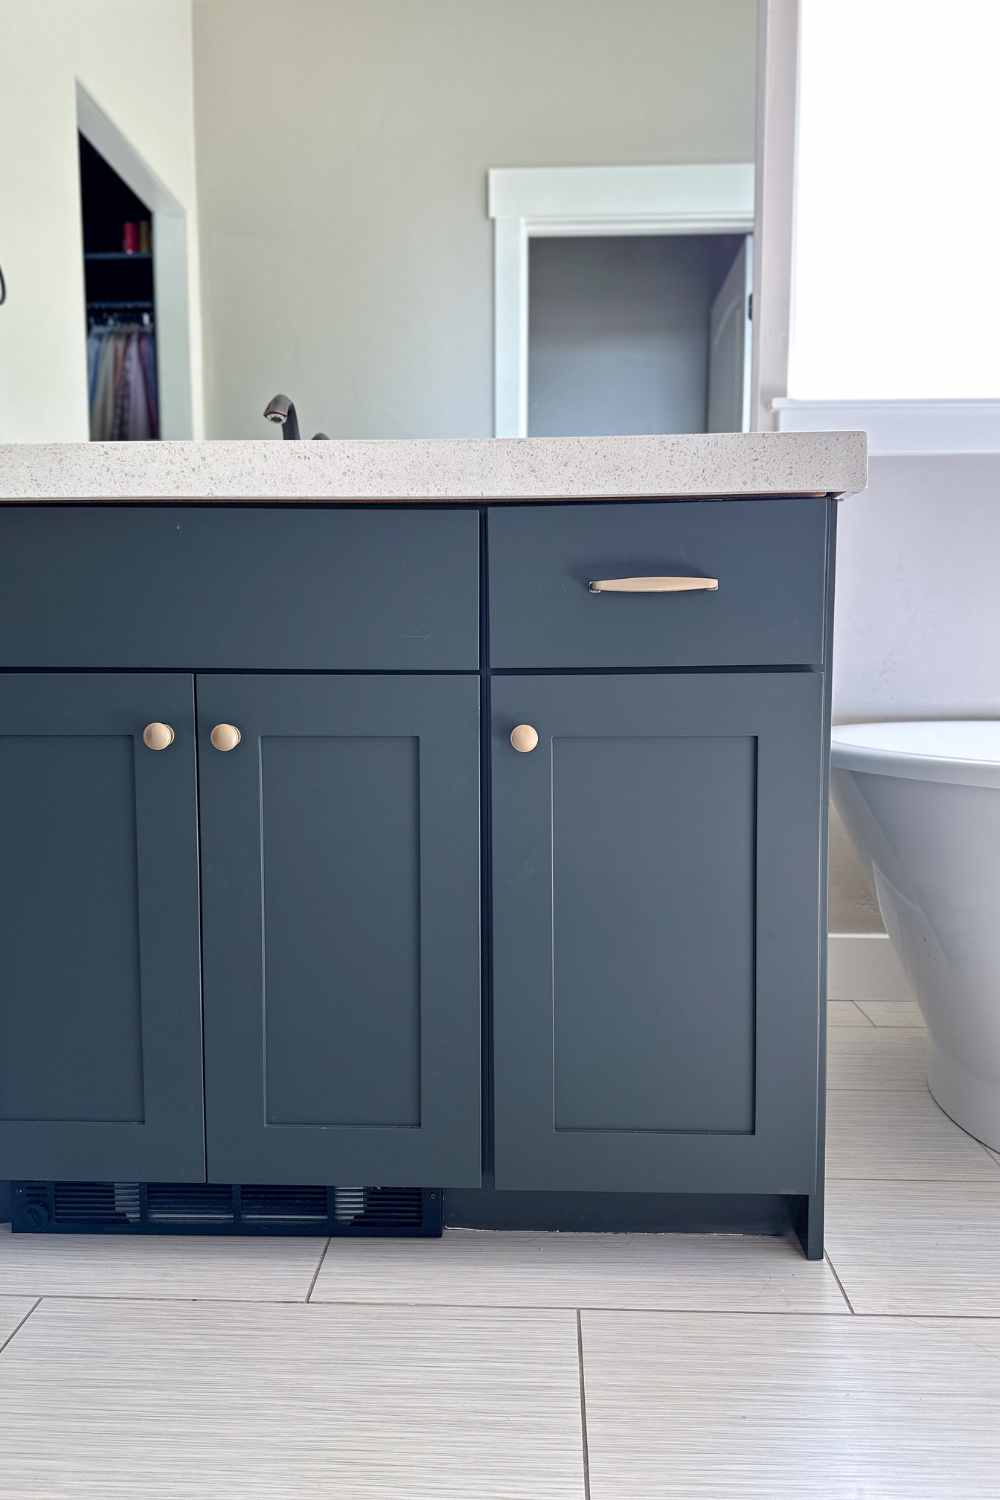
Painting Cabinet Base to Match Doors
Since the new doors I chose are already painted, all I needed to do was paint the existing base. After the primer was finished, I painted three coats of Sherwin Williams Rock Bottom to match the new doors, drawer fronts, and side panels. Usually when you order doors from a company, they will tell you what the matching paint color is. I bought a quart in Sherwin Williams Emerald Urethane Trim Enamel (my favorite cabinetry paint) in Satin finish and it matches great!
Another thing to note is when you switch from a partial overall to a full overlay most of the face frame is completely covered by the doors anyways so you only see the face frame when you open the doors.
Cabinet Door Frames
My original vanity had half overlay cabinet doors. I decided with the revamp, I wanted to switch to full overlay doors. This really isn’t that difficult of a transition. All you have to do is switch out the hinges and get bigger doors. If you’re wanting to switch to inset doors, you’ll just get smaller doors. I’m getting my doors through Nieu Cabinet Doors–the company I used in my Mudroom Build, as well. Their resources and guides make the process SO simple to know how to measure for your new doors.
Measuring & Installing Cabinet Doors
When installing hinges, use a speed square to keep your hinges straight. This will ensure they’re all straight and even. My second tip to make the process easier, use two drills. One with a predrill bit, one with a phillips bit. This will be much easier than having to switch the bit every time.

One of the most difficult parts of installing cabinets is ensuring they’re all hung at the same height. Kreg came out with this Cabinet Door Jig that basically acts as a third hand as you’re trying to install your cabinet. It comes with instructions on how to use it and where to place it. When it comes to the drawer fronts Kreg also has a Drawer Front Jig that helps to make those straight, also.
If you are switching from partial overlay to full overlay you will also need to swap out your hinges too! Full overlay needs a 1 /4″ full overlay hinges

Installing New Side Panel
This part was very simple, since I ordered the new end panels from Nieu Cabinet Doors so that it would match the new doors perfectly! First dry fit the end panel to see how it fits. Mine was a hair too tall so I applied some painters tape to the edge and ran it through my table saw to cut off just 1/8 of the top. I choose to cut the TOP vs the bottom because these cabinet doors are water resistant with the wrap they have over the wood and I wanted to keep that protection on the floor (to prevent water damage from happening again). Applying painters tape gives the you something to draw on without drawing on the door itself and it prevents any chipping as you run it through your table saw.


Once it fit I applied some liquid nails to the back of the door and applied clamps to hold it in place while the glue dried. You can also add a few brad nails if you want but thats optional.


Shop the list of all the products I used/suggest for this project HERE
If you’re looking to redo your cabinet doors too, check out my blog post for How to Paint Oak Cabinets. OR maybe you decide you want to scrap your old vanity and start fresh. Check out my tutorial on How to Build a DIY Bathroom Vanity.
Hopefully this kick starts your desire to start creating the home of your dreams, one DIY project at a time. If you’re looking for even more info on how to use Power Tools and start tackling your own projects? Check out my online course, DIY Beginner Basics, that teaches you all of the things you need to feel confident and ready to start. Try a FREE LESSON from the course today!


+ show Comments
- Hide Comments
add a comment