
Tiling with Mussel Bound
The opinions are 100% honest and my own. This is not a sponsored post.
Tilling can be intimating, but I’ve developed a few techniques and tricks to make it SO MUCH EASIER! I promise, even a beginner can tackle a backsplash or bathroom tile project with these tricks including my favorite vertical tile adhesive, musselbound.

Mussel Bound is basically it’s an adhesive mat that sticks to the wall, and replaces the need for mortar.
Less mess, no waiting to grout, and no mortar. Basically all the tricky parts of tiling eliminated.

Where can you use Mussel Bound?
On any wall surface. Shower walls, backsplashes, accent walls. It cannot be used on floors, ceilings, or fireplaces. You CAN use this over existing tile as well as over drywall, cement board, stainless steel, glass, fiberglass, plywood, wallpaper, paneling, laminate. It is recommended that newly painted or primed walls have time to fully cure before applying mussel bound.
It is NOT recommended for outdoors, floors, ceilings, steam rooms, shower floors, submerged projects or with large format tiles or heavy thick natural tiles or brick.

How is it installed?

Clean the surface free of any debris. The wall surface should be level prior to installing. When you go to install simply start at one end of the wall and roll it out cutting it with a utility knife or scissors. Press firmly against the wall to ensure a seal and smooth out any creases or bubbles. WAIT TO REMOVE THE PAPER until your are ready to tile. Keep the paper on the surface for any areas you are not tiling right at that time to keep its stickiness.

Can you readjust tiles once you put them on?
YES! So ideally you want to take your tiles and place them lightly onto the sticky surface. I usually do 1-3 rows to make sure I like my spacing, then this is the IMPORTANT STEP…. to adhere the tile onto the wall you have to press for 5 SECONDS on each tile. Not pressing for 5 seconds per tile will cause the tile to potentially fall off.
Do tiles fall off?
The only instances I have had with tiles falling off is during the installation phase due to dust on the musselbound or dust on the tile preventing good adhesion. To help wipe down the backs of the tiles prior to installation. Allow tiles to fully dry before installation and keep the protective film on for as long as you can. The shower walls were tiled 2 years ago and while I cannot attest to frequent use of the shower (we do not use the shower, as it is a guest bathroom), the tiles are still firmly on the wall. (plus grout helps hold them together).


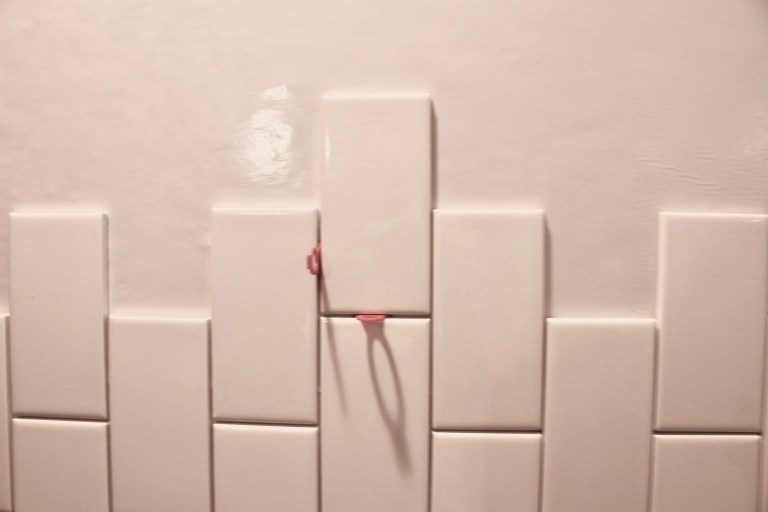
Spacing of tiles
Mussel Bound does come with 3 different size (and color coordinated) spacers. These stick temporarily to the wall to allow correct tile placement and are easily removed. I used the red 1/16″ because I like small ground lines in my bathroom renovation, and did NOT use any spacers for my kitchen backsplash.

Is Mussel Bound Waterproof?
So yes and no. Mussel bound used by itself is water impermeable (water can’t get through)… except at the seams. Mussel Bound does sell a seam tape and if used in application with the mussel bound mat it becomes waterproof. Using mussel bound without the seam tape does not guarantee that it is waterproof.
Shower Walls – seam tape
In a shower setting I highly recommend using Musselbounds seam tape to help with waterproofing.
What did you love most about it?
Other than the time and mess it saved… I love that evenness from tile to tile. When you apply traditional thin set/mortar it is an “art” to make sure you have enough/not too much on your wall and on your tile. Sometimes the transition from tile to tile can become not level or create a lip. This product eliminates that to give you a really smooth and professional looking shower/backsplash
Textured Walls
Do your walls need to be smooth and level if you are using musselbound? Yes, and no. Your walls need to be even. So if that means smooth that’s great, if that means evenly textured, that is ok too. The musselbound is 1/8″ thick so if you are tearing off existing tile and have a lot of divets and dents in your drywall.. the musselbound is going to contour to that therefore your tiles will not meet up evenly.

What didn’t you like about it?
Partly this is my lack of research, but the row of tiles I placed in the corners wouldn’t adhere to the mat. I later learned that the tiles that are cut with a wet saw absorb some of the water. These “wet” tiles won’t stick and need to be blow dried prior to adhering onto the mat OR stuck in the oven at 200-250 degrees for 5-7 minutes.
Cons about the product?
I would say the biggest con would be the cost. A large premixed bucket of thin set is between $30-50 and could cover an 2/3 of a shower. So for $60-100 of product the entire shower could be done. This Mussel Bound is $29 per roll and I used 6-7 rolls. So its definitely more expensive…. BUT with how much time and less and “dry time” it saves you I believe it to be worth the added cost. Just being able to stick tile up like a sticker was probably 3x faster.
Would I use Mussel Bound again?
Yes! For a backsplash or shower walls I certainly would use it again… and maybe bring out my blow dryer to save me the added work 😉
For more step by step installation head over to instagram @honeybuilthome and highlight bubble tiling for the full install


