
DIY Shiplap Tips
DIY Shiplap Tips


I did my research and found dozens of Pinterest tutorials on how to shiplap using underlayment plywood, strips of MDF, you name it, but what all of these tutorials had in common was a lot of TIME. Here’s the process for using 4’x8′ sheets and having them cut into strips.

Plywood DIY Shiplap Process

- Buying plywood or MDF sheets and having them cut down does NOT guarantee they are going to be the same height. Off 1/8” here and there. You’ll notice.
- With each board you have to sand down the edges
- Paint the wall prior to hanging the boards because the “space” will be wall that you see
- Nail the boards up with some sort of spacer (quarter is most common) to make sure it’s even
- Fill a lot of nail holes THEN prime THEN paint.
I’m sure a great deal of these tutorials were posted prior to some big box store coming up with the option to buy pre-made shiplap, but now that it exists what is the best option for you?
FOR ME:
I took my project measurements and found that the DIY plywood way would save me between $50-75 total for the project.
For some that might be worth it.
For me time was more valuable.
All I had to do was cut the board to the correct length, nail it on the premade lip and stack the next board. The spacers are built in so there’s no chance for error.
I cut down my nail hole filling by 80%, and steps 1-5 I listed above! To me.. saving those HOURS was worth $50-75.
Pre-made Shiplap

- Measure and layout your space. The boards are 5.5″ and come in 8 foot or 12 foot lengths.
- Buy the boards, I found Home Depot to be the cheapest.
- Measure again and cut the boards to the length desired.
- Install with 2″ finishing brad nails into the lip of the shiplap INTO studs (and where ever else needed to keep things held securely. for me extra nails were needed in the bottom corners of each shiplap board).
Shiplap: the process
I am shiplapping my laundry room so I started above my backsplash with my first board.

Draw a line from floor to ceiling where your studs are. Use a stud finder to locate the studs. They are typically 16″ (on center) apart and always next to an electrical outlet and in corners.
I measured around my electrical outlet as well as the height from the backsplash to the electrical outlet (2 1/2 inches) and cut out the square with my jig saw. *unscrew your electrical outlet and let it sit in front of your shiplap to avoid getting it stuck.


I cut out the square for my electrical outlet with a jig saw.
Tip: If you know your exact length for each board you can have your boards cut at Home Depot (for free – $0.50 a board).
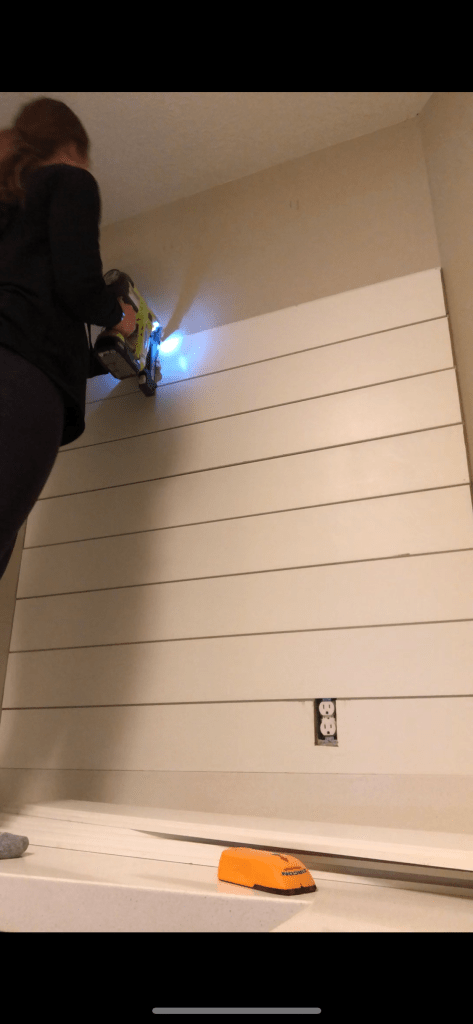
Secure the shiplap to the wall using 2″ brad finishing nails into the studs you marked.


- Brad Nailer: I LOVE my cordless Ryobi brad nailer. It’s a total game changer to not have to lug around the huge bulky, loud air compressor. This is a MUST have tool for me.
Continue up the wall attaching your shiplap boards with nails on the top lip.

The final board will be trimmed down to fit your ceiling height. This board was ran through a table saw, but you can also run it through a circular saw.
If your ceiling is not level you can use a piece of quarter round to cover the gap or some crown molding.

Fill your seams and nail holes with drydex spackling. I can’t speak highly enough about this hole filler. It sands so easily, and paints perfect.

Offer: Free Shipping on over 100,000 Items OR Buy Online, Pick Up in Store Today. Text Link: http://homedepot.sjv.io/c/1361359/483414/8154
Horizontal Seams
Depending on the look you are going for it might be necessary to fill your horizontal seams. The best way to get your seams to line up and fill to look like they don’t exist is to cut the end of your boards at a 45 degree angle.
Having two straight boards make for a visible seam that is hard to hide.
If you are working on a wall longer than 8 foot in length be sure to stagger your seams.

Hope these quick tips help!
-Christine


